background image


2

Chapter 2:  Installation 
 

Overview 
 

The installation of the HomePlug Ethernet Bridge will only take minutes.  No 
setting up for long wires through out the house.  Just simply install the software 
CD that is included in the box and after installation, physically plug the unit into 
the computer and the wall outlet.  Users will have options to adjust its security 
functions and the platform of the network once everything is installed properly.  
For further assistance, please read our Frequently Asked Questions section. 


Running the InstallShield Wizard 
 

Please insert the CD into your CD-ROM and wait a moment for the setup screen 
to come up.  If the CD-ROM does not auto run the CD, please click on ‘

Start

’ at 

the bottom left of your screen (for most Microsoft Windows) and go to ‘

Run

’.  

Type in:  (CD Drive Letter):\eth\setup.exe and click ‘

OK

’ 


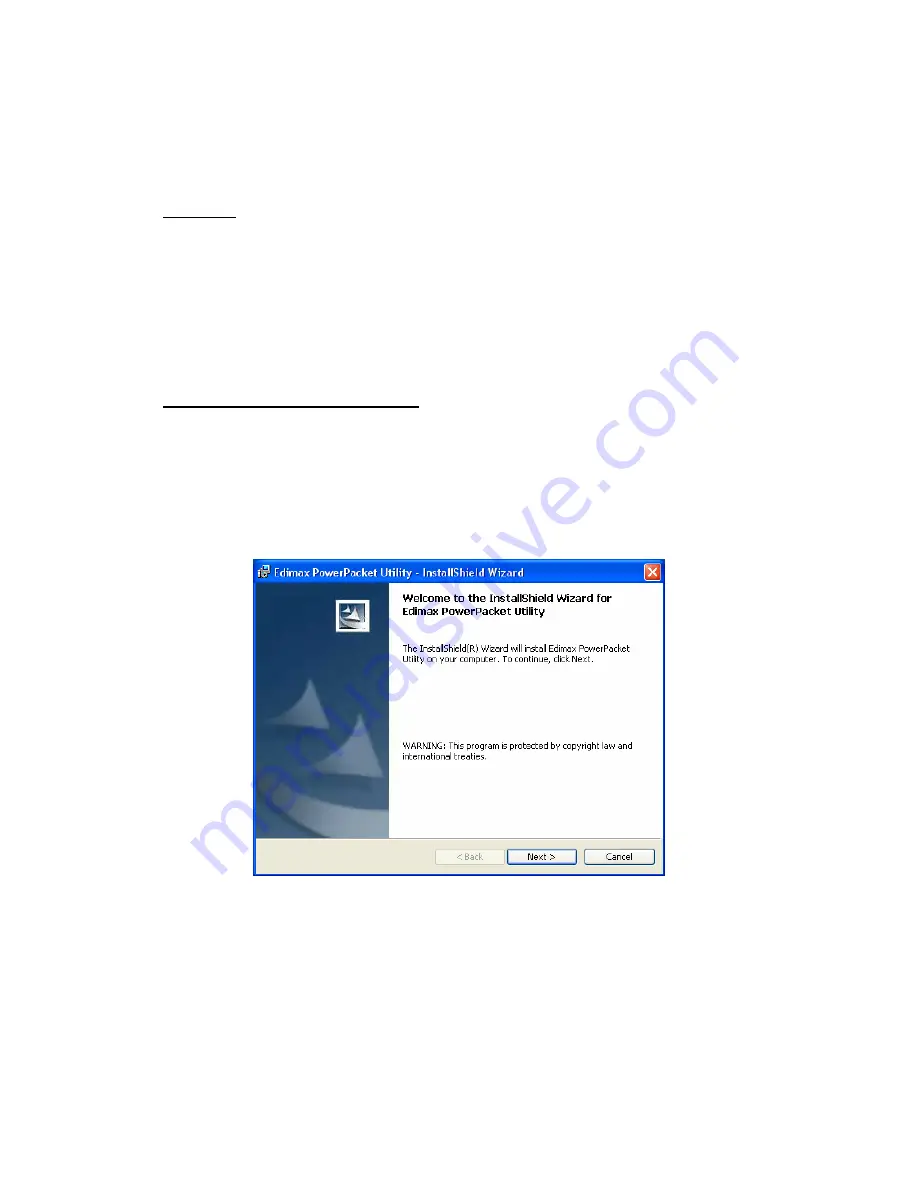
Once the software is loaded it will display a dialog such as is: 


Please click on ‘

Next

’ to continue the installation. 


Содержание HP-8500

Страница 1: ...Ethernet Bridge Panel Front Back PWR On Receive Power Off Did not receive Power HP On Detect other HomePlug devices on the same powerline network Off Did not detect any other HomePlug devices on the s...

Страница 2: ...nd the platform of the network once everything is installed properly For further assistance please read our Frequently Asked Questions section Running the InstallShield Wizard Please insert the CD int...

Страница 3: ...wishes only he she can use the utility with that particular account then bubble in Only for me For those without multiple accounts or wishes to allow all users to access the utility choose Anyone who...

Страница 4: ...ack or Install the utility In case if the user wishes to change the previous options then go ahead and click on Back to change the settings If not continue and click the Install button This screen sho...

Страница 5: ...installation was completed successfully Click on Finish to exit the wizard Now its time to setup you hardware connections please refer to the next diagrams Plug your network cable into the computer s...

Страница 6: ...er end of your network cable into the RJ 45 port locate at the back of the HomePlug Ethernet Bridge Plug your power connector of your power cable into the power connector at the back of the HomePlug E...

Страница 7: ...of your power cable directly into a power outlet on the wall Note Do not plug the device into a UPS or power strip with surge protection The HomePlug Ethernet Bridge has its own power filter for prot...

Страница 8: ...be networked Make sure that all devices are loaded with the same network password Diagnose Powerline network Part 1 Diagnose a Local HomePlug Device Double click the PowerPacket Utility icon on your d...

Страница 9: ...correctly If all of this seems to be correct and you still receive nothing in the Device window try rebooting your computer If the problem still persists please contact technical support Part 2 Diagn...

Страница 10: ...r home that you do not see in this Network scan try to unplug all devices and plug them back in Only do this with the Units that you do not view in the network screen you don t have to do this with al...

Страница 11: ...all data that is sent from this unit using 56 bit data encryption standard DES The DES Encryption is very secure and very difficult to crack therefore your home network is very secure and very difficu...

Страница 12: ...e bottom of each device Enter this Key into the Device Password area Click Add This Device Key will then appear in the bottom window Add all the DEK Keys for each unit in your house You can now go bac...

Отзывы: