Ed
Edbike
bike
bikes
s
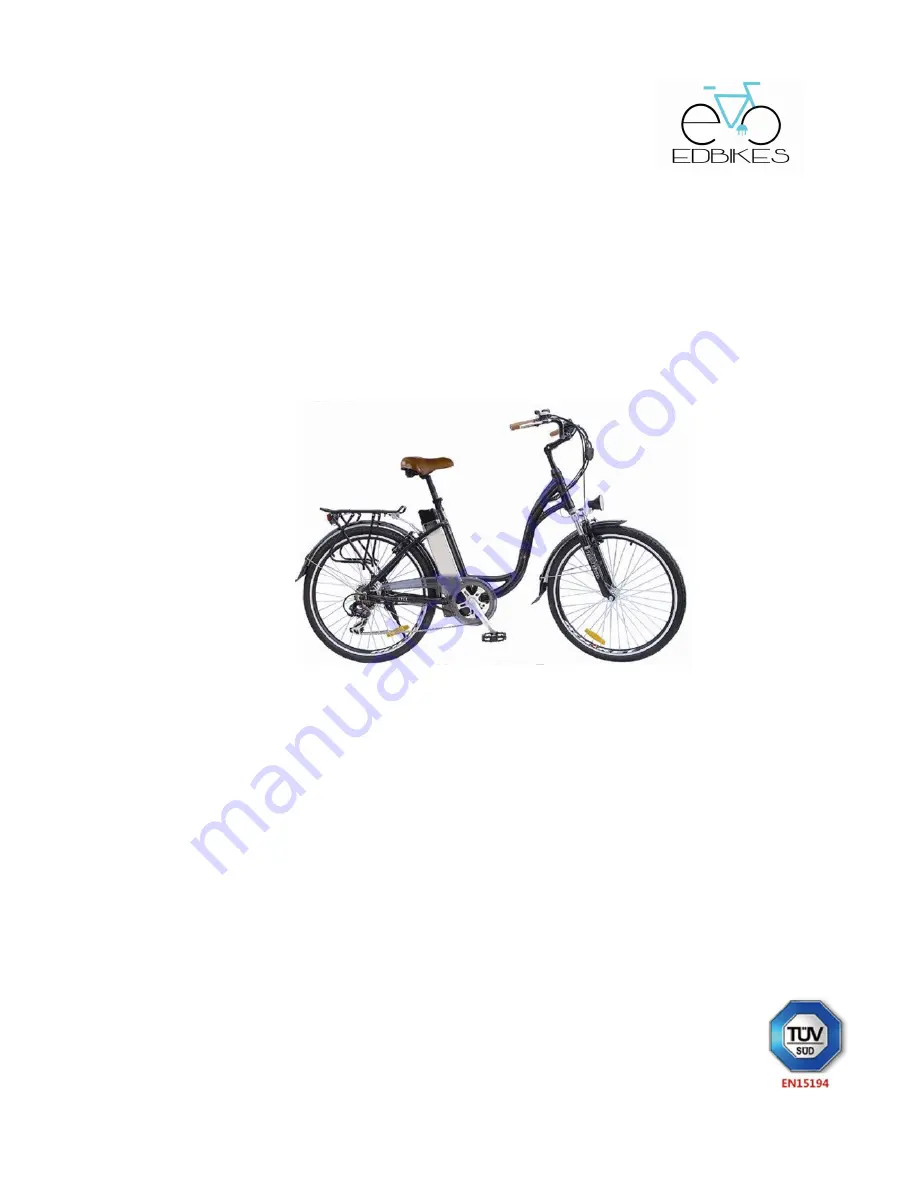
Owner’s Manual
26” City Bike
We strongly recommend that you read this entire manual before using your electric bike
Nov-2017
Страница 1: ...Ed Ed Ed Edbike bike bike bikes s s s Owner s Manual 26 City Bike We strongly recommend that you read this entire manual before using your electric bike Nov 2017...
Страница 2: ...and equipment 9 3 1 Battery on off switch and lock 3 2 The ON OFF button and Light button 3 3 The Throttle 3 4 Battery capacity meter riding style and affect on range 3 5 Brakes 3 6 Stem and handle b...
Страница 3: ...y within safe limits if you feel as if you are travelling too quickly you probably are Always test your brakes prior to using the bike and remember the bike will not stop as quickly in the wet as it w...
Страница 4: ...eck brakes are functioning properly 2 1 4 Check tyre pressures are correct and tyres are not damaged 2 1 5 Check reflectors and lights if fitted are functioning properly 2 1 6 Make sure the battery is...
Страница 5: ...rged Voltage dropping below minimum for any length of time will cause serious damage to your battery cells 2 3 5 Recharge your battery every 3 months even if you are not using the bike Most lithium Io...
Страница 6: ...harger from the mains before disconnecting the charger from the battery It is possible that the battery will take up to six hours to charge on the first three charges 2 4 2 When charging the battery a...
Страница 7: ...es or brake surfaces Monthly a few drops of light oil on brake and gear change cables every 2 years re grease the headset bearings front wheel bearings and pedal bearings 2 5 Technical specifications...
Страница 8: ...2 6 Simple Trouble shooting Problem Possible reason Solution Top speed too slow 1 Low battery voltage 2 Handlebar control problem 3 Damage to motor driveline 1 Recharge battery fully 2 Call service 3...
Страница 9: ...the key CLOCKWISE to the on position To REMOVE the battery turn the battery key ANTICLOCKWISE until it stops then PRESS THE KEY INWARD and continue turning ANTICLOCKWISE until it stops this will retra...
Страница 10: ...ll be turned on You can start off in any level if you are on a hill for instance you may want to start in level 2 3 4 or even 5 3 4 3 Setting 5 is generally used when you need the maximum amount of as...
Страница 11: ...emoving the two 6mm Allen caliper fixing screws The pads can then be removed by removing the split pin which passes through the tabs of the brake pads Then lift the pads complete with the spring out o...
Страница 12: ...locate wheel nut 3 12 3 Trace the route of the motor cable along the rear stays and locate the quick release motor cable connector shown in the image above Disconnect the two halves of the connector t...
Страница 13: ...possible the cable has stretched from new to adjust this turn the knurled cable adjuster located at the rear of the derailleur unit turn anticlockwise when viewed from the rear This will compensate f...
Страница 14: ...lowing reasons 1 Damage resulting from misuse not maintaining the bike or not following the guidelines within our user guide or using the bike for any kind of competitive sport 2 Accidental or deliber...
Страница 15: ...harge 3 times you then just need to keep the battery topped up they do not have a memory so you can recharge at any point 4 1 4 The key to having a long lasting battery is to look after it This means...