Quick Installation Manual with MRF
Page 6 of 24
Connect and control Shutters or Shading if present.
Control the temperature of a room if possible.
Make use of cameras if needed. Check which vendors are supported.
The SHC Device Names, configurations and Interfaces (ECIs) can be directly
configured in MRF (SHC Settings screen).
ATTENTION! To maintain the correct status of (old) Actuators it is important to
connect all xComfort Actuators directly to the Smart Home Controller or an ECI.
In large installations the status of the (old) Actuators could still be wrong due to
heavy RF traffic. Use the new generation Actuators with Extended Status
Messaging support to increase the status reliability at hot spots.
MRF Project installation steps:
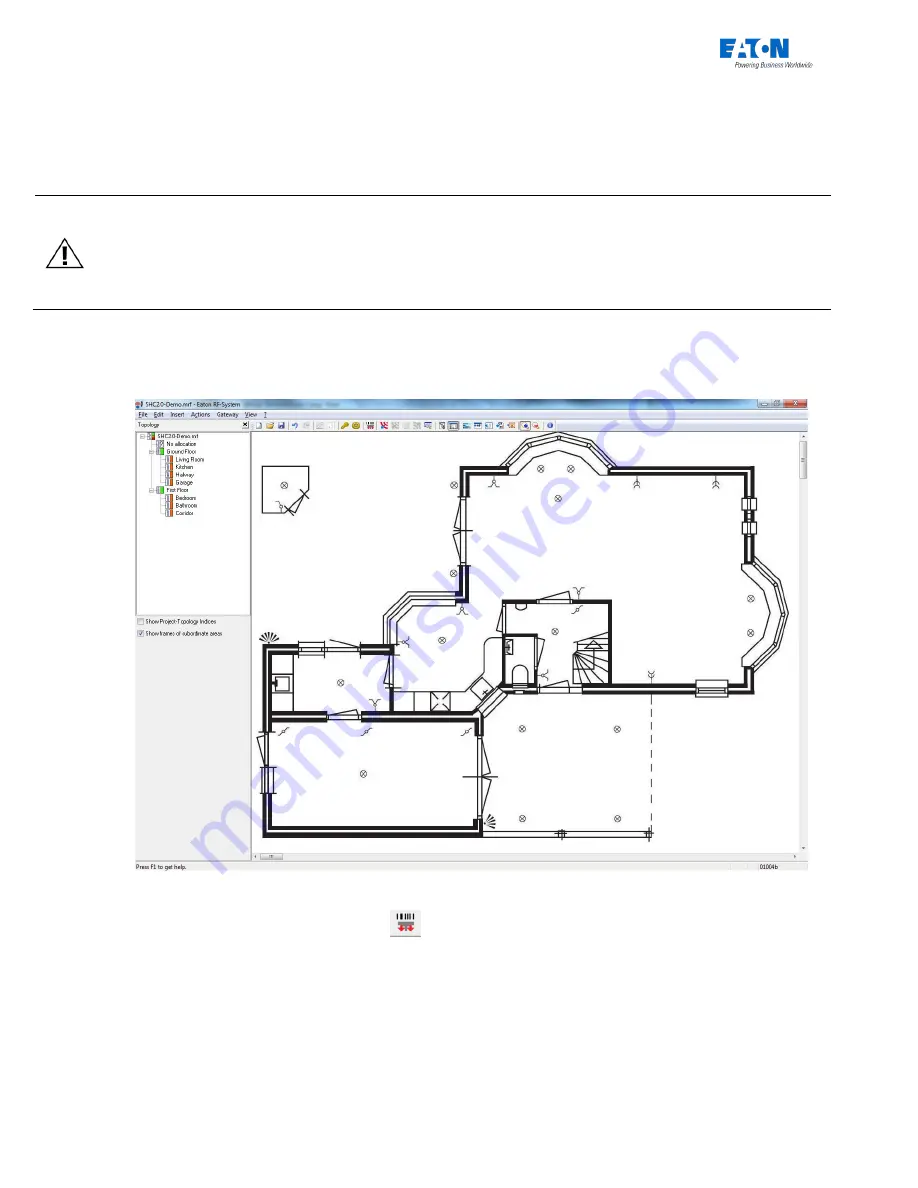
1. Create the Project-topology. Insert a background graphic if this is useful.
Remark!
: SHC Zones will be based on the Project-topology later on.
2. Add Devices to Project:
Remark!
: Use one or both methods below:
A.
Via Barcode Scanner: Click:
1. Scan Device barcode (or enter barcode number manually and click:
Verify
)
2. Specify Device settings:
-
Name: Specify a clear name for the Device.
-
Topology area: Select a Room/Zone
-
Replaces device: Select Device to be replaced (In case of virtual or existing devices)
3. Click:
OK
4. Install this Device directly or remember where this Device should be installed.
5. Repeat the steps above for each Device.


