


Touchscreen Information
Touchscreen Calibration
You can calibrate your unit's touchscreen in both
Offline and Run modes. To access the calibration
screen when in Offline mode, select the Calibrate
Touchscreen template on the Offline Mode Menu. To
access the calibration in Run mode:
Although the Offline and Run mode calibration
screens are slightly different in appearance, they
both use the same calibration process. To calibrate,
press the eight boxes/crosshairs located around the
screen edges. You may press them in any order, but
all must be pressed to calibrate.
Each box/crosshair will turn green (different shade
of gray on grayscale units) when pressed. After the
first pass, the boxes/crossharis will change color to
indicate the screen is ready for the second pass.
Again, press all eight boxes/crosshairs around the
screen edge. When you have pressed the last, the
unit will return to normal operation.
1) Select the Get Page control button from the
default control buttons
2) Select the More control button
3) Select the Setup Page control button
4) Select the Calibrate Touchscreen control button
5) Press the Execute control button
Never use foreign objects (pens, screwdrivers
or similar) to activate the touchscreen. Foreign
objects may damage the touchscreen, causing
unreliable operation or failure.
Do not use solvents or other harsh cleaning
compounds on the touchscreen. Solvents and
abrasive cleaning compounds will cause
permanent damage to the touchscreen.
Press these
boxes/crosshairs
twice, in order
(1,2,3,4,1,2,3,4)
CANCEL
PRESS AND HOLD EACH BOX ALONG EDGES FOR 1 SEC.
Pass 1 of 2
Touchscreen Calibration Program
Copyright (c) Cutler-Hammer 1996. All rights reserved.
10:27:53
PanelMate Operation
The most basic job of a PanelMate unit is to replace
the functions of hard-wired operator station devices
such as pushbuttons, lamps and message displays.
To replace these devices, the PanelMate unit
supplies a "template".
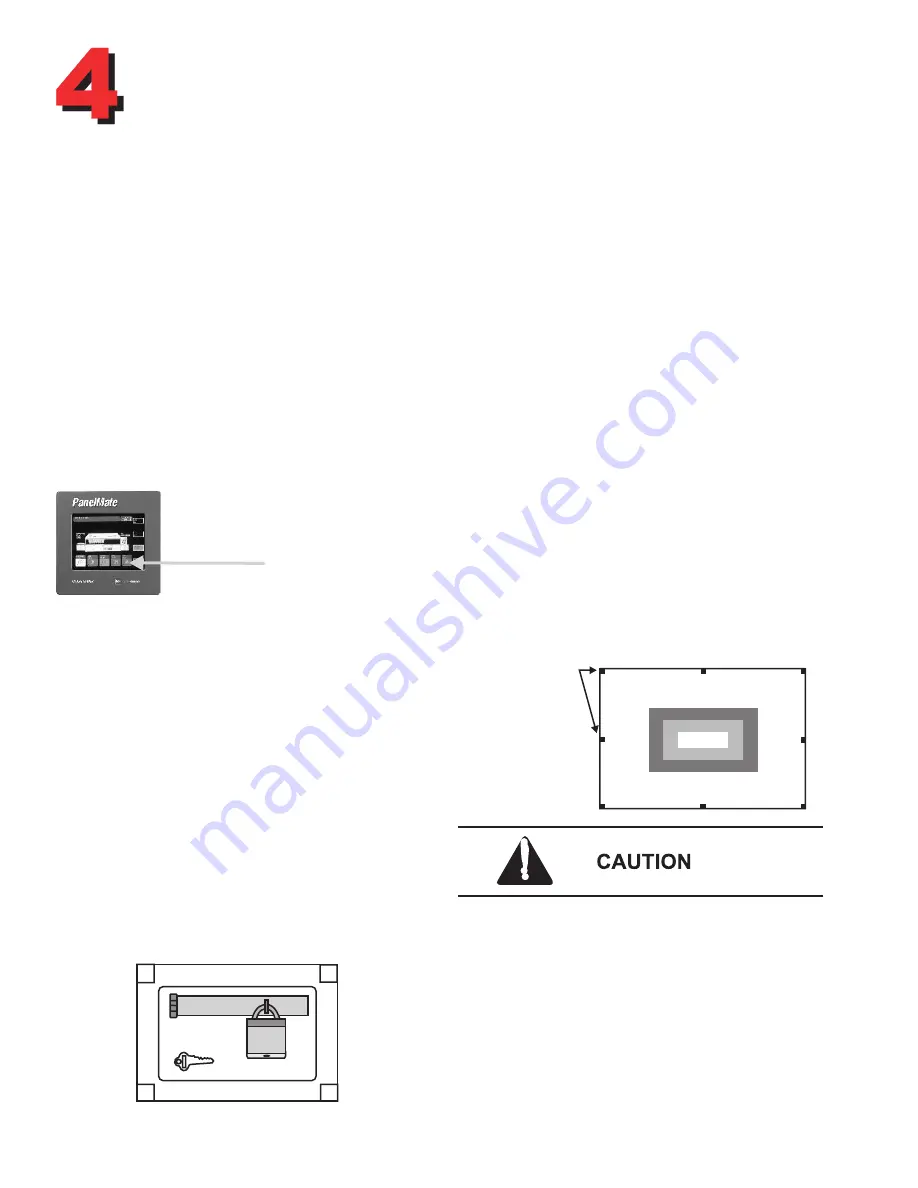
During operation, you can select a template to
"arm" control buttons or numeric entry. Once a
template has been selected or "armed", you can
press any desired control button to take action.
The touchscreen is designed for finger or gloved
operation only, and does not require the same
actuation force as a mechanical switch. A light
touch will produce the same result as a heavy one.
For more information refer to your PanelMate
Online Operation User's Guide.
P
ressing directly on the
display will activate a template.
Touchscreen Cleaning
A Cleaning Mode utility is provided to make
touchscreen cleaning safe and easy. To access it:
1) Place the PanelMate unit is Run Mode.
2) Select the Get Page control button f
3) Select the More control button.
4) Select the Setup Page control button
5) Select the Cleaning Mode template.
6) Press the Execute control button
After pressing the Execute button, the Cleaning
Mode screen will appear. While this screen is
displayed, the touchscreen will not respond to your
tough. After you have finished cleaning the
touchscreen, you must return to normal operation
by pressing the screen's numbered corners in
sequential order: 1,2,3,4.
TOUCH KEYS 1-2-3-4 IN
SEQUENCE TO UNLOCK
10:27:53
1
3
2
4


