


IB140012EN
For more information visit: www.eaton.com
Instructional Booklet
Effective: March 2021
Page
33
Operation and Maintenance Manual,
Automatic Transfer Switch Controller, ATC-900
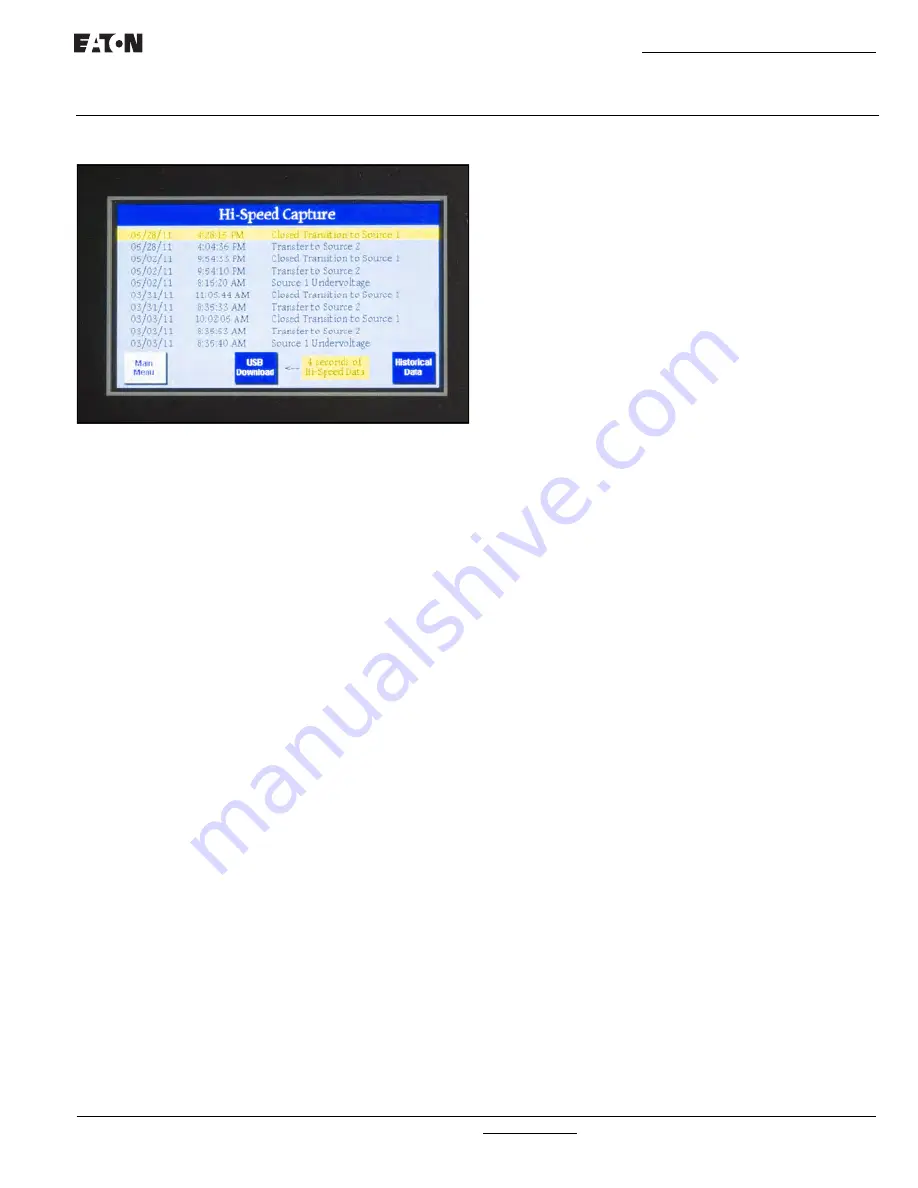
Hi-Speed Capture
Figure 18. Hi Speed Capture Screen
The ATC-900 stores 4 seconds of metered data every 20 mil-sec-
onds or 0.02 seconds for certain events. The data is captured 2
seconds before and 2 seconds after the event. If the event is a
power failure, then the capture is 4 seconds before the power fail-
ure.
Oscillographic data for 10 events is stored in the controller and
may be downloaded over USB or displayed graphically on the TFT
display. Events include:
1. Source unavailability actions that initiate a transfer sequence
(undervoltage, overvoltage, etc.)
2. Successful transfers (at the point of breaker/contactor clo-
sure.)
3. Unsuccessful transfers (at the point of breaker/contactor fail-
ure to close or open.)
7.1 USB Operation
Insert a compatible USB flash drive into the USB port on the front
panel. The ATC-900 will not accept a laptop directly hooked up
to it, only a flash thumb drive (memory stick). When the USB
flash drive is recognized, the USB menu icon will turn from gray to
blue. Use the arrow keys to navigate to the USB icon and press
Enter.
Note:
if the USB drive has never been connected to an ATC-900 controller
before, it will automatically create the required folder structure.)
From here you can select from the following options: Main Menu,
Save Setpoints, Load Setpoints, Save Statistics, Save Events, and
Save Hi-Speed.
Main Menu
– returns you to the Main Menu.
Save Setpoints
– save current controller setpoints onto the USB
flash drive.
Load Setpoints/Firmware
– load setpoints or firmware from files
on the USB flash drive (USB to Controller).
Save Statistics
– saves all statistical controller data to the USB
flash drive.
Save Events
– saves all event data to the USB flash drive.
Save Hi-Speed
– saves all high speed capture data to the USB
flash drive.
To save current controller setpoints, use the arrow keys to navi-
gate to the “Save Setpoints” icon and press Enter. The screen
will display “Saving DSP Setpoints.” Once it has finished, it will
display “Saved Setpoints to File: STPmmddyy-##.CSV”, where
mmddyy is the current date, and ## is the numerical id (e.g. 1, 2,
3, etc.) If there is not enough free space on the drive, the screen
will display “Insufficient Memory”.
To load controller setpoints from a setpoint file on your USB flash
drive, use the arrow keys to navigate to the “Load Setpoints” icon
and press Enter. The "Load Setpoints" feature will require a pass-
word to access (factory default is 0900). Once the password is
entered correctly the screen will display a list of all setpoint files
on the USB flash drive. Use the up/down arrow keys to highlight
the desired setpoint file and press Enter. The controller will save
a backup of the current setpoints to “STPmmddyy-BAK-##.CSV”
and display a message confirming that setpoints were success-
fully loaded from the file.
To save controller statistics (e.g. connected time, available time,
engine run time, etc.), use arrow keys to navigate to the “Save
Statistics” icon and press Enter. The screen will display “Saving
ATC- Statistics” while the file is being created. Upon completion,
the display will show “Saved ATC-900 Statistics to File: HSTm-
mddyy-##.CSV”.
To save controller events (e.g. transfer events, power up events,
setpoint changes, etc.), use arrow keys to navigate to the “Save
Events” icon and press Enter. The screen will display a percent-
age progress bar while event data is saved to the USB drive.
When it is complete, it will display “Saved Events to File: EVTm-
mddyy-##.CSV”.
To save high-speed capture data (i.e. time-stamped voltage and
current data), use arrow keys to navigate to the “Save Hi-Speed”
icon and press Enter. The screen will display “Saving High Speed
Captures” along with a progress bar. Once complete, it will dis-
play “High Speed Capture Files Saved”.
To access any of your saved files, simply remove the USB flash
drive and connect it to a USB port on your PC. Browse to your
USB drive and locate the “ATC-900” folder. Inside that folder
should be three sub-folders: Firmware, History and Setpoint. All
setpoint saves and backups will be in the “Setpoint” folder. Firm-
ware Upgrade files must be in the Firmware folder. All Statistics,
Events, and High-Speed capture files will be in the “History”
folder. All files except firmware upgrades are viewable using a
CSV file viewer such as Microsoft Excel, Notepad, or OpenOffice
Calc.
A user friendly setpoint program is available free of charge on line
at: www.eaton.com. Download "Eaton ATC-900 Setpoint Editor"
(EASE).
This can be loaded on any personnel computer and will
allow for the user to view the current setpoints and also change
the setpoints. Once the setpoints have been saved to the USB
thumb drive, that drive can be used to set several switches to the
same settings.


