e z L C D -‐ 4 0 5
|
13
Rev.
© 2016 Earth Computers Tech. Inc.
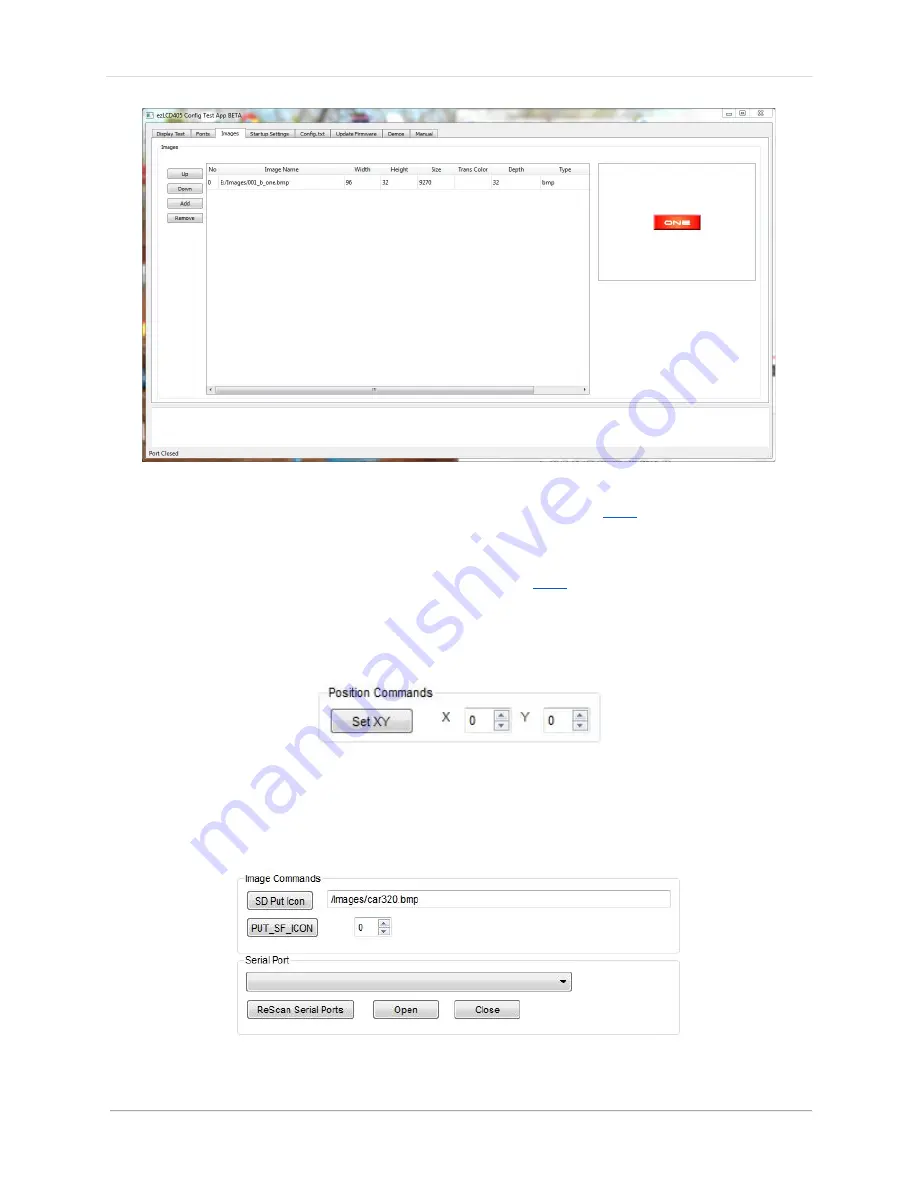
6.
You will need to generate a new config file as shown
here
and save it onto your
microSD card
7.
Once that is done, put the microSD card back into your ezLCD-‐405
8.
Make sure the serial port is open as shown
here
9.
Go to “Position Commands” on the top left and type in the “X” and “Y”
coordinates you want the image to start displaying at
10.
Then click “Set XY”
11.
Now go the “Image Commands” towards the center of the window and type in
the name of the file ( starting with “ /Images/ “)
12.
Then click “ SD Put Icon “ to the left of it
Содержание ezLCD-405
Страница 1: ......
Страница 22: ...e z L C D 4 0 5 22 Rev 2016 Earth Computers Tech Inc Figure 2 ezLCD 405 Schematic...
Страница 23: ...e z L C D 4 0 5 23 Rev 2016 Earth Computers Tech Inc 1 3 2 Pin Configuration Figure 3 ezLCD 405 Connectors...
Страница 32: ...e z L C D 4 0 5 32 Rev 2016 Earth Computers Tech Inc...
Страница 52: ...e z L C D 4 0 5 52 Rev 2016 Earth Computers Tech Inc SET_COLOR SET_XY...
Страница 102: ...e z L C D 4 0 5 102 Rev 2016 Earth Computers Tech Inc...
Страница 109: ...e z L C D 4 0 5 109 Rev 2016 Earth Computers Tech Inc...
Страница 118: ...e z L C D 4 0 5 118 Rev 2016 Earth Computers Tech Inc...
Страница 158: ...e z L C D 4 0 5 158 Rev 2016 Earth Computers Tech Inc 10 10 dec y LSB V_LINE 41 hex 110 110 dec...


