


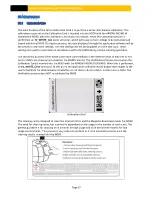


M500 USER MANUAL AND PROGRAMMER SDK
Page 30
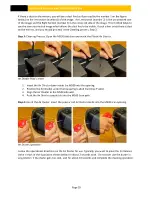
DO NOT hold the Duster upside down.
Step 5: Remove the Plastic Air Divider and close the side door of the M500. Next REPEAT only Steps 1 &
2. If you see the Dust Line disappear in the uncorrected (Left Section of the Image), then proceed to Step
6. If the Dust Line is still present or has moved to a new location (only on the Left uncorrected image
side), then go to Step 3.
Note: Once the dust is removed from the mirrors, you may see a new line on the Corrected section
(Right Side) of the image. At this time ignore the Right side image.
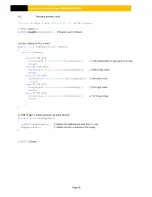
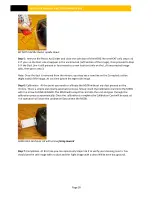
Step 6: Calibration. At this point you need to calibrate the M500 without any dust present on the
mirrors. This is a simple and mostly automatic process. Simply insert the Calibration Card into the M500
with the arrow FACING INWARD. The M500 will accept the card into the unit and goes through the
calibration process automatically. Once the calibration is complete the Calibration Card will be ejected.
This operation will store the Calibration Data within the M500.
Calibration card inserted with arrow facing inward
Step 7: Completion. At this time you can repeat only Steps 1 & 2 to verify your cleaning results. You
should see the Left image with no dust and the Right image with a clean White even background.