Drumulator Owners Manual
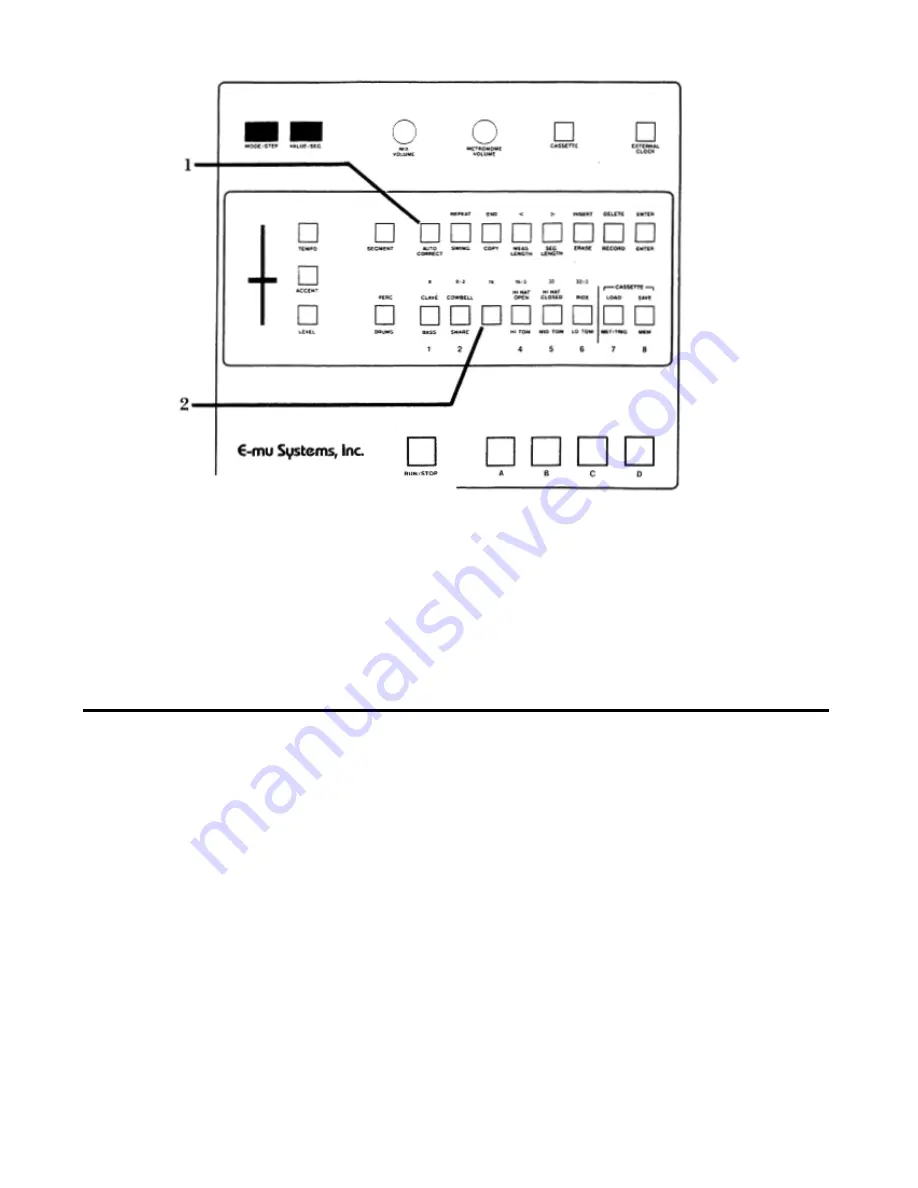
Press the desired Auto Correct button, then press
ENTER
. The picture shows how to select six-
teenth note Auto Correct resolution.
3. To
select
high resolution
mode, press
AUTO
CORRECT
twice and then press
ENTER
. The
first time you press this button the left display
shows
Au
; the second time, the right display
shows
Hr
(for
“high resolution”).
4. Remember that although you may change the Auto
Correct resolution any time that the Drumulator is
stopped, this change does not affect any parts
recorded prior to the change.
Recording a Segment 2F
Now that you’ve selected a segment and dimensioned
it, you’re ready to record drum patterns into the
segment.
1. Assign drums sounds to the Drum Play
buttons. You may assign a sound along with
its accented version to two buttons (Section
1E, or single sounds to single buttons (Section
1C).
2. Specify the drum levels (Section 1).
3. If necessary, program the metronome
(Section 1) and set the Auto Correct resolution
(Sections 2D and 2E).
4. While holding down
RECORD, push
RUN/STOP so that the RUN/STOP light
glows. The left-hand display shows
rc and the
metronome
will start. The
RUN/STOP
LED will
blink off at the beginning of each segment, and
there will also be an accented metronome beat at
the beginning of each measure.
5. Play the various drums where you want them to
occur in the segment. The segment will repeat
over and over, so you may “overdub” as many
drum beats as you like. For example, record a
basic bass drum part first, then snare drum
sounds, then some bass drum accents, then some
more snare drum sounds, cowbell, etc. Any drum
sounds you record during one cycle of the
segment will play back on the next cycle of the
segment.
6. When you’ve finished recording the four drum
sounds, either press
RUN/STOP
again to stop the
segment (the
RUN/STOP
light will go out); or,
remain in
record
mode, and go into assign mode to
assign new sounds to the Drum Play buttons
with-


