38
E-flite P-51B Mustang 32e ARF Assembly Manual
5. After the exhaust pipes are dry we need to dry
brush them using the rust paint. Using the same
#2 detail brush and a folded paper towel, dip the
brush into the rust colored paint and then blot the
brush on the paper towel. Once most of the paint
is removed, lightly brush the aluminum to give it a
rustic look. This will take a small amount of time. Do
your best to not get any paint on the cowling.
6. Get your folded paper towel to blot the brush
on once it has paint on it. Blot it until it is very
dry. After a few trials you will find the correct
formula. Next, lightly hit the areas mentioned
above to your preference. As always, less is
better. Take your time, do a small area and
admire your work. If you don’t like what you have
done, take some mineral spirits and lightly wipe
the mistake away. If you do this the dullcote will
come off as well. No problem, just re-spray until
flat and try again.
7. Once all the exhaust pipes have been dry
brushed with the rust color, you may need to
touch up the cover with some flat black. Do this
now. Once this is complete, feel free to mist on a
couple of light coats of dullcote and hit with the
heat gun on low.
8. Now we will do some very basic paint chipping
around the model. Key areas are: nose of spinner,
leading edges of wings and tail, leading edge of
nose inlet, front canopy frames, walk area on wing
where the pilot and crew chief spent a lot of time
getting in and out of the model, leading edges of
pylons, etc. You can apply chipping heavily, lightly
or almost not at all. To do this use the 1/4-inch
(6mm) artist brush. Cut off the brush to half its
length. This will make the bristles slightly stiffer.
Now you should have a clean model with what looks
like paint chips all around. It is now time to get it dirty.
Fighter planes in a combat arena are not pretty. They
are not extremely clean. Gun residues are cleaned
off for the most part as it is very corrosive, but there
are always stains. Exhaust residue is always alive but
routinely light if the engine was run correctly.
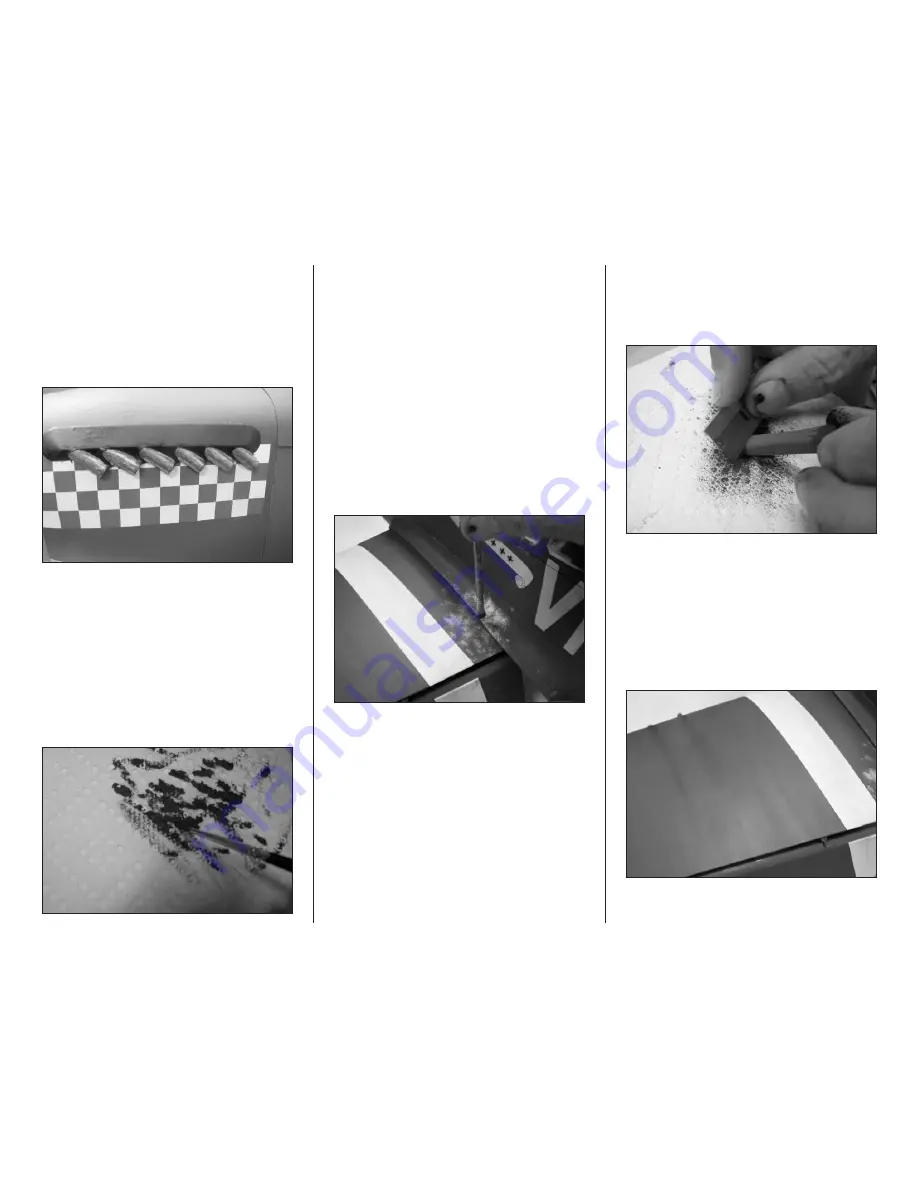
9. Using the pastels, scrape off some of the colors to
use for weathering. The main colors are brown and
black. Scrape them off using a razor blade on its
side. Scrape onto a paper towel making two piles
of coloring chalk.
10. You can do this for the gun streaks first. Use
a 1/2-inch (13mm) artist brush on its side. Lightly
press it into the brown chalk and then make a
streak behind each gun. Follow this with some
black chalk. Do this for each gun (top and bottom)
until you are happy with the results. If you are not
happy at any time, use the glass cleaner and a
paper towel to remove the chalk. Most of it will
come off easily.


