


14
4. You can then modify the RMU's default IP address according to your own IP environment in
‘
Member/Property
’ window of configuration utility. Or the RMU can obtain IP address automatically by its
DHCP Client if there exists any DHCP Server.
NOTE:
The RMU of DYNAMIX DH - 114 M will reboot after the IP property has been modified. And current
connection with old IP property will be terminated. You need to establish a new remote connection with the new
IP to access the switch DYNAMIX DH - 114 M.
NOTE:
If the current connection of remote configuration is terminated abnormally, the system will wait about 3 to
5 minutes to recover. Then you can establish the new connection again.
Use Configuration Utility (Easy or Full-Function)
The utility is similar to ‘File Manager’ in ‘Microsoft Windows® System’. The main window contains the left sub-
window for the items to be configured, and the right sub-window display the contents for the selected item.
Double click your mouse on the item in the left window will pop out the corresponding item-window in the right
side.
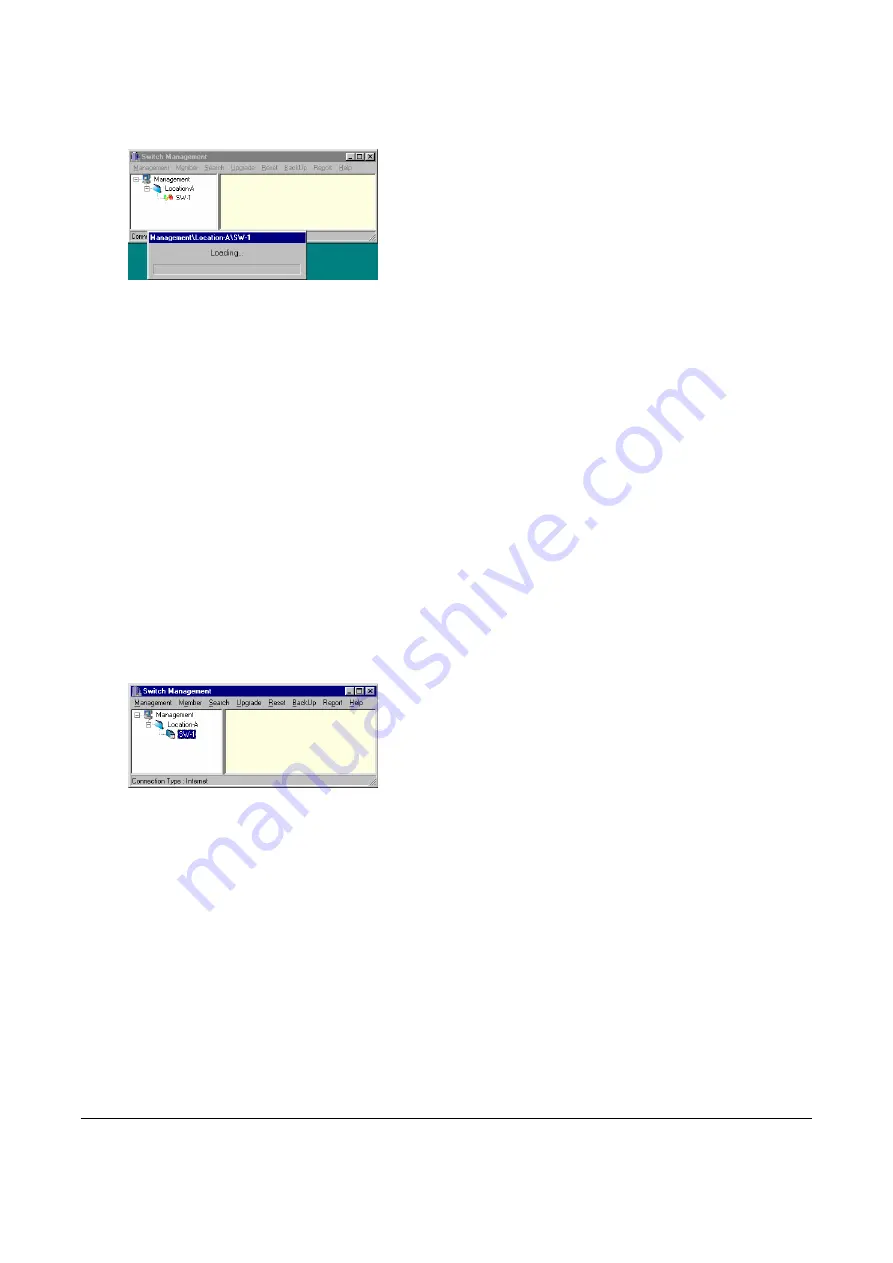
Getting Started
1. Assume you have started the utility (local or remote), and have the rights to configure the switch in the
selected domain (either you login as supervisor or have the access rights assigned by supervisor), login the
domain successfully as in the following figure.
2. The above figure shows the domain contains only one switch system ‘
SW-1
’. Double click on the ‘
SW-1
’ icon
will ‘Connect’ to ‘
SW-1
’ and ‘Load’ the internal configuration from ‘
SW-1
’. It may takes a few seconds for the
utility to retrieve the current setting of the connected switch system.
3. The next figure shows the switch system ‘
SW-1
’ contains only one switch
(‘Switch1’)
. If the system is
cascaded with many switches, you should see ‘
Switch2
’, ‘
Switch3
’
, …
in the left window. To expand a level
of the switch hierarchy, click on the plus
(+)
symbol next to that level. The following figure shows the
expanded switch level.


