26
USE R GUI DE
|
BL UE WAVE
®
A X -5 5 0
Irradiation in Production or Admin Mode
To run the exposure cure cycle in Production or Admin mode, a timer and power setting is required.
Timer
The timer can be setup in Admin mode only. The range of the timer is 0 to 999.9 seconds.
If the timer is set to 0, the UV LED will be controlled by the pushbutton and/or the footswitch (if connected to LED ON/OFF,
COM input). When the pushbutton or the footswitch is pushed down, the UV will turn on; when both the pushbutton or
footswitch are released, the UV will turn off.
If the timer is set to non-zero value, the rotary pushbutton or the footswitch will start the UV LED, and the timer will count down.
When the timer counts down to zero, the UV LED will turn off. The timer is reset to the pre-set value, and the system is ready to
run another exposure cycle.
A timed cycle may be interrupted before the timer counts down to zero. You may re-assert the trigger by rotary pushbutton or
footswitch during the cycle and it will turn off the UV LED immediately and reset the timer to the pre-set value, and the system
is ready to run another exposure cycle.
Power
The UV power level can be set in the Admin Mode. The range is from 10% to 100% of the full power.
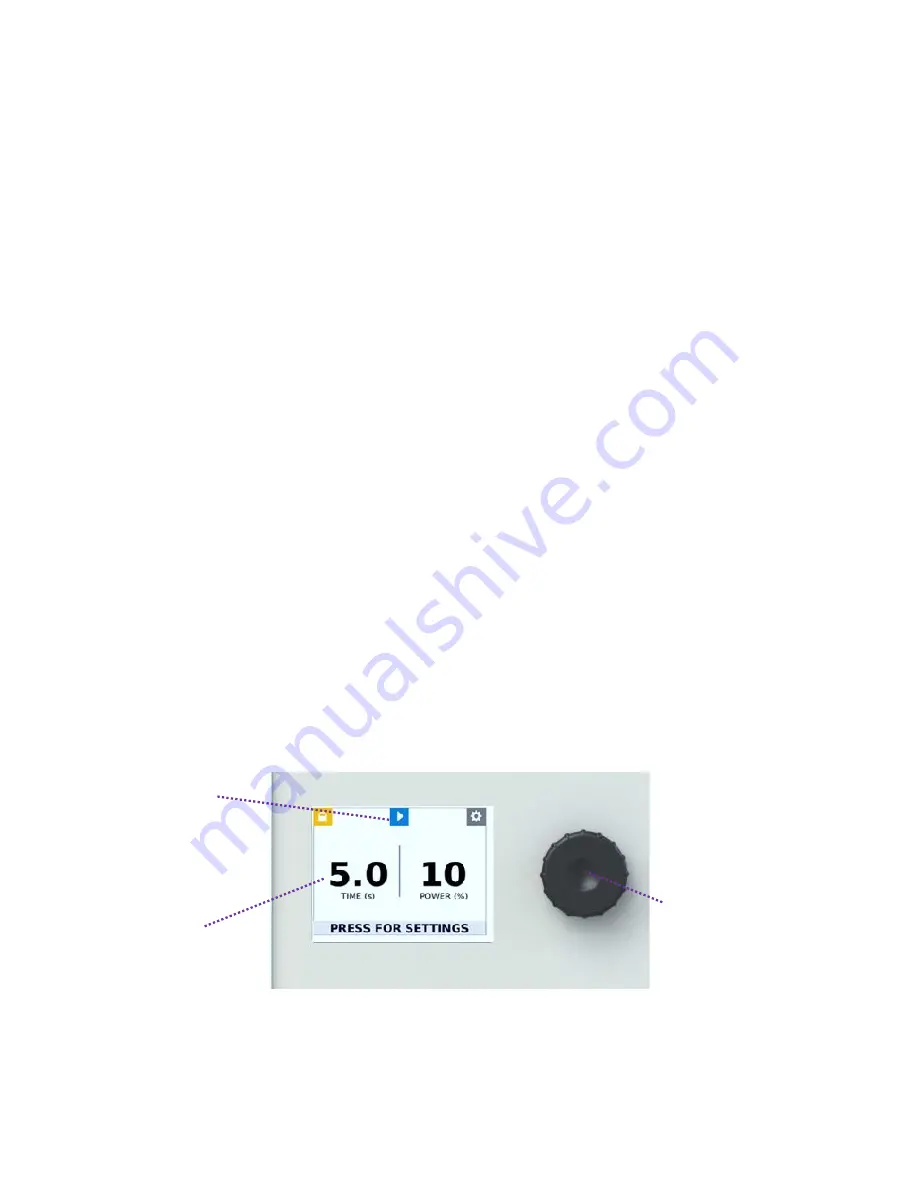
Figure 42 shows the operation interface in Timer Mode. To select RUN, turn the rotary pushbutton to move the highlight over
the RUN icon, then push the center of the rotary pushbutton. This will run and stop the LEDs
’
irradiation.
If the footswitch is connected, pressing the footswitch can highlight the RUN icon immediately, no matter which icon was
highlighted before.
If the timer is set to 0, pressing the footswitch will turn on the UV LED; releasing the footswitch will turn off the UV LED.
Figure 42.
Timer Mode Interface
Stop/Run Irradiation
LED Activation
Time and Power
Rotary Pushbutton


