5-4
Cine4K Hardware Guide
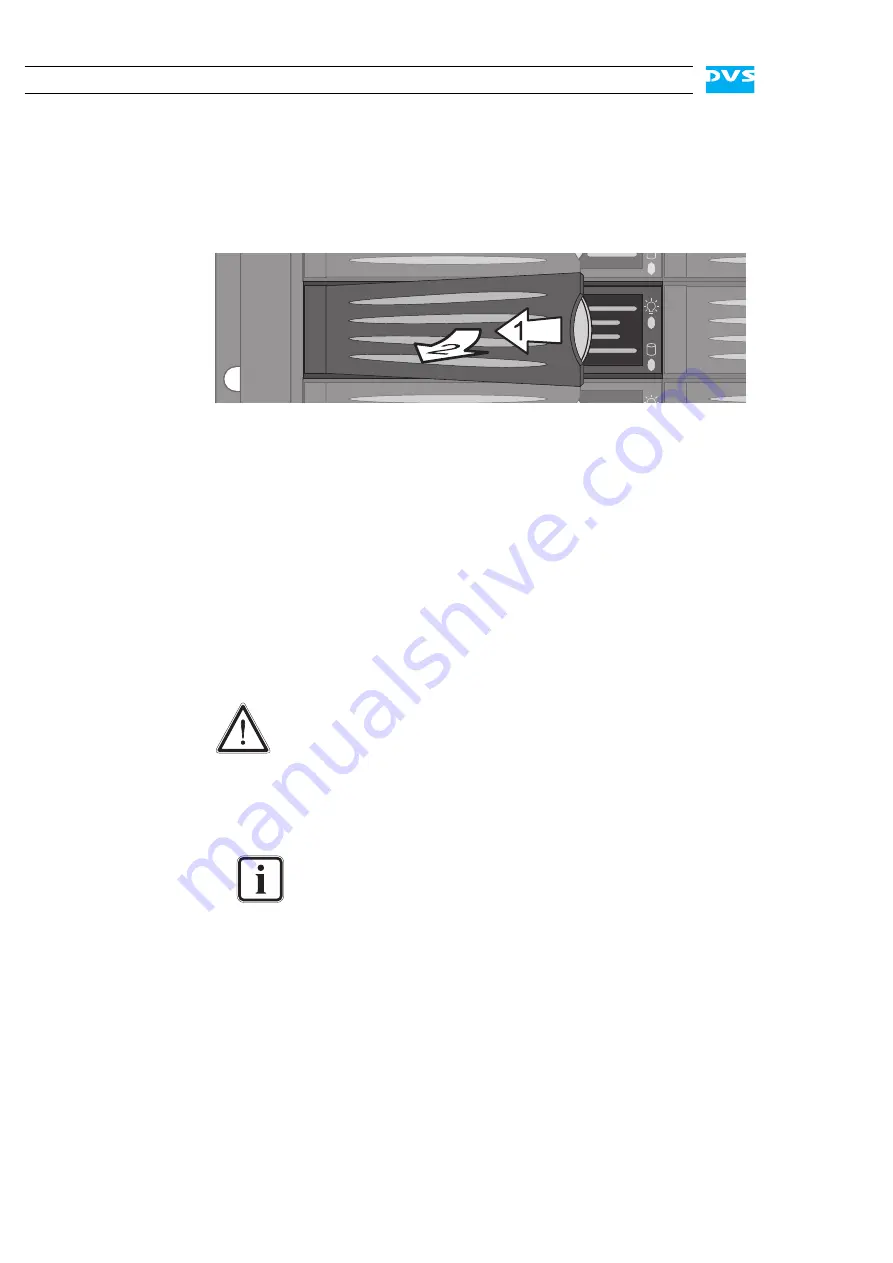
This will cause the lever to come out of the disk carrier so that it pro-
trudes a little from the rest of the front.
y
Take the lever and turn it more to the left (2) until it cannot be
moved further:
Figure 5-2: Pulling out the lever
This takes the hard disk installed in the disk carrier out of the system’s
interfaces inside.
y
Once the interface connection inside the system is severed, you can
pull the disk carrier out of the system.
Now the hard disk is removed from the system and it has to be replaced
in the next step.
Step 2: Replacing the Hard Disk
To replace the hard disk do the following:
y
Unscrew the screws that fix the hard disk to the disk carrier.
y
Exchange the broken disk with a new one and assemble it in the
disk carrier with the screws.
After that the hard disk is replaced and the disk carrier with the new disk
has to be reassembled in the system.
Step 3: Reassembling the Hard Disk
After replacing the hard disk, the disk carrier with the new disk has to
be reassembled in the system. For this perform the following:
y
Slide the disk carrier back into its shaft at the front of the disk array.
y
Push it completely back into the shaft by applying pressure to the
disk carrier directly (i.e. do not use the lever to push the carrier).
Significant environmental changes, for example, altitude,
voltage, temperature, shock, vibration, etc., can damage a
hard disk. Therefore, handle hard disks with great care.
It is best to use the same brand and type of hard disk again.
Otherwise a loss of performance might occur.
Содержание Cine4K
Страница 1: ...Cine4K Hardware Guide Version 1 0 High Resolution Player Cine4K Hardware Guide...
Страница 2: ......
Страница 6: ......
Страница 8: ......
Страница 18: ...1 8 Cine4K Hardware Guide...
Страница 36: ...3 2 Cine4K Hardware Guide...
Страница 67: ...A 15 2 1 3 4 5 Appendix I A Figure 3 Figure 4 Figure 5 a b c Box A Box B Box B Box B Box B Box B...
Страница 70: ...A 18 Cine4K Hardware Guide...
Страница 74: ...I 4 Cine4K Hardware Guide...


