
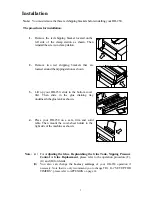
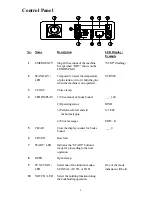


7
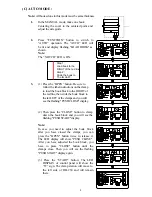
2.
After the first notching process, the clamp
station will remain to the left side of DB-250
and the LED display of the control panel will
display and flash "LOAD COVER".
3.
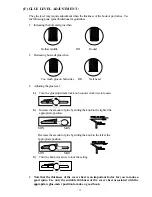
Center the cover sheet and adjust the side guide:
Measure the width of the book plus half the
thickness of the spine. Then set side guide
accordingly.
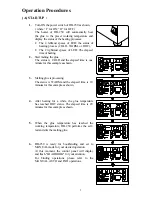
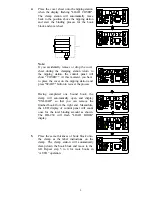
4.
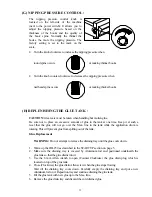
Place the cover on the nipping station, the
“START” LED will be lit and flashing "PUSH
START". Then press the “START” button to
move the clamp station over the nipping station
starting the binding process for the book block
and cover sheet.
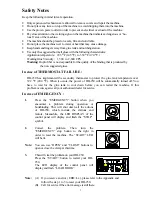
Note:
If you accidentally remove or drop the cover
sheet during the clamping station returning to
the nipping station, the control panel will show
“COVER?”. At this moment, you have to place
the cover on the nipping station and press
"START" button to resume the process.
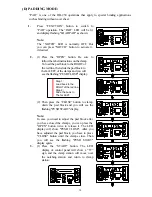
5.
When the display indicates “PUSH OPEN”,
press the “OPEN” button to open the clamps.
Then, remove the finished book from the right
end of the clamp station.
Having completed one bound book, the LED
display of control panel will count once for the
total binding amount as shown.
Then the control panel will display and flash
"LOAD BOOK" for binding next book.
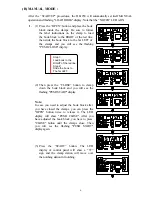
6.
Repeat step 1 to 5 for more books in
“MANUAL” operation.
Содержание DB-200
Страница 1: ...PERFECT BINDER DB 200 OPERATION MANUAL Duplo USA Corp June 2000 LED Rev 1 3...
Страница 2: ......