Domino
DFDALI
Enter the desired parameters and then click on Start to
send the configuration. The time required by this procedure
is about 15 seconds.
If the procedure has not been successfully executed, a
warning window will be shown; in this case the procedure
has to be repeated.
Status
This TAB, Figure 6, shows, if the ballasts have been ad-
dressed, the current brightness level of each ballast. These
values are in the range 1 to 100; when a ballast does not
answer to the polling, the reported value will be 255 (and
the table will show “-”).
If a lamp failure occurs, a X symbol on a pink background
will be shown.
In addition it is possible to force the brightness entering the
value in the cell related to the desired device and confirm-
ing by the Enter key.
A pair of buttons on the top side of the table allow to enable
and disable the polling on the DALI line. When the polling is
disabled, the label “Base address” will be shown over a red
background.
The buttons “Snapshot to File” and “Restore from File” al-
low respectively to save and recall a given configuration of
brightness levels; in this way it is possible to save on the
PC one or more sceneries (each scenery will be a file).
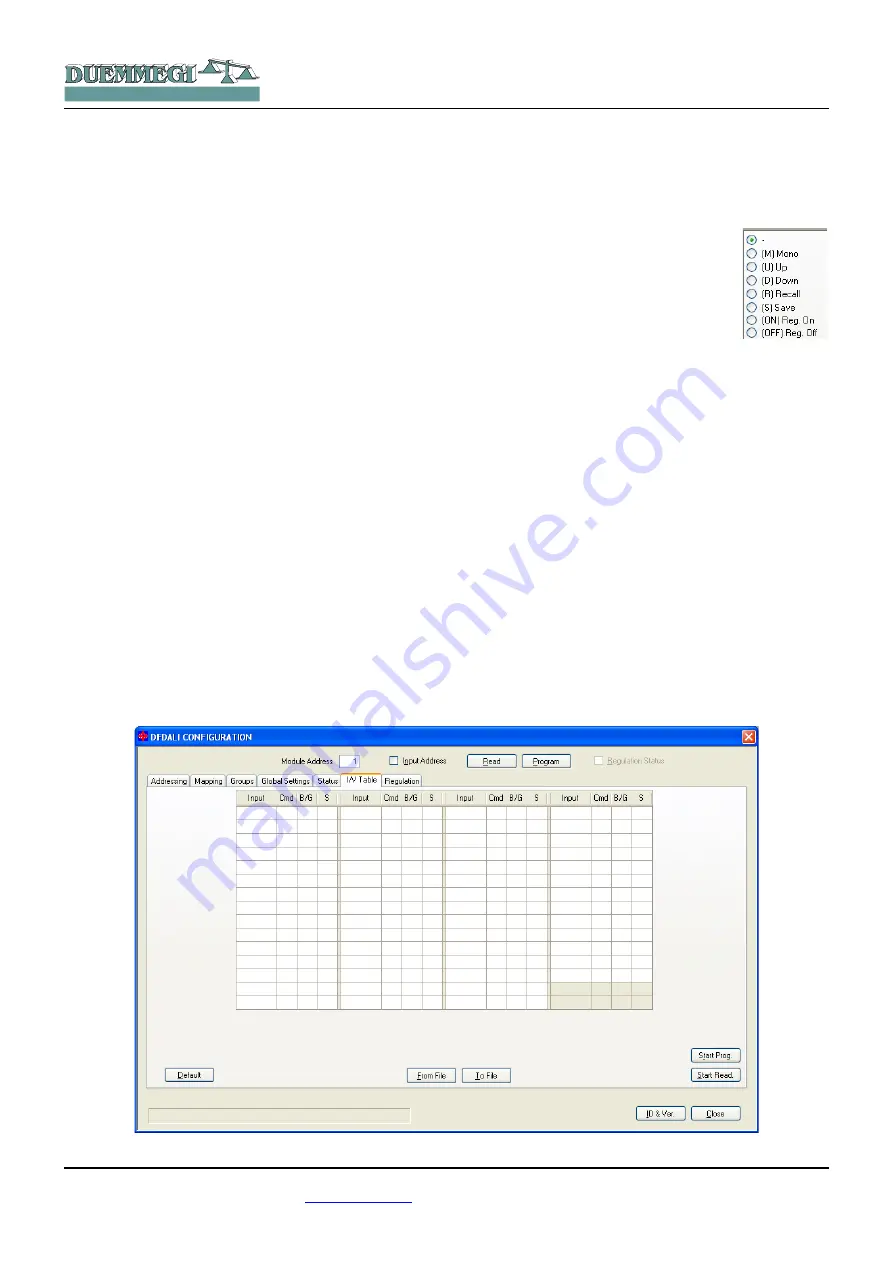
I/V Table
The TAB shown in Figure 7 allows to create up to 58 rela-
tionship between real or virtual inputs of the
Domino
bus
and the following commands: Up, Down, Single Command,
Save scenery and Recall scenery. For each command
simply enter the input point (without I or V, with ! if negation
is required), the function and the channel or the scenery.
These functions are managed directly by DFDALI module,
thus without the need of any controller and any program-
ming.
To compile the table, left click with the mouse on the first
available cell on the Input column, enter address and point
(without I or V, with ! if needed) and press
Enter. The command list will appear:
choose the desired function among Mono,
Up, Down, Recall, Save; the other two op-
tions are related to the automatic bright-
ness regulation, see next paragraph. The
cell of the column Cmd will then show the
symbol of the chosen function; to change
the function, simply click again on the cell.
Select the desired function; the cell of the column Cmd will
then show the symbol of the chosen function (U, D, M, R,
S); to change the function, simply click again on the cell.
The next cell on the column B/G (Broadcast or Group) will
be then automatically highlighted: enter the desired value,
that is 0 for Broadcast or the desired group number number
1 to 15 (
note: group 16 cannot be used in the I/V table
) and
press Enter. If instead the desired function is Save or Re-
call scenery, press Enter again: the related cell will be auto-
matically highlighted in the column S (Scenery): enter the
desire number, that is the number of the scenery (1 to 16)
to be saved or recalled, then press Enter.
The buttons Start Prog. and Start Read. in the I/V Table
TAB allow, respectively, to transfer the values currently
shown in the I/V Table to DFDALI module and read the cur-
rent configuration of DFDALI and report it into the table.
The buttons From File and To File allow, respectively, to
open a file, with .TIV extension, containing a previously
saved I/V table and to save the I/V table shown in the win-
dow to a file. The Default button clears the table.
DUEMMEGI
s.r.l. - Via Longhena, 4 - 20139 MILANO
Tel. 02/57300377 - Fax 02/55213686 –
www.duemmegi.it
Rel.: 2.1 May 2013
Page 9 of 11
HOME AND BUILDING AUTOMATION
Figure 7: I/V Table


