ACQ16 USB Installation Manual
Getting Started
•
11
Getting Started
Introduction
Before turning on the Acquisition Interface power, be sure the line voltage is within
the power supply specifications.
The power switch for the Acquisition Interface is located on the rear of the unit. A
green light located on the front panel illuminates when power is ON.
The only operating control for the Acquisition Interface is the span settings in the P3
Plus software. These settings allow the user to set the module to be electrically
compatible with the output signal from your signal conditioning modules. Consult
your operation manuals for your signal conditioning system to confirm the output
specifications.
Connect the Acquisition Interface to the USB port selected during installation using
a standard USB cable (P/N P02124-2). If you have not already installed the P3 Plus
software on your system, please refer to the
Ponemah Physiology Platform
reference manual for installation instructions.
Connect your input signals.
Once the inputs are connected, power up the Acquisition Interface, and start the P3
Plus application. You are now ready to begin recording data.
Starting the P3 Plus Program
After the software has been installed, start the system by double clicking on the
P3
Plus
icon on the desktop.
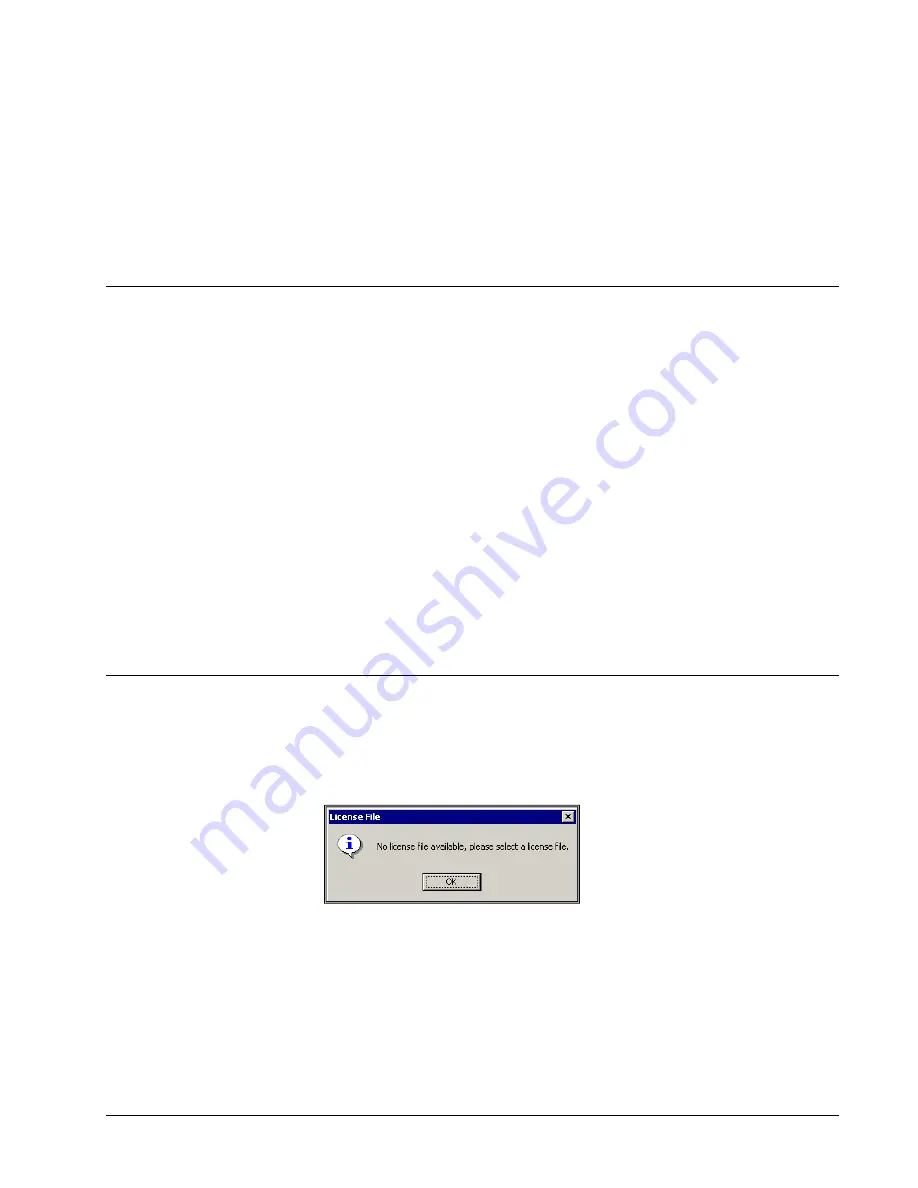
If the software has been installed correctly, the system will display a dialog that the
application needs a license file.
License File message
After selecting the
OK
button, the user will be prompted to enter a license file.
Insert the supplied license floppy disk, and select the license file from the floppy.
After the license has been loaded, the P3 Plus user name dialog will appear as
displayed below.


