


12
notifications. HINT: You can fill boxes more quickly by right clicking and pressing Fill. In the popup,
you can assign a pager carrier to specific days and hours more easily. Also, you may opt to only
have one technician per schedule.
4. If applicable, you can configure exceptions to these rules (such as on holidays) in the Weekly
Exceptions tab.
5. Save changes when finished.
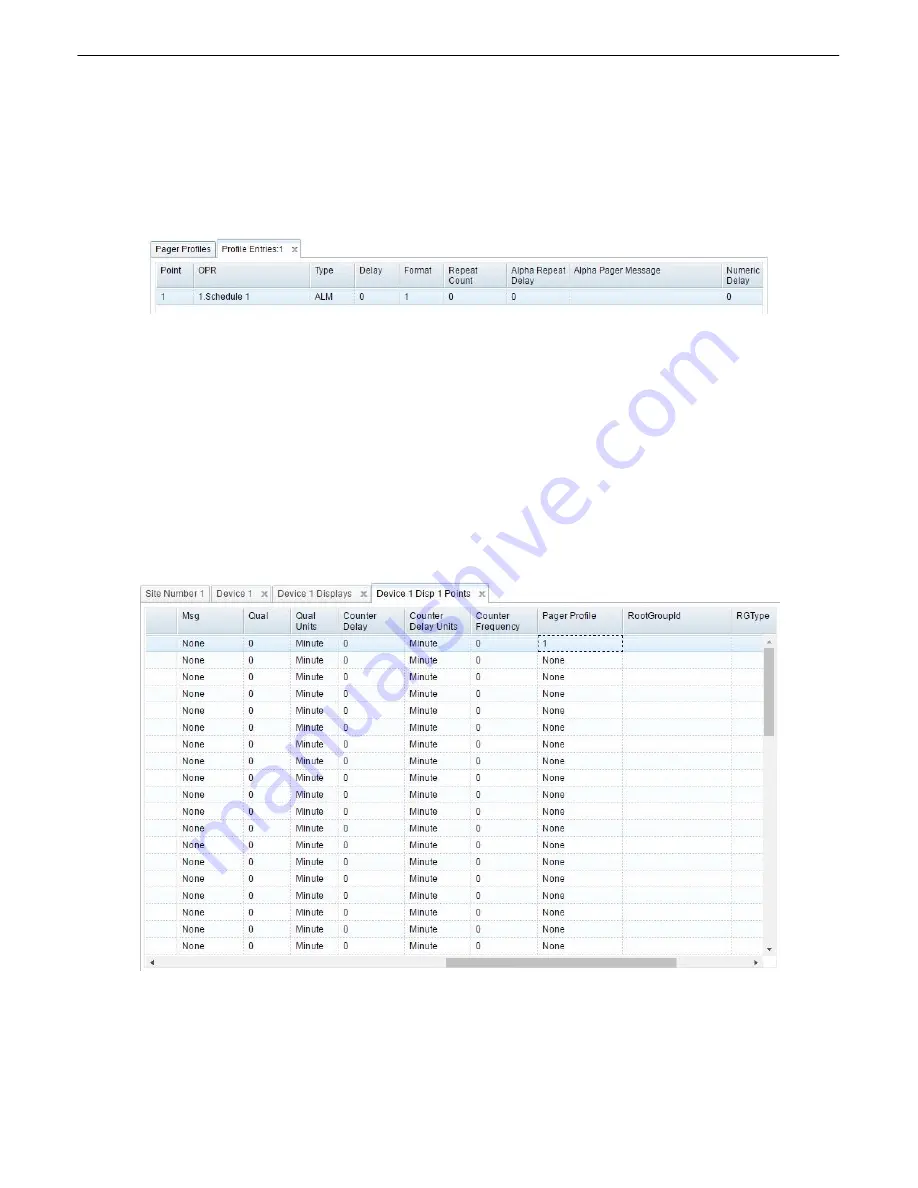
Step 6: How to Setup Pager Profile
6.6
1. Go to Notifications > Profiles.
2. Add a profile and give it a description, then Save.
3. Right-click the profile you created and select Entries.
4. Under OPR, select the weekly schedule you just set up.
5. Under type, select the condition that must be fulfilled to send a notification, i.e. ALM for alarm, CLR
for clear, or BOTH.
6. Under delay, enter the number of minutes you want the condition to be met before sending the
notification.
7. Leave Format set to 1 because there is only 1 configurable voice message format.
8. Ignore the other fields, as they do not apply to voice notifications.
Step 7: How to Assign Notification to Alarm
6.7
1. From the main menu, select LAN-based remotes, then NetGuardian/NetDog_G2.
2. Select a Site from the list on the left, or add a new site/remote.
3. Click Device Definition on the bottom, then Point Definitions, then double-click the display containing
the alarm point you want to send the notification.
4. Find the alarm point which you want to send the voice notification and scroll to the right until you see
the Pager Profile column. Enter the number of a pager profile you have set up, such as 1.
Содержание Site Dialer G3
Страница 3: ......
Страница 13: ...8 5 Select Save...
Страница 24: ...19...
Страница 46: ...41...
Страница 47: ...42...


