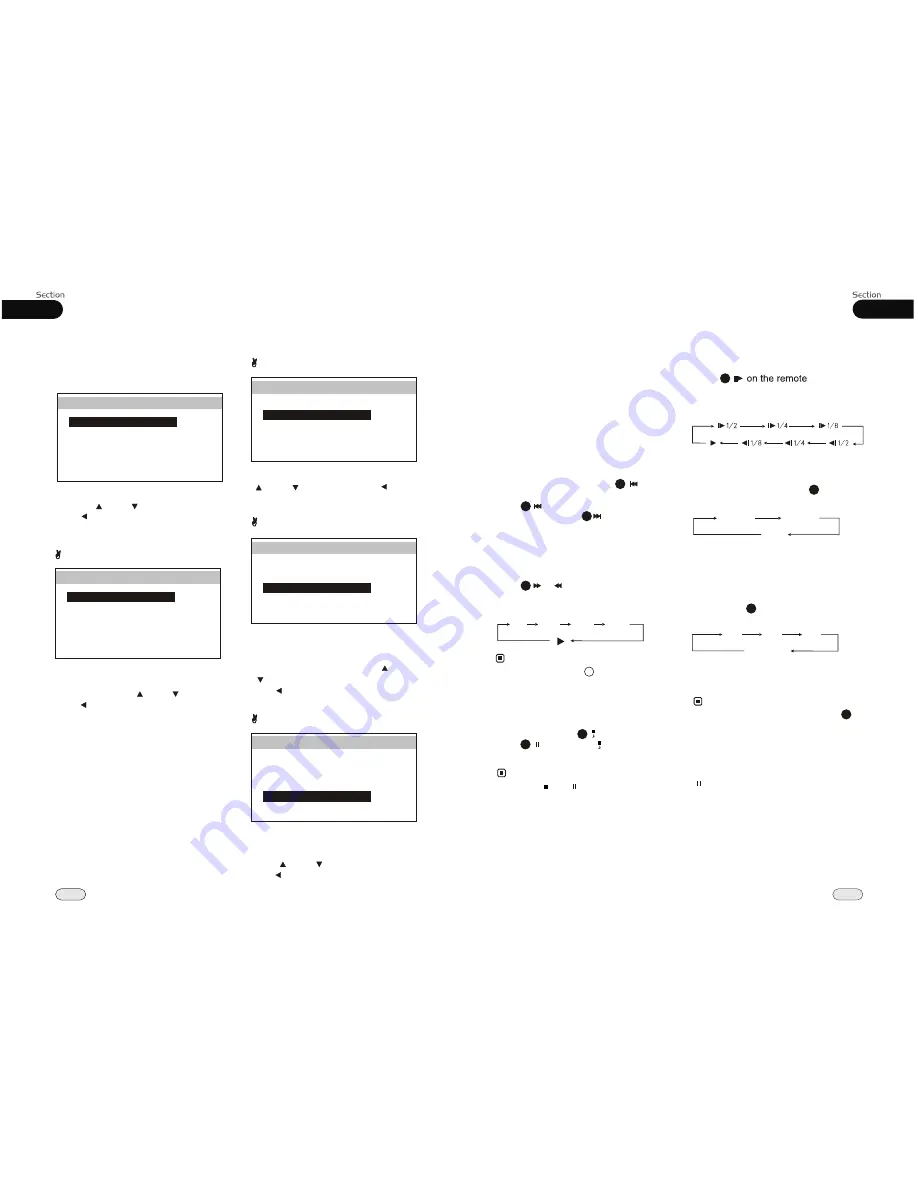
background image

26

4.PREFERENCE SETUP  

Select PREFERENCE, then press ENTER.

This menu can set up the above items by 
pressing [    ] and [    ] and ENTER.
Press      or BACK, then press ENTER to 
go back to the previous menu.

Clock System

Setting CLOCK SYSTEM in this menu,
according to the desired setting 12 HOUR 
or 24 HOUR.Press [    ] and [    ] and ENTER.
Press      to go back to the previous menu.

Setting the time

KEY BEEP

Setting CLOCK ADJ in this menu,Press 
[    ] and [    ] and ENTER.Press       to go
back to the previous menu.

Key beep determines whether the unit will
beep when a button is pressed.
Setting KEY BEEP ON or OFF in this menu,
the default setting is ON. Press [    ] and 
[    ] and ENTER.
Press     to go back to the previous menu.

Main Menu

04

22

REVERSE POLA

Setting reverse pola in this menu, if the unit
cannot display the reversed situation when 
you back your car, please set this item.
Press [    ] and [    ] and ENTER.
Press     to go back to the previous menu.

CLOCK SYS

CLOCK AD J

PREFERENCE 

    KEY BEEP

REV POLA
BACK

12 HOUR

00:00:00

ON

BATTERY

CLOCK SYS

CLOCK AD J

PREFERENCE 

    KEY BEEP

REV POLA
BACK

12 HOUR

00:00:00

ON

BATTERY

CLOCK SYS

CLOCK AD J

PREFERENCE 

    KEY BEEP

REV POLA
BACK

12 HOUR

00:00:00

ON

BATTERY

CLOCK SYS

CLOCK AD J

PREFERENCE 

    KEY BEEP

REV POLA
BACK

12 HOUR

00:00:00

ON

BATTERY

CLOCK SYS

CLOCK AD J

PREFERENCE 

    KEY BEEP

REV POLA

BACK

12 HOUR

00:00:00

ON

BATTERY

05

23

DVD

Basic DVD Operation 

Insert a DVD disc. If the unit is off, it will 
automatically turn on. If the unit was already
on, then press the MODE on the remote 
control, or the MOD button on the unit to
switch to DVD mode .

During DVD playback, press            to 
return to the beginning of the current track,
press           again within 3 seconds to play
previous track. Press          to play next track.
Those buttons on the main unit do same.

Stopping Playback

Playing the Previous or 

Next Track

9

19

Note:

Press           or      to play the track fast forward 
or rewind. Each press  changes the rate as 
follows:

Playing Track FF or REW

20

Note:

2X

4X

8X

16X

In DVD mode, press           to pause playing, 
press           to play, press         button twice to 
stop playing completely.

18

System Button

During DVD playback, press      

P/N 

button 

to select standard TV system as following:

12

This setting can also be configured through
the DVD MENU SETUP.

AUTO

NTSC

PAL

9

*    Pressing and holding       button on the main 
      unit also performs the same function.

12

9

Pausing Playback

During DVD mode, press the pause button
(     ) on the unit or the remote to pause playback,
and then again to resume playback.

Press ZOOM on the remote to increase the 
picture size. Zoom rates are as follows:

Increase Picture Size

10

Note:

2X

3X

4X

No Change

*    Remove the screen-image by pressing      
      button.

22

Press and hold it to display NORMAL(4:3),
WIDE(16:9).

Slow motion playback

Press

to play in slow

motion, either forward or backward.
Successive presses change the play rate
as follows:

11

*    Pressing       and      button on the main unit
      also perform the same function.

Содержание DP318AP

Страница 1: ...CAR DVD VCD CD MP3 MPEG 4 PLAYER WITH USB PORT English Version DP318AP ...

Страница 2: ...t Mode 18 Mode Selector 18 Display Mode 18 Infrared Sensor 18 A V In 18 Release the front panel 18 Main Menu Main Menu Setup 19 Audio Adjust 19 Video Adjust 20 Source Setup 21 Others 22 DVD Basic DVD Operation 23 Playing the Previous or Next Track 23 Playing the Track FF or REW 23 Stopping Playback 23 Slow Motion Playback 23 System Button 23 Increasing Picture Size 23 Pausing Playback 23 Number Bu...

Страница 3: ...CD Menus 34 35 35 Ejecting an SD Card 35 Capturing Pictures for Wallpaper Disconnecting USB devices Band Selector 38 Manual Automatic Tuning 38 Selecting the Station 38 DX LOC Selector 38 MO ST Selector 38 On screen Display 38 Scanning Storing Stations Automatically 39 Number Buttons 39 Selecting Station Directly 39 Radio Menu 40 7 IPOD Playing the IPOD 36 Playing the Previous or Next Track 36 Fas...

Страница 4: ...dealer Never attempt to disassemble your unit by yourself No power Make sure the fuse is not blown replace with the proper value if necessary The display malfunctions or the buttons have no effect Unable to receive stations Poor radio reception CDs cannot be loaded Sound skips No images Images skip Press the RESET button Make sure the antenna is inserted and properly connected Make sure that the a...

Страница 5: ...g pictures MPEG 4 USB Sound and moving pictures Version 2 0 or older Tuner 40 07 Radio Menu Press the SETUP button to display the radio setup menu Press to select your desired item then press ENTER on the remote control As a shortcut you can also rotate VOL and briefly press it 22 21 RADIO MENU AREA STEREO LOCAL PICTURE EXIT U S A ON OFF PRESET AREA Press or to select AREA then press ENTER to disp...

Страница 6: ...per handling of the battery may lead to malfunction or damage of the battery It cannot be charged disassembled or thrown into a fire When the range of the remote control becomes short or the remote stops functioning please replace the battery The remote uses the button type battery CR2025 Ensure the correct polarity when replacing 07 39 Tuner Scanning Storing Stations Automatically In radio mode b...

Страница 7: ... mode indicated on the display as MO or Stereo to switch between mode indicated on the display as ST DX LOC Selector In radio mode press LOC button on the remote control to switch between strong or weak station reception MO ST Selector 3 6 22 Pressing button on the main unit also performs the same function Selecting the Station In radio mode press to select the upward station press to select the d...

Страница 8: ...button Press this button to turn on the unit Press and hold the button to turn the unit off When the unit is on pressing but not holding the button switches modes MOD button 1 1 Press this button to release the front panel 2 button 9 Press this button to stop playing press and hold it to switch between day mode or night mode note the crescent moon shape on the button button 19 SD card socket 07 37...

Страница 9: ...ge 6 07 36 IPOD Playing the IPOD During IPOD playback connect the IPOD wire 5V to the IPOD Wire Input on the backside of the main unit The unit will now play your IPOD on the main unit allowing you to control the IPOD through the DP318AP 1 2 3 4 5 7 6 8 18 19 20 21 22 23 24 25 26 27 17 16 9 10 11 12 13 14 15 Press or ontheremotecontroltoFast ForwardorRewind Pressitagainorpress ENTERtoresume normal...

Страница 10: ...stant or local station in radio mode back to last level in IPOD mode subtitle display button ZOOM briefly press it to zoom in or out hold it to adjust video display screen button press and 12 P N system adjustment capture button 14 Mute button Stop play To display mode switch button 06 35 VCD CD MP3 MPEG 4 USB SD Capturing Pictures for Wallpaper While in MP3 USB SD mode press the P N button on the...

Страница 11: ...ct tracks 3 Press button to move the cursor to START then press ENTER to start playing your sequence To stop playing your program move the cursor to EXIT and press ENTER You can always cancel the program by pressing PROG or the stop button Using VCD Menus Some VCDs are created with interactive menus that allow you to play tracks in the order of your choice rather than simply playing the whole disc...

Страница 12: ...lows Changing Picture Sizes 10 Activating the On Screen Display During VCD CD playback pressing OSD on the remote displays 8 Single elapsed time Total elapsed time Total remain time Single remain time OFF Ejecting a Disc First press then press button on the main unit to eject a disc 2 13 Selecting Files During MP3 MPEG 4 USB SD stop mode press blue arrow keys on the remote to browse files Press EN...

Страница 13: ...ck Playing the Previous or Next Track Press or toplaythetrackfastforward orrewind Eachpresschangesthespeed as follows Fast forwarding and Rewinding 20 2X Stoping Playback WhileinMP3 MPEG 4 USB SD mode press thestopbuttontostopplaying Toresume playingatthebeginningofthestoppedtrack pressthestopbuttonagain DuringVCD CDplayback firstpress toreturntothebeginningofthecurrenttrack press againwithin3seco...

Страница 14: ...ch side And then fasten them to the car screw become aligned tighten the 4 Outer Trim Frame Hook Mounting Sleeve are not used and for this installation method 5 1 9 2 NOTE Bracket supplied to your car Bracket supplied to your car Hook Hook Dashboard or Console Dashboard or Console 5 1 1 2 1 05 DVD Preferencespage Default Example showing howto load factory defaults Press or thenpressENTER Press Pre...

Страница 15: ...nguage TVType Audio Subtitle DiscMenu Parental Password Default Auto Eng Eng Eng PreferencePage TVType Audio Subtitle DiscMenu Parental Password Default Auto Eng Eng Eng Parental Example showing howto set parental control Press or thenpressENTER Press PreferencePage GoToPreferencePage SetParentalControl TVType Audio Subtitle DiscMenu Parental Password Default Auto Eng Eng Eng PreferencePage TVType...

Страница 16: ...andard TVType Audio Subtitle DiscMenu Parental Password Default Auto Eng Eng Eng PreferencePage TVType Audio Subtitle DiscMenu Parental Password Default Auto Eng Eng Eng PAL Auto Audio Example showing how to set audio language Press or thenpressENTER Press PreferencePage GoToPreferencePage PreferredAudioLanguage TVType Audio Subtitle DiscMenu Parental Password Default Auto Eng Eng Eng PreferencePa...

Страница 17: ... the VOL buttons If you don t adjust VOL buttons within 3 seconds after selecting the desired mode the unit will automatically return to the current mode being displayed The same can be done by a pressing SEL and rotating VOL button on the main unit or b setting AUDIO SETUPin MAIN MENU VOL TRE BAS FAD BAL EQ Setting While listening to popular music classic music or rock music you can select the pr...

Страница 18: ... the disc to eject Press CLEAR to clear error messages CLEAR 23 ò µ Ê Õ Ï Å Å ý Ö Ä Ï Turning Loudness On or Off The loudness function increases the volume of low frequency sounds To use the loudness function press LOUD on the remote control or LOU on the main unit When the loudness function is activated the display reads LOUD ON Press either of the same buttons to turn loudness off which will dis...

Страница 19: ...e mode Press Press or thenpressENTER Captions OSDLang OSDLang AngleMark TVDisplay GeneralSetupPage Press or thenpressENTER Press Example showing howto set TV Display mode TVDisplay GeneralSetupPage GeneralSetupPage TVDisplay Example showing how to set the OSD language Press Press or thenpressENTER ScreenSaver Captions TVDisplay AngleMark OSDLang On Eng Off On SetOSDLanguage English AngleMark OSDLa...

Страница 20: ...enu or title menu on the display You can press or the number buttons on the remote control to select a different chapter or title 22 Changing the DVD Audio Language Although not all many DVDs include content in multiple languages To switch among available languages press AUDIO on the remote control Audio changes are in the following sequence AUDIO 1 AUDIO 2 AUDIO n The number in the mark on a DVD ...

Страница 21: ...urce VIDEO SETUP BRIGHT CONTRAST COLOR HUE BACK DEFAULT WIDE 30 30 30 30 WIDE STANDARD 05 24 DVD On Screen Display During DVD playback pressing the on screen display OSD button on the remote control displays ANGLE 1 ANGLE 2 ANGLE 3 Changing the Viewing Angle Some but not all DVDs feature scenes shot from multiple angles To switch between available scenes press ANGLE on the remote control Selection...

Страница 22: ...ON BATTERY 05 23 DVD Basic DVD Operation Insert a DVD disc If the unit is off it will automatically turn on If the unit was already on then press the MODE on the remote control or the MOD button on the unit to switch to DVD mode DuringDVDplayback press to returntothebeginningofthecurrenttrack press againwithin3secondstoplay previoustrack Press toplaynexttrack Thosebuttonsonthemainunitdosame Stoppi...

Отзывы: