IXH610 Users Guide
– Dolphin Interconnect Solutions
Page 15
Installation
Static electricity from your clothes or work environment can damage your PCI Express adapter card or your PC.
Always wear a grounded antistatic wrist strap while opening the PC and when the IXH610 is removed from the
anti- static bag.
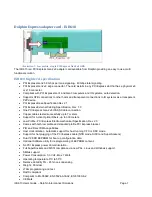
Changing the PCI Express bracket
The IXH610 package includes a standard and low profile PCI Express bracket. By default, the standard height
bracket is installed on the board, If you need to replace the mounted bracket with a low profile bracket, carefully
unscrew the two mounting screws to remove the full height bracket. Save the two mounting screws and replace
the bracket with the low profile bracket. Use the two mounting screws to install the low profile bracket. The
screws should be carefully tightened. Be careful not to over-tighten.
Installing the adapter card
Before installing the adapter card, make sure you are properly grounded to avoid static discharges that may
destroy your computer or the adapter card. Ensure you are properly grounded before opening your computer or
the anti-static bag containing the IXH610.Please follow your computers manual on how to install a PCI Express
card.
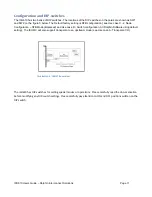
The IXH610 Adapter card can be installed into any PCI Express x8 or x16 slot. The IXH610 supports both PCI
Express Gen2 and Gen1 signaling.
NOTE: A Gen2 slot is recommended as it typically double the performance
compared to a Gen1 slot.
The IXH610 is a x8 card so no additional performance can be obtained using a x16
slot. The IXH610 can be installed in a PCI Express Gen3 slot but will operate at Gen2 speed.
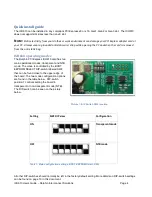
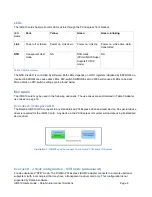
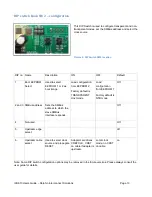
The IXH610 supports both hosts using spread spectrum and constant frequency clocking. The card implements
clock isolation and will provide a high quality CREFCLK signal on the cable. Refer to the DIP switch settings for
configuration information.
Installing and removing the cable
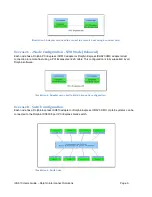
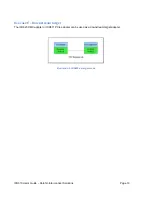
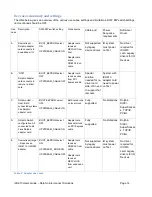
The IXH610 supports PCI Express x8 Gen2 cables. Installing and removing cables should be done with both
upstream and downstream device powered off. The Dolphin SuperSockets, TCP/IP drivers and SISCI fully
supports hot plugging (
Note: installation and removal) of cables while the system is running)
. Standard PCI
Express cables are not designed for a high number of installation and removals; the gold applied to the
connector head may wear out and cause loss of communication. Please contact your Dolphin if you intend to
continuously connect and disconnect the PCI Express cables.
Connecting the cable
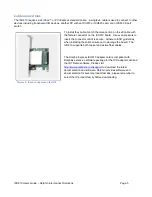
Please carefully install the PCI Express cable connector into the connector housing on the IXH610 adapter card
or IXS600 Switch box. Computer cables should always use stain relief to protect the connected equipment from
excessive force via the cable. This is especially important for cables between racks.
Disconnecting the cable
Please carefully pull back the thumb tab to release the cable from the connector house and pull back the cable.
EEPROM Programming
Dolphin may from time to time publish updated firmware. Current firmware is normally included in the Dolphin
software distribution and published on
www.dolphinics.com/support
. Please consult the software documentation
for information on firmware upgrades or Dolphin support if assistance is required.


