User manual in Original
Doc. ref: 500A_MB_am_en_210602
DISPERATOR AB
Tel: 08-724 0160
E-mail: [email protected]
Mälarvägen 9, 141 71 Segeltorp
We page: www.disperator.se
40 / 41
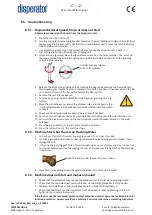
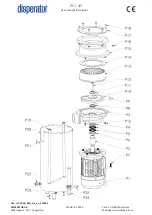
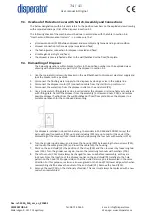
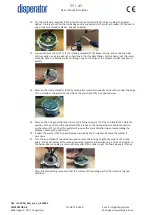
33. Pull out the cable as far as it goes through the cable gland. Then feed back about 5 cm to get a
good relief of the cable. Lock the cable by tightening the nut of the cable gland (P22). Turn the
disposer over again.
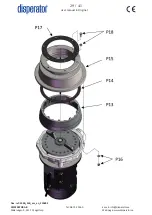
34. Check with a blade measure that the stationary seal (P14) is properly fixed between stationary
shredder (P13) and hood (P15).
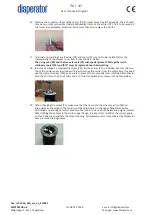
35. The disposer is now ready to be remounted under the assembly using the same trolley with
lifting plate (or the same steady jack with lifting plate) as previously used when the disposer was
dismantled. Be aware of the motor power supply cable so it does not get pinched and damaged.
36. Make sure that the seal for the hood (P17) is placed correctly before you move the disposer into
position under the assembly for mounting with 6 pcs. of screws and nuts (P18).
37. Refit any disposer fixation to the wall/bulkhead or floor/floor plate.
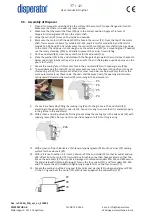
38. Reconnect and seal the water trap with sewer pipe to the outlet on the disposer end shield (P3).
39. Reconnect the disposer motor
(P1) connection cable to the start & stop control unit
according to
the electrical connection diagram supplied with the machine from Disperator.
40. Reconnect electrical supply using the main electrical safety breaker on the wall/bulkhead.
41. Reconnect the flushing water supply to the disposer by open the valve in the supply line.
42. Start up and test the disposer according to applicable start-up procedures described in section
6.5 of this user manual.
Содержание EXCELLENT 500A-MB Series
Страница 2: ......


