KX-2 Robot
–
User’s Manual
Peak Robotics, Inc.
4747 Centennial Blvd; Colorado Springs, CO 80919
Ph 719.598.3555,
Printed: 3/3/2021
Page
34
10.2.5 Mounting the Robot to the Table:
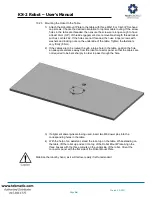
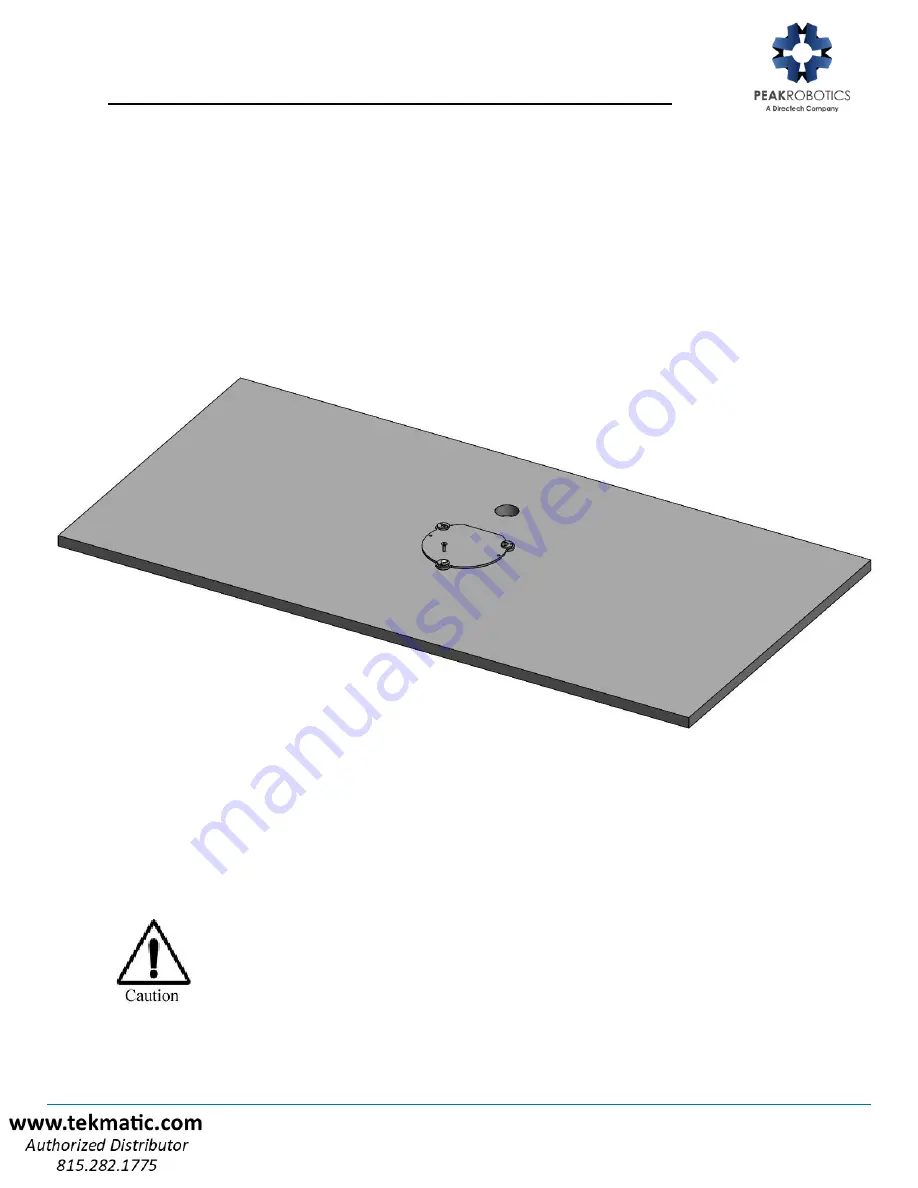
1) Attach the Robot Mount Plate to the table with three M6x18 or
1/4x3/4” flat-head
cap screws. Choose the desired orientation for optimal cable routing. If the screw
holes in the table are threaded, then ensure the screws are long enough to have
at least 9mm (3/8”) of thread engagement. Use removable-strength thread locker
such as Loctite 242. If the holes are not threaded, then use longer screws with
washers and locking nuts on the underside of the table. Tighten the fasteners
very firmly (8 Nm).
2) If the cables are to be routed through a large hole in the table, position the hole
an adequate distance away from the robot connector panel so that the cables are
not required to be bent sharply in order to pass through the hole.
3) If alignment dowel pins are being used, insert two M6 dowel pins into the
corresponding holes in the table.
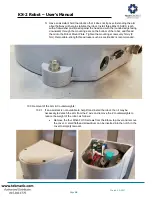
4) With the help of an assistant, stand the robot up on the table. While standing on
the table, lift the robot up and set it on top of the Robot Mount Plate. Align the
three bosses with the three cutouts on the underside of the robot. Orient the
connector panel with the flat side of the Robot Mount Plate.
Stabilize the robot by hand, as it will fall over easily if left unattended!
Содержание PEAKROBOTICS KX-2
Страница 2: ......


