


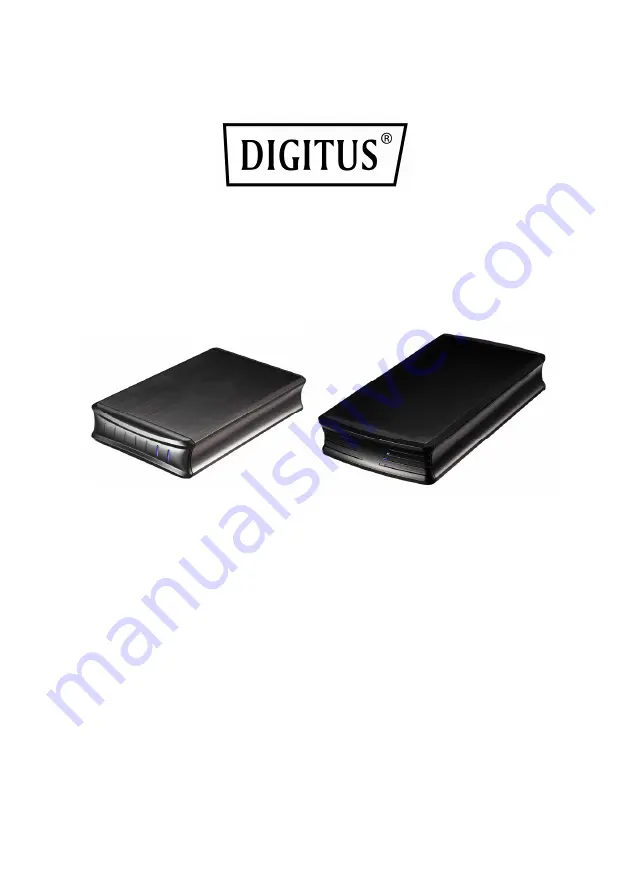
2.5'' / 3.5'' USB 3.0
SSD/HDD RAID SATA enclosure
User Manual
DA-71116 / DA-71117
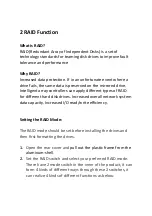
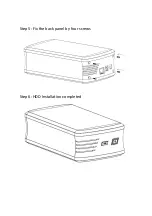
1 Introduction
1.1 Features
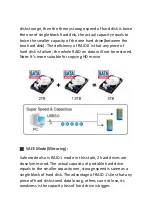
-Supports Big (JBOD), RAID0, RAID1, Normal mode
-Enhanced data protection and high-performances storage
-Automatic disk rebuild
-Support with USB3.0 high speed reach up to 5.0Gbps
-Supports plug and play
-Support mode select by RAID switch


