Include or exclude mode
1. Make sure your Z-Wave controller is in the right operation mode (include or exclude).
2. When the Z-Wave Motion Sensor is mounted, remove it from the back cover as explained
in step one of the Mounting instructions.
3. Press and hold the tamper for 4 seconds (indication mode: Ready for learn mode). Now
release the tamper switch to start the inclusion or exclusion process (indication mode: Learn
in progress).
Indication mode
The indicator light gives various statuses of the device as follows:
1. Ready for learn mode:
indicator light blinks every second
2. Learn in progress (add):
indicator light 2 times every second.
3. Learn in progress (remove):
indicator light 3 times every second.
4. Learn mode success:
indicator light is on for one second.
5. Learn mode failed:
indicator light blinks 8 times rapidly.
6. Tamper pressed/released:
indicator light blinks 3 times rapidly.
7. Mounting successful:
indicator light is on for 1 second.
Integration with Vera Home Controller
MiCasaVerde Vera2/3/Lite (refered later as
Vera
- some minor di
ff
erences in User Interface
UI4 and UI5 explained) is a fully featured, easy to install, con
fi
gure and use Home Automa-
tion controller with Z-Wave build-in interface.
More information about Vera is available at:
http://wiki.micasaverde.com
or
http://forum.micasaverde.com
or
http://www.zwave.com.au
Australian version of Vera Home Controller (921.42MHz build-in Z-Wave interface) is avail-
able at
http://www.zwave.com.au
Prerequisites
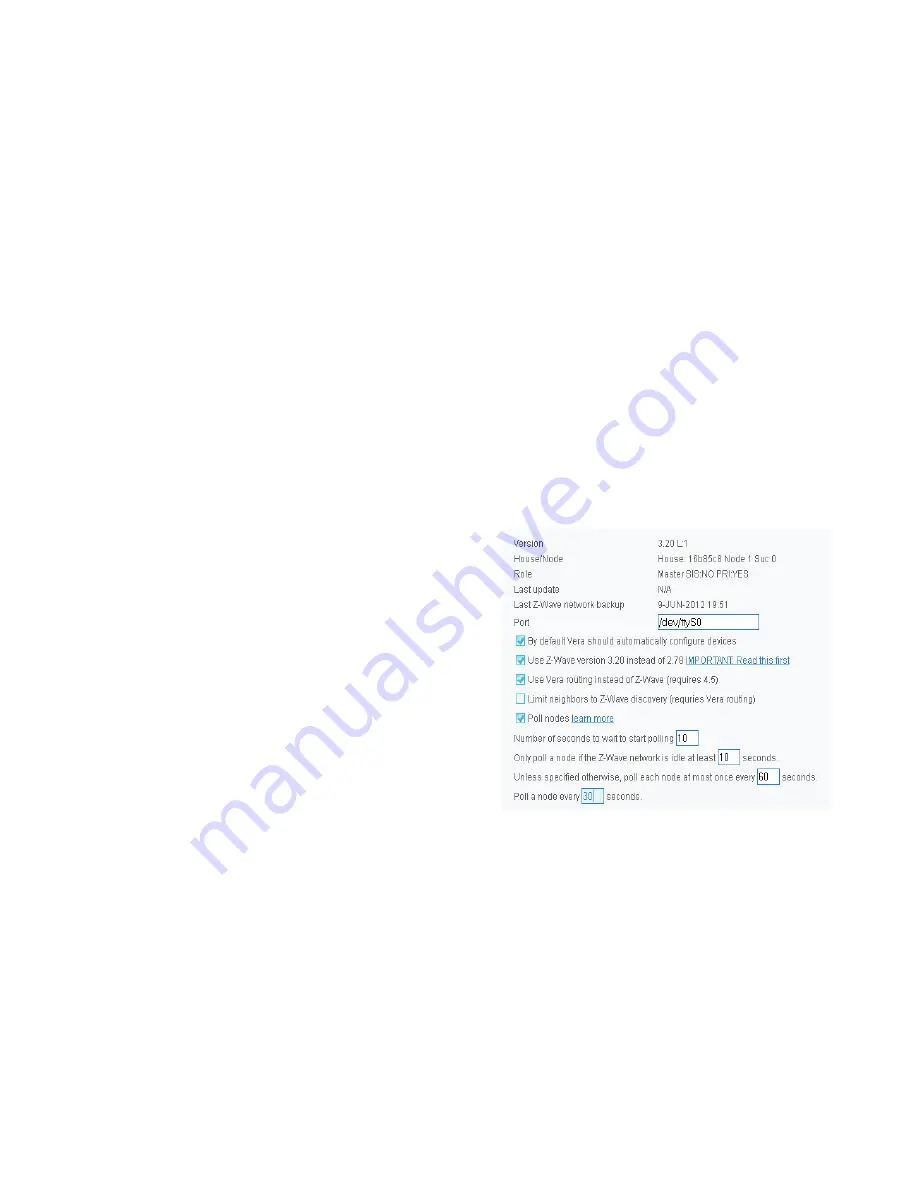
Vera 2/3/Lite needs to work with Z-Wave interface in version 3.20. Please check the follow-
ing options in your Vera2 Dashboard under “Z-Wave Device / Options” or Vera3 under “Z-
Wave Settings”. Polling setting are just an example here and can be set up as you need.
If your settings are di
ff
erent, then change them as per above screenshot or follow the in-
structions on
http://wiki.micasaverde.com
to setup Z-Wave interface to version 3.20.
4


