


50
Using the Main Menu
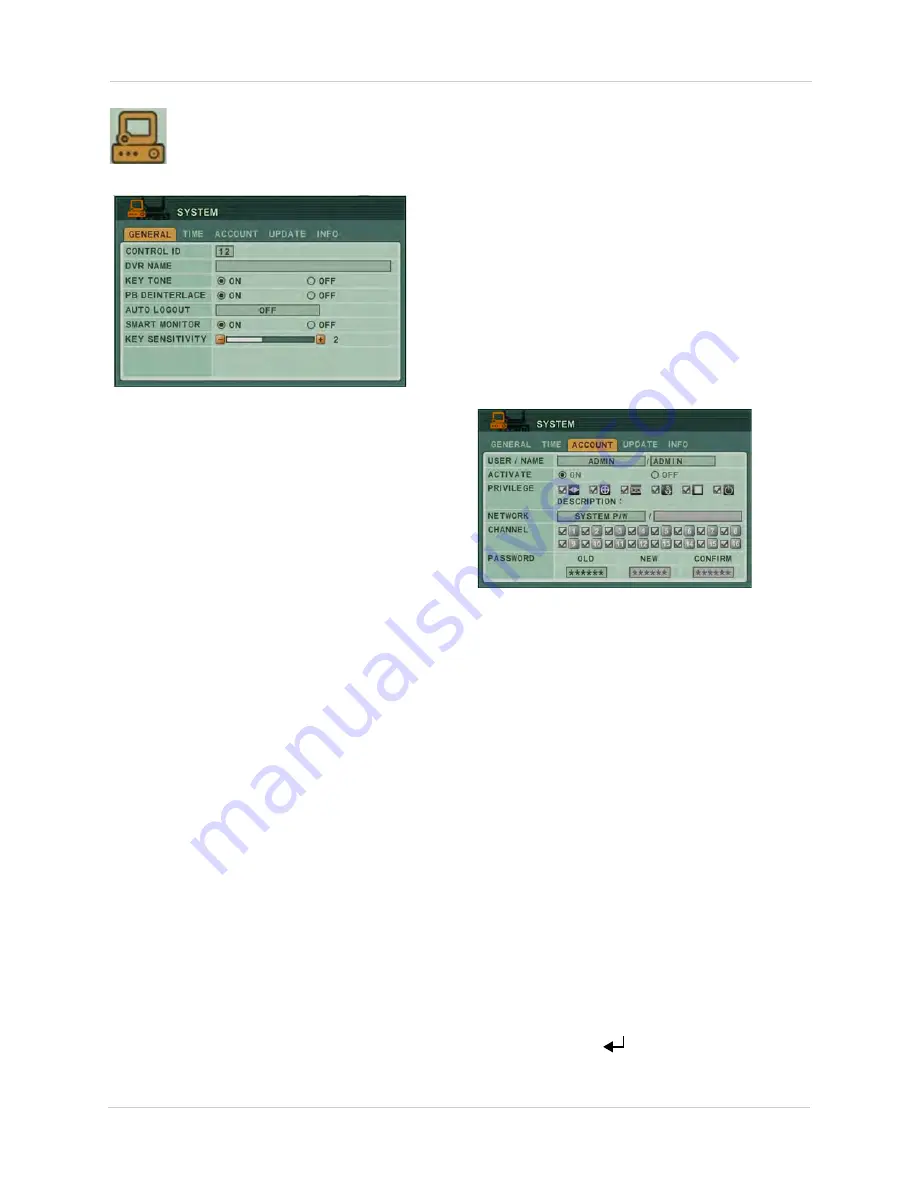
SYSTEM
Configure System settings.
GENERAL
To configure general system settings:
1. Configure the following:
•
CONTROL ID:
This setting allows you to pair
a DVR with a remote. If you have several
DVRs in the same room, this allows you to
control each one with a specific remote, so
that the remote will only control that
particular DVR.
To pair a remote to the DVR, enter a number
from 00~99. Click
ENTER
to save your
settings.
On your remote control, press and hold the
DVR ID button while pressing the number
of the CONTROL ID. The Control ID number
and the number you enter into your remote
control must be the same.
•
DVR NAME:
Enter the desired DVR name.
This name will appear when you connect to
the DVR remotely.
•
KEY TONE:
Select
ON/OFF
to enable or
disable the ’beep’ when you press the
buttons on the front panel.
•
PB DEINTERLACE:
Turn this setting ON to
reduce image flickering, with lowered
picture quality. Turn this setting OFF to
have better picture quality, but with some
image flickering.
•
AUTO LOGOUT:
Turn OFF to disable users
from being automatically logged off of the
system or enter the desired time before a
system logs a user off.
•
SMART MONITOR:
Turn ON/OFF to show
or hide the hard drive S.M.A.R.T status in
the DISK menu.
•
KEY SENSITIVITY:
Press -/+ to increase or
decrease the button sensitivity on the front
panel of the system.
TIME
For more details, on setting the date and time,
see “Setting the Time” on page 13.
ACCOUNT
Only the ADMIN can configure user
authorities on the system.
To configure user and account settings:
1. Select the ACCOUNT tab, and configure
the following:
•
USER/NAME:
Click the
-/+
button to
configure the user type. You can change the
default admin login name. Configure up to
5 users.
•
ACTIVATE:
Select
ON/OFF
to enable or
disable Users 1~5.
•
PRIVILEGE:
Select the type of menus that
the user can control.
•
NETWORK
: Enter the network password
for the particular user, or deny users
entirely from connecting remotely. Select
from DENY, CUSTOM P/W, or SYSTEM P/W.
•
CHANNEL (COVERT)
:
Define which
channels can be seen by the particular
user. Checked channels are visible;
unchecked channels are hidden.
•
PASSWORD
: Enter your new user or admin
password.
2. Click
ENTER
(
)
to save your settings.
Содержание DH200+R Series
Страница 12: ...xii...
Страница 119: ...107 iSMS Client Remote Viewing on the Mac PTZ Controls cont d...
Страница 174: ......
Страница 175: ......


