7
I F U
4b
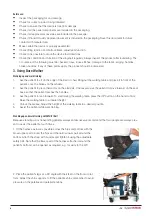
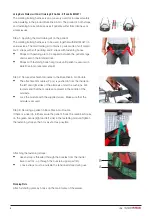
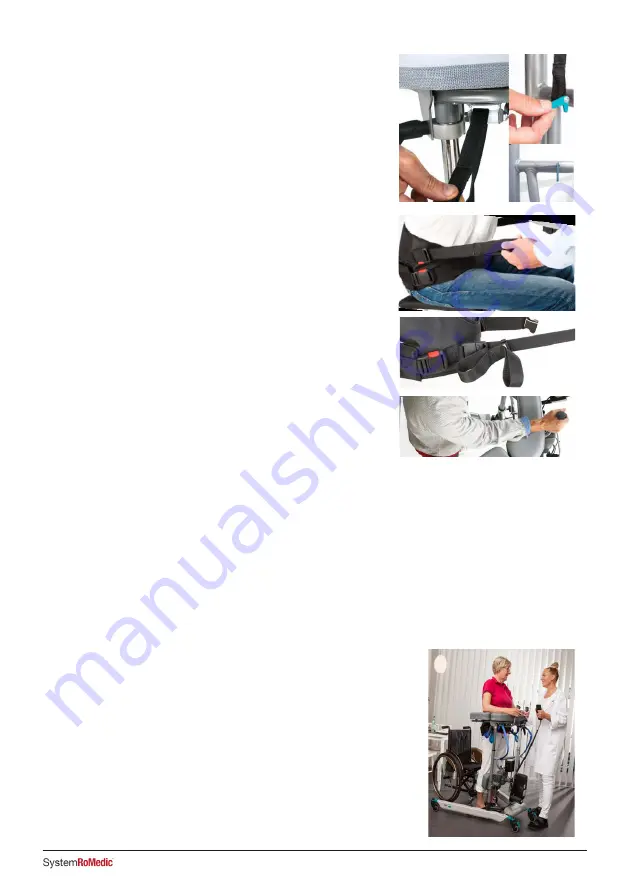
4. Connect Multi Belt to the attachment belts and tighten them using the
loops; the belts must be taught on both sides.
3. Thread both attachment belts through the Walker’s frame and the
green locking devices. Make sure the belts are threaded completely
through the locking devices.
NB: Check especially that the belts are undamaged. Check that belts
are not worn or frayed and that the holder and straps are not bent or
crooked. If the holder and belts are crooked it is a sign that the product
has been overloaded, in which case the frame must be replaced before
further use.
NB: Be careful with your fingers when inserting the belt.
5. Swing the forearm supports to the side; the patient must now grasp
the handles without support for the forearms
Note: Slide the loop back once the straps have been tightened – this
prevents tangling (see fig. 4b).
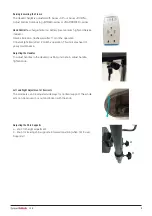
6. Lock at least two of the Walker’s castors.
7. Press UP button on the hand control to lift the patient to the necessary position. Check that the MultiBelt pulls
evenly on both sides; if not, adjust immediately.
During the sit-to-stand transfer one caregiver must stand in front of the patient maintaining eye contact with the
patient. The other caregiver may stand next to the patient.
8. In most cases the patient will not achieve a fully upright standing position; encourage the patient to achieve a final
upright posture independently or assist the patient by tightening the adjustable harness straps.
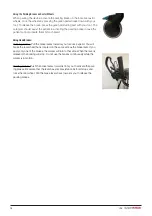
9. Lower the height of Bure to necessary height and swing the forearm
supports back into position to provide support for the patient. If the
standing plate is not being used, swing the shin supports away for in-
creased walking room. The MultiBelt may remain attached for enhanced
safety.
Содержание SystemRoMedic Bure Rise & Go DB
Страница 2: ...2 I F U...
Страница 178: ...178 I F U Parts...

