


‐
30
‐
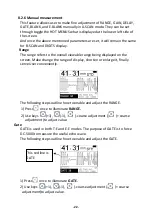
8.4.4
Default
During
the
usage,
when
User
can
not
ensure
why
the
problems
comes
out
and
with
some
questions
on
setting,
he
can
use
this
function
to
make
the
parameters
to
restore
the
factory
status
to
eliminate
any
abnormal
because
of
the
parameters
setting.
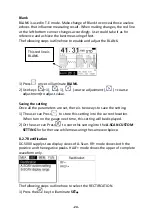
8.4.5
Information
The
screen
displays
the
Transducer
Number.
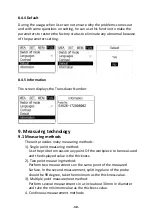
9.
Measuring
technology
9.1
Measuring
methods
The
unit
provides
many
measuring
methods.
1).
Single
point
measuring
method:
Use
the
probe
to
measure
any
point
Of
the
workpiece
to
be
measured
and
the
displayed
value
is
the
thickness.
2).
Two
point
measuring
method:
Perform
two
measurements
on
the
same
point
of
the
measured
Surface.
In
the
second
measurement,
splitting
plane
of
the
probe
should
be
90
degree,
take
the
minimum
as
the
thickness
value.
3).
Multiple
point
measurement
method:
Perform
several
measurements
In
a
circle
about
30mm
in
diameter
and
take
the
minimum
value
as
the
thickness
value.
4.
Continuous
measurement
methods:


