English
20
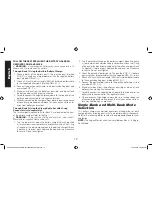
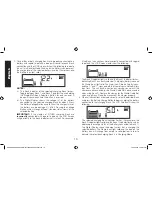
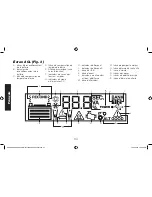
3. If the unit detects that the selected alternator is good, the LCD
Screen shows the following:
The Alternator Icon, “ALT GOOD” and the FULL Battery Icon will
light solid.
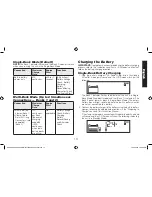
4. If the unit detects that the selected alternator is out of typical voltage
range, the LCD Screen shows the following:
The Fault Icon will flash. The Alternator Icon, “ALT” and the (empty)
Battery Status Icon will light solid.
5. Press the Alternator Check Button again to stop the check.
PART 2
Under Load (accessories ON):
Next, load the alternator by turning
on as many accessories as possible (except for the A/C and Defrost).
1. Refer to the “Charging the Battery” section of this Instruction
Manual. Set up the battery charger and connect to the battery
following steps 1 and 2 in the “Single-Bank Charging” section or
steps 1 through 5 in the “Multi-Bank Charging” section (selecting
the desired charging Bank). The unit will be in Standby Mode.
2. Press the Alternator Check Button to start the check. (In the
examples in “Part 2,” charging Bank 2 is selected in Multi-Bank
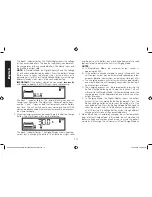
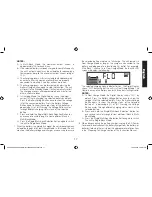
Mode.) The Digital Display shows the following to indicate the unit
is analyzing the alternator:
The selected charging Bank Indicator (Bank 2 in this example)
flashes. The unselected charging Bank Indicator lights solid. The
Alternator Icon will flash and the Battery icon with two bars will
light solid.
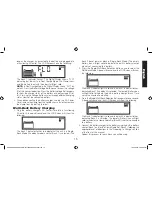
3. If the unit detects that the selected alternator is good, the LCD
Screen shows the following:
The Alternator Icon, “ALT GOOD” and the FULL Battery Icon will
light solid.
4. If the unit detects that the selected alternator is out of typical voltage
range, the LCD Screen shows the following:
The Fault Icon will flash. The Alternator Icon, “ALT” and the (empty)
Battery Status Icon will light solid.
5. Press the Alternator Check Button again to stop the check.
DXAEC80_DXAEC80CA_ManualENFRSP_082616.indd 20
10/19/2016 3:58:07 PM


