7
bits having 6.35 mm (1/4") diameter shanks.
Bits are not included but are available as
an accessory
.
WARNING: Do not use bits with a diameter in excess of 25.4 mm (1 1/8") in this
tool.
INSTALLING THE BIT
NOTE:
The bit shank and chuck should be clean and free of dust, wood residue and
grease before assembling.
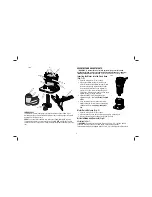
1. Remove the motor unit from the base. Refer to
Motor Quick Release
(if needed).
2. Clean and insert the bit shank into the collet until the end of the shank bottoms.
Then withdraw the bit approximately 1.6 mm (1/16”).
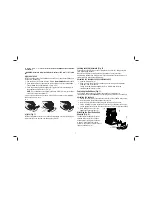
3. Press and hold the spindle lock button (D). Tighten the collet nut securely with
the supplied open-end wrench (17 mm).
NOTE:
As an alternative to the spindle lock button, a thin 10 mm wrench can be
used on the flats of the spindle (R).
To remove the bit, reverse the procedure. If the bit will not remove easily, lightly tap
the bit shank with a wrench.
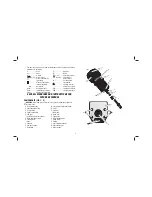
FIG. 4
D
T
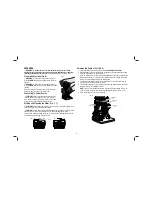
Collets (Fig. 1)
NOTE:
Never tighten the collet nut (O) without first installing a bit in it. Tightening an
empty collet nut, even by hand, can damage the collet (N).
Locking Lever Adjustment (Fig. 2)
Excessive force should not be used to clamp the locking lever (H). Using excessive
force may damage the base.
When the locking lever is clamped, the motor should not move in the base.
Adjustment is needed if the locking lever will not clamp without excessive force or if
the motor moves in the base after clamping.
ADJUSTING THE LOCKING LEVER’S CLAMPING FORCE
1. Open the locking lever (H).
2. Using a 2.5 mm hex wrench (not included) turn the locking lever adjustment
screw (M) in small increments.
Turning the screw clockwise tightens the lever, while turning the screw
counterclockwise loosens the lever.
Centering the Subbase (Fig. 1)
If you need to adjust, change, or replace the subbase, a centering tool is
recommended. Refer to
Accessories
. The centering tool consists of a cone and a pin.
ADJUSTING THE SUBBASE
1. Loosen but do not remove the subbase screws (K) so the subbase moves freely.
2. Insert the pin into the collet and tighten the collet nut.
3. Insert the motor into the base and clamp the locking lever on the base.
4. Place a centering cone tool, available as an accessory at additional cost, on the
pin and lightly press down on the cone until it stops. This will center the subbase.
5. While holding down on the cone,
tighten the subbase screws (K).
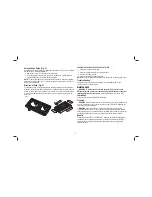
Attaching the Dust Extraction
Adaptor (Fig. 5)
The dust extraction adaptor (V) can be
attached to the front of the sub base
underneath the locking lever as shown
in figure 5. Hand tighten both finger
screws (x) and attach a vacumm hose to
the dust exhaust port (w).
FIG. 8
X
V
W
Содержание DWE6005-XE
Страница 1: ...DWE6005 XE LAMINATE TRIMMER INSTRUCTION MANUAL ...
Страница 2: ......
Страница 13: ...11 ...
Страница 14: ......
Страница 15: ......


