6
ROTARY HAMMER
EN
OPERATION
Modes of operation
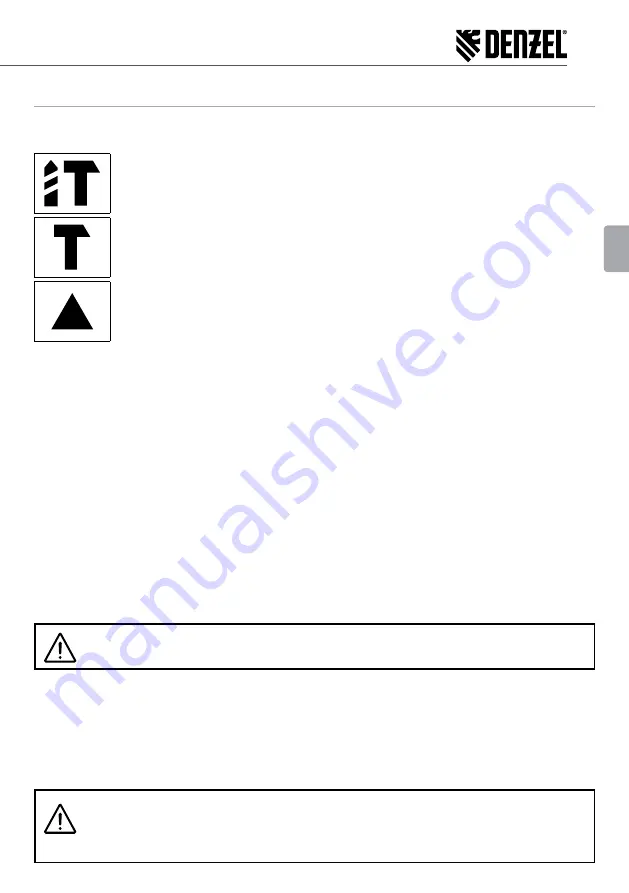
Electrical Rotary Hammer has the following modes of operation:
Drilling with impact.
In this mode it is necessary to use only a special shockproof working tool with a shank SDS-
plus. Adapters are not allowed.
Chiseling (impact with no rotation).
In this mode it is necessary to use only a special shockproof working tool with an SDS-plus
shank. Adapters are not allowed.
Adjusting of the angular position of the tool.
Not an operating mode, switch position is intended to install a convenient angular position
of the tooling.
The modes of operation switching are carried out using a switch 4. To turn switch 4 you need to unlock it by
pressing lock 3.
Adjustment and setting of the working tool rotational speed
Electrical Rotary Hammer has the ability to change smoothly the working tool rotational speed from minimum
to maximum by changing key pressure on the switch 6. You can change the speed of rotation with the engine
running in the process of working.
Installation of the working tooling
Electrical Rotary Hammer is designed to work with the working tool equipped with a shank of a special type SDS-
plus which is installed in the receiving device (box) 1. The box construction provides a torque transmission on the
working tool and a possibility of displacement of the working tool axis on 5-10 mm in order to make an energy
transfer impact more effective.
The working tool equipped with a shank type SDS-plus has to be installed without any effort in the opening
of the box and cranked around its axis slightly so as to the slots of the box matched the grooves of the shank
(the working tool "sinks down" around 1-2 mm), then insert the tool until it stops. Special mechanism prevents
spontaneous loss of the working tool from the box. To remove the working tool pull back the outside cup of
the box 1 until it stops, then take out the working tool. The adapter for drill chuck is installed in Electrical Rotary
Hammer the same way.
ATTENTION!
Before installing into the box the shank of the working tool should be lubricated with special grease.
Using the auxiliary handle
You should always use the eauxiliary handle supplied with the tool. Losing control of the tool while working may
cause injury.
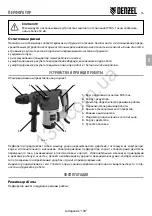
To install the side handle 9 let loose the clamp by counterclockwise rotation of the grip, then install the handle on
the machine in the desired angular position and fix it by clockwise rotation of the grip.
Power connection
ATTENTION!
The electric tools should be connected only to the single phase AC network which voltage
corresponds to voltage indicated on the labels. This electric tool can be connected to sockets
without earthing protection because it has double insulation (protection class II).
Autogoods “130”
130.com.ua
Содержание 26620
Страница 13: ...11 RU 12 12 12 13 13 16 16 19 19 21 21 21 21 21 21 Autogoods 130 1 3 0 c o m u a...
Страница 15: ...13 RU a a Autogoods 130 1 3 0 c o m u a...
Страница 16: ...14 RU a a Autogoods 130 1 3 0 c o m u a...
Страница 17: ...15 RU Autogoods 130 1 3 0 c o m u a...
Страница 18: ...16 RU 30 1 1 2 4 3 5 7 6 8 9 1 SDS max 2 3 4 5 6 7 8 9 1 7 Autogoods 130 1 3 0 c o m u a...
Страница 19: ...17 RU SDS plus SDS plus 4 4 3 4 6 SDS plus 1 5 10 SDS plus 1 2 1 9 Autogoods 130 1 3 0 c o m u a...
Страница 20: ...18 RU II 7 1 2 4 4 4 5 10 Autogoods 130 1 3 0 c o m u a...
Страница 21: ...19 RU 20 30 2 3 20 1 2 1 2 3 4 1 2 Autogoods 130 1 3 0 c o m u a...
Страница 22: ...20 RU 6 Y Autogoods 130 1 3 0 c o m u a...
Страница 23: ...21 RU 0 40 20 40 5 142703 3 8 1 2 7 495 234 41 30 010 2011 020 2011 004 2011 Autogoods 130 1 3 0 c o m u a...
Страница 24: ...NOTES Autogoods 130 1 3 0 c o m u a...
Страница 25: ...NOTES Autogoods 130 1 3 0 c o m u a...
Страница 26: ...12 12 12 36 36 Autogoods 130 1 3 0 c o m u a...
Страница 28: ...Autogoods 130 1 3 0 c o m u a...
Страница 29: ...Autogoods 130 1 3 0 c o m u a...


