


CANopen Communication Module DVPCOPM-SL
3.3
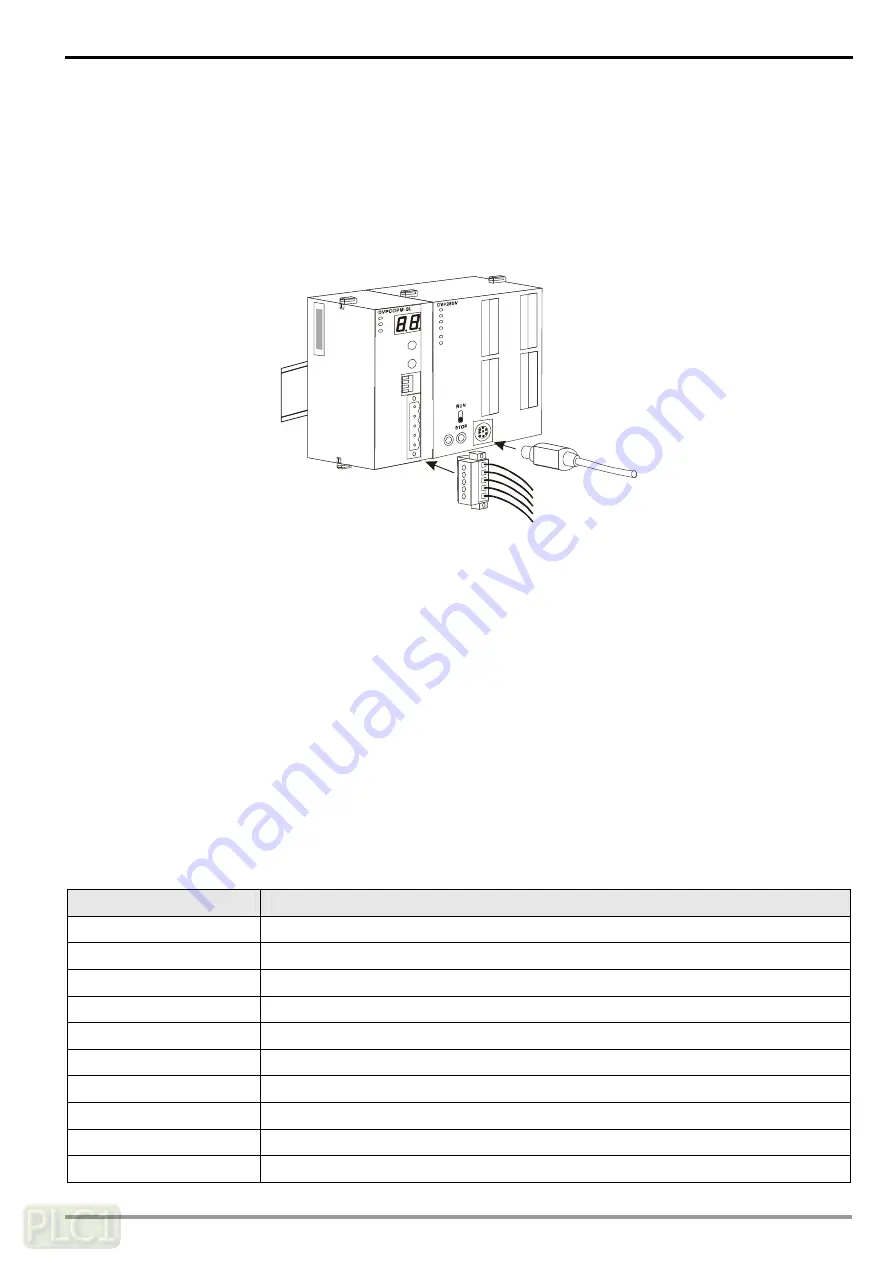
Connecting to CANopen Connection Port
Please wire following the PIN definition of the connection port.
There are two communication interfaces on DVP-SV to communicate with the PC. COM1 is the standard RS-232
interface, and COM2 RS-485. Both interfaces comply with Modbus protocol. The PC communicates directly to PLC
through COM1.
We recommend you also apply Delta’s power module in the connection.
RS-232
4
Constructing CANopen Network
In this section, we will introduce how to construct a complete CANopen network by using DVPCOPM-SL and other
slaves.
Before constructing a network, you have to first know clearly what the network is for and start a preliminary planning for
the data to be exchanged. The plan shall include the slaves to be used, type of transmission and the data to be
exchanged, total length of data to be exchanged, requirement on the response time for data exchange, and so on. The
information will decide whether the network you construct is a reasonable one, or if it satisfies your needs, and even
affect the later-on network sustainability and flexibility of network capacity upgrade.
In the example below, we will illustrate how to control RUN/STOP and speed of a Delta ASD-B servo drive by a Delta
digital I/O module DVP-08ST.
4.1
How to Construct a CANopen Network
Equipment and software required:
Equipment & software
Function
DVP-PS02
24V power supply module, supplying CANopen network.
DVP-PS01
24V power supply module, supplying DVP-12SA and remote I/O DVP-08ST.
DVP-28SV
DVP-SV PLC CPU
DVPCOPM-SL CANopen
master
DVP-12SA
DVP-SA PLC CPU
DVP-08ST
Digital I/O module
IFD9503
CANopen bus adapter
ASD-B
Delta B series servo drive
WPLSoft
DVP series PLC programming software
Delta CANopen Builder
CANopen configuration software for DVPCOM-SL master
DVP-PLC Operation Manual
11


