Layout and Control
Page 48
The rest of the control keys are push buttons clustered around the display panel on the
lid. The most frequently used keys are duplicated around both sides of the lid, to help
both left and right-handed people.
The most important and useful button, GO, is also found on the porometer head. It does
not matter which one you use.
The main menu is displayed across the bottom of the screen when the porometer is on.
Options are selected and activated using the
»
and
GO
keys described below.
To adjust the contrast use the LCD knob.
The standard QWERTY keyboard on the case of the porometer does not control the
porometer. It is just used for adding optional notes to readings, and for entering the
titles of groups of readings.
Below the keyboard, from left to right, are located
●
the socket for the head lead,
●
a knob to adjust the screen contrast,
●
an input socket with a red light for the battery charger,
●
and an RS232C serial interface socket for sending data to a printer or computer.
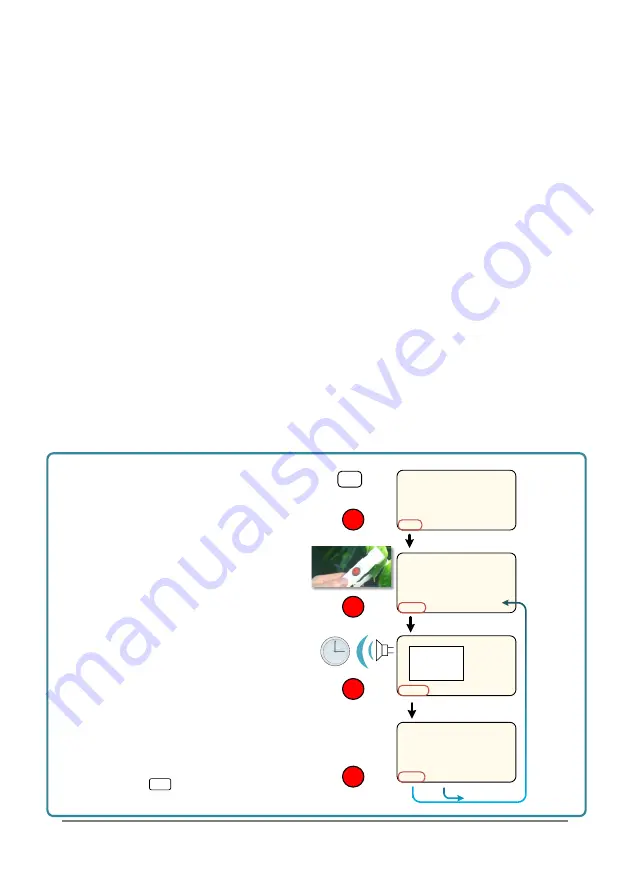
Insert leaf
Turn AP4 on
TO TAKE A READING
with one hand
Wait 4 or 5 cycles until readings are
steady or until
Beep Beep
sounds
MAIN MENU:
READ CALIBRATE REVIEW OUTPUT
ON
INSERT lEAF
START
READING CYCLE
ACCEPT
MAIN MENU:
STORE
DISCARD
1
2
GO
5
7
GO
4
GO
GO
6
Press GO
Press GO
Press GO
3
1 2.3
2 2.46
3 2.45 s cm
-1
Press GO to store
or GO to discard
>>
Содержание AP4
Страница 1: ...User Manual for the AP4 Porometer Version 4 Delta T Devices Version 4 0 ...
Страница 21: ...CALIBRATION Page 21 ...
Страница 23: ...CALIBRATION Page 23 INSTALL CALIBRATION FLOW CHART ...
Страница 30: ...HOW TO READ Page 30 ...
Страница 32: ...HOW TO READ Page 32 READINGS CYCLE FLOW CHART ...
Страница 34: ...HOW TO READ Page 34 STORE READINGS FLOW CHART ...
Страница 35: ...REVIEW Page 35 REVIEW No editing can be done and no settings changed within REVIEW ...
Страница 38: ...OUTPUT TO COMPUTER Page 38 TYPICAL PRINT OUT OF DATA 17 ...
Страница 49: ...Layout and Control Page 49 ...


