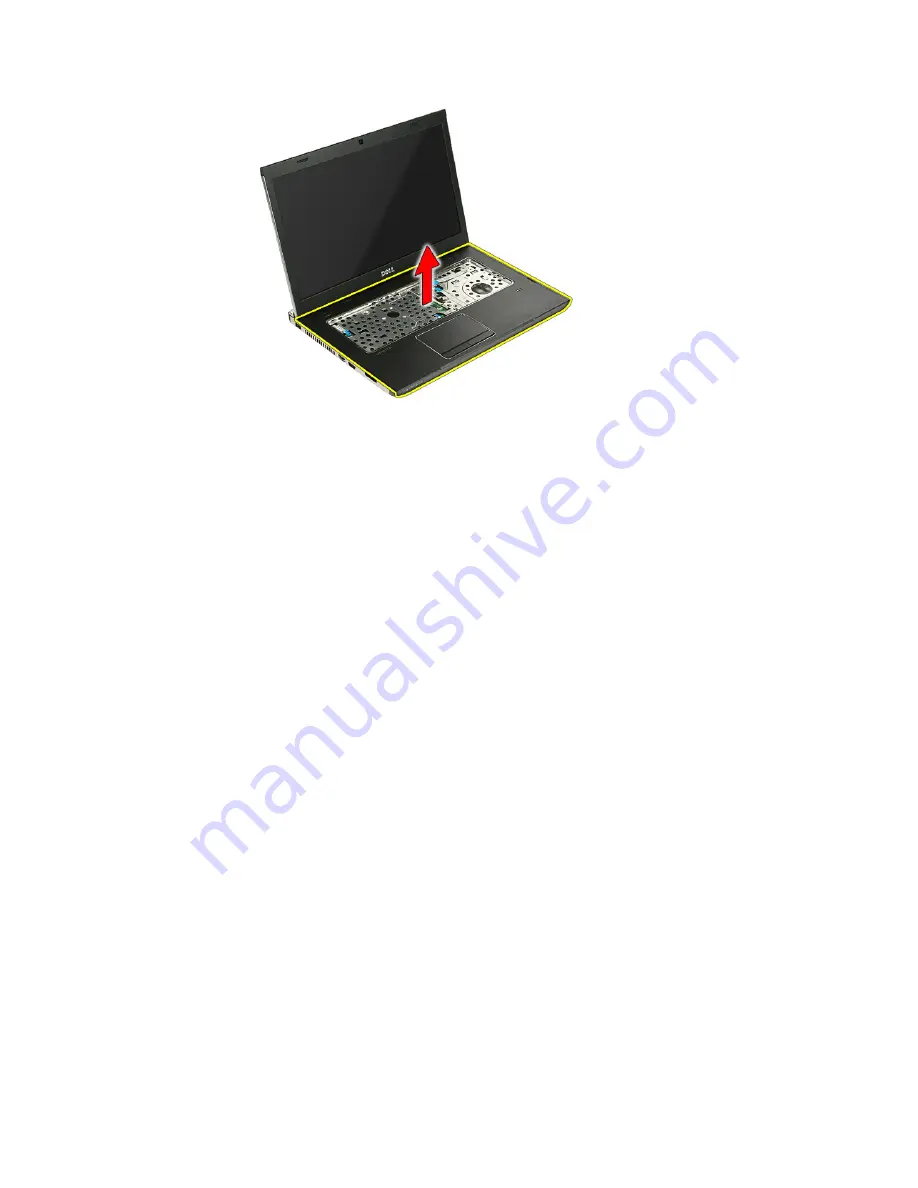
17. Lift up the palm rest from the computer and remove.
Installing The Palm Rest
1. Install the palm rest on the computer.
2. Press down on the edges to secure the palm rest.
3. Tighten the captive screws to secure the palm rest.
4. Connect the touch pad, fingerprint reader and the quick-launch button
board cables to the palm rest.
5. Tighten the screws on the bottom of the system securing the palm rest in
place.
6. Install the rubber pads to the bottom of the computer
7. Install the
keyboard
.
8. Install the
access panel
.
9. Install the
battery
.
10. Follow the procedures in
After Working Inside Your Computer
.
46
Содержание Vostro 3555
Страница 1: ...Dell Vostro 3555 Owner s Manual Regulatory Model P16F Regulatory Type P16F002 ...
Страница 7: ...32 Specifications 105 33 Contacting Dell 115 Contacting Dell 115 ...
Страница 8: ...8 ...
Страница 30: ...9 Remove the screw that secures the ExpressCard board 10 Pry the latch that secures the ExpressCard board 30 ...
Страница 32: ...32 ...
Страница 38: ...38 ...
Страница 43: ...10 Disconnect the touch pad data cable 11 Release the quick launch button board cable securing clip 43 ...
Страница 45: ...15 Remove the screws that secure the palm rest to the system 16 Pry along the edges of the palm rest 45 ...
Страница 50: ...50 ...
Страница 52: ...52 ...
Страница 56: ...56 ...
Страница 62: ...62 ...
Страница 64: ...18 Lift up the heatsink and remove from the computer 64 ...
Страница 66: ...66 ...
Страница 76: ...12 Pry the latch then lift up the display and remove 76 ...
Страница 78: ...78 ...
Страница 80: ...15 Lift up and remove the display panel with brackets and hinges 16 Release the cables from the left hinge 80 ...
Страница 82: ...20 Remove the screws that secure the display brackets and hinges to the display panel 82 ...
Страница 84: ...84 ...
Страница 86: ...17 Lift up the system board at an angle and remove 86 ...
Страница 88: ...88 ...
Страница 90: ...18 Remove the screw that secures the right I O board 19 Lift up the I O board and remove 90 ...
Страница 92: ...92 ...
Страница 94: ...18 Lift up the I O board and remove 94 ...
Страница 96: ...96 ...
Страница 102: ...102 ...
Страница 116: ......


