3
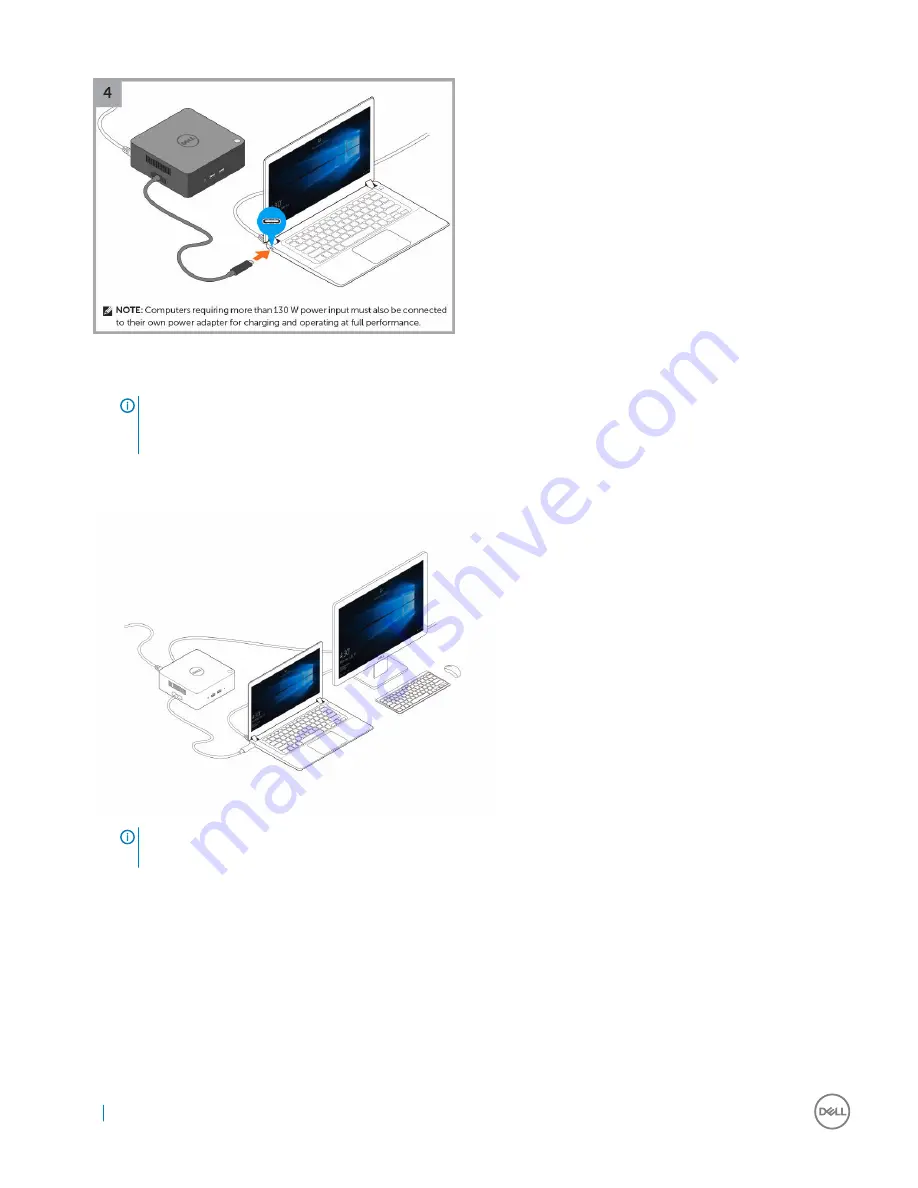
Connect the Thunderbolt 3 (Type-C) connector to the computer.
Figure 4. Connecting the Thunderbolt 3 (Type-C) connector
NOTE:
On TB16-supported Dell computers, connecting the Thunderbolt 3 (Type-C) cable will auto wake-up the laptop
and connect any peripherals already attached. This behavior can be disabled in your BIOS Setup option “Wake on Dell
USB-C Docks”.
4
Follow the on-screen instructions to give the Dell Thunderbolt Dock permission to connect to your computer. See
Thunderbolt Driver
Settings
for more information.
5
Connect multiple displays to the docking station, as needed.
NOTE:
Computers requiring more than 130 W power input must also be connected to their own power adapter for
charging and operating at full performance.
12
Quick Setup of Hardware
Содержание thunderbolt TB16
Страница 1: ...Dell Thunderbolt Dock TB16 User Guide ...
Страница 6: ...Safety Environmental and Regulatory Information 6 Package Contents ...
Страница 19: ...4 Click Display Setup of External Monitors 19 ...
Страница 20: ...5 Click Display and select Multiple Displays 20 Setup of External Monitors ...
Страница 28: ...2 Peel back the rubber safety shield as shown 28 Removing the Thunderbolt 3 Type C Cable ...
Страница 29: ...3 Remove the two M2 5 x 5 screws Removing the Thunderbolt 3 Type C Cable 29 ...
Страница 30: ...4 Lift and remove the metal cable bracket 30 Removing the Thunderbolt 3 Type C Cable ...
Страница 33: ...Frequently asked questions 33 ...


