Dell SonicWALL X-Series Solution Deployment Guide
Provisioning an X-Switch on a TZ series appliance
10
3 Ensure the switch is in Managed Mode.
If the switch is:
•
In Managed Mode, go to
.
•
Not in Managed Mode, enable managed mode by inserting a paperclip into the Managed Mode
opening and pressing the Managed Mode button for 7 seconds. The Managed Mode button is a
small button located on the:
•
Right side of the rear panel on X1008/X1008 X-switches.
•
Left side of the rear panel on all other X-switches.
Use a straightened paper clip to press the button.
After 7 seconds, the X-switch reboots to change to Managed mode.
4 Connect the X-switch console:
•
By an RJ45 cable to a PC in the same subnet as the X-switch if configuring through the X-switch
GUI.
•
Through Telnet (9600 baud) if configuring through the CLI.
5 Power on the X-Series switch.
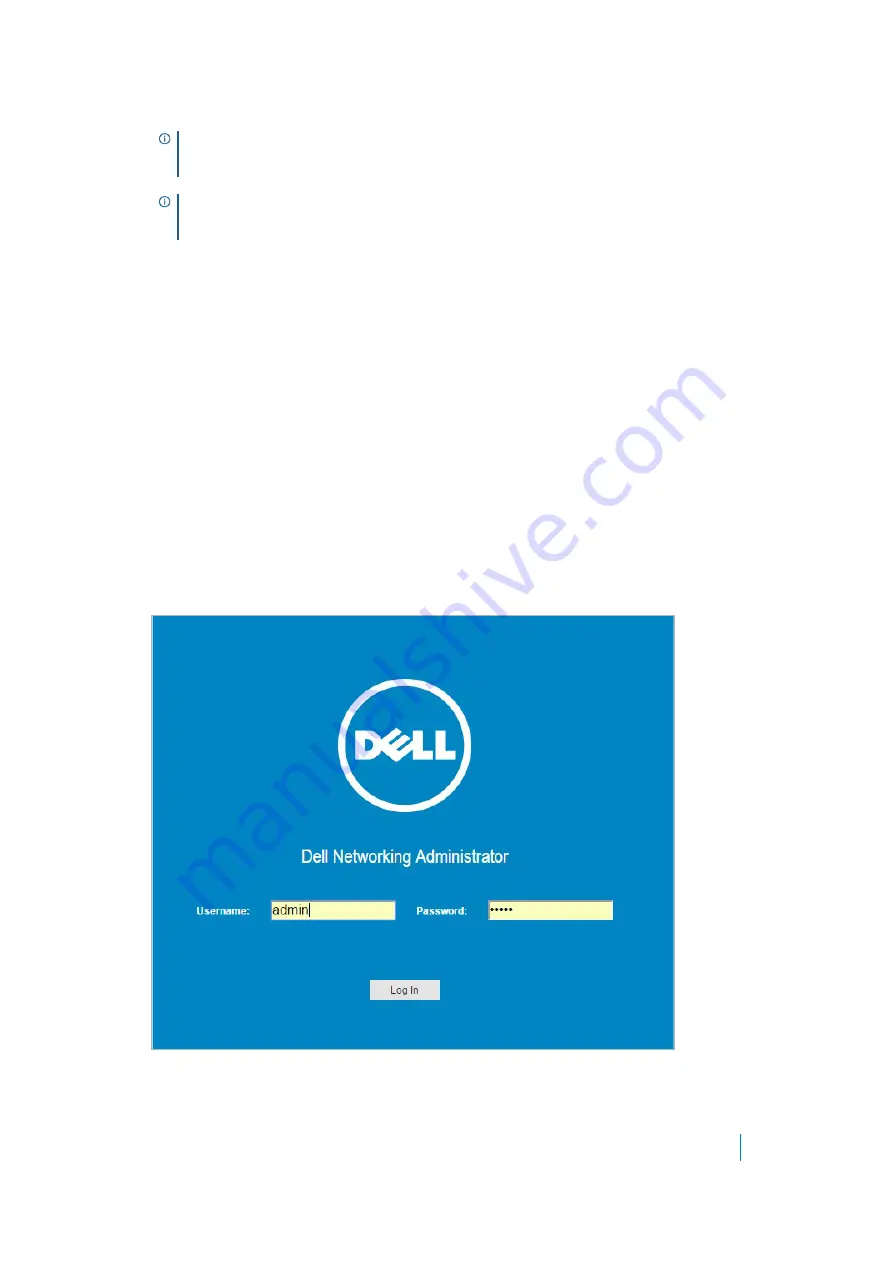
6 In your PC browser, go to
192.168.2.1
. The login screen for the X-switch displays.
NOTE:
If the X-switch is not in Managed Mode, then it cannot be managed with SonicOS on the TZ
firewall. If the X-switch is in Managed Mode, the MGMT LED is on; in Unmanaged Mode, the MGMT
LED is off.
TIP:
X1052/X1052P switches are delivered from the factory in Managed Mode. All other switches
are delivered from the factory in Unmanaged Mode to avoid unauthorized access to the switch. For
further details, see the
Dell™ Networking™ X1000 and X4000 Series Switches User Guide
.


