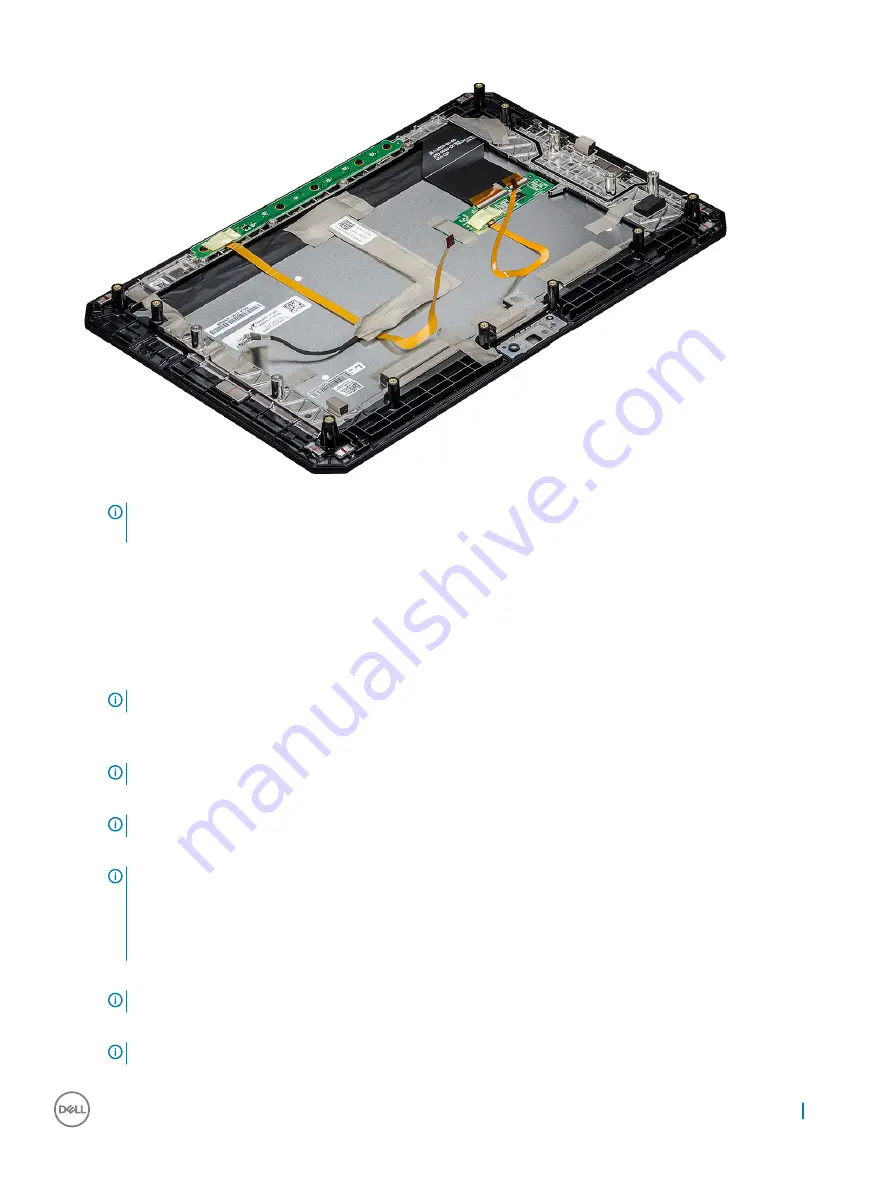
NOTE:
DO NOT remove any cable or adhesive tape from the display panel, unless you are replacing the cables
separately.
Installing display assembly
1
Place the system chassis on a plane surface.
2
Place the bottom edge of the display assembly inside the bottom edge of the rear chassis.
3
Rest the display assembly by less than 90° angle.
NOTE:
Use a support to attain the required angle.
4
Connect the touch cable, function keys cable, and LVDS cable to the connector on the system board.
5
Release the latch to secure the cables to the respective connecting ports.
NOTE:
Make sure to insert the cable under the clips, if not, the system may not display video after reassembling.
6
Paste the adhesive tapes to secure the connected slots.
NOTE:
Ensure to secure the adhesive tapes, to protect the display assembly from electrostatic discharge damage.
7
Align the display assembly on the tablet chassis and press the edges to snap-in.
NOTE:
•
Ensure that the Window button on the display assembly aligns with the docking pogo pins on the system board
chassis.
•
Press the edges starting from Windows button clockwise until they snap-in evenly from all sides. Ensure to hear a
click sound when the display assembly is aligned in correct position.
8
Flip the system so that the battery is at top view.
NOTE:
Ensure to place the system in a flat surface.
9
Replace the (19) screws to secure the display assembly to the tablet.
NOTE:
DO NOT wind the screws too much, to avoid damage the screws thread.
Removing and installing components
17


