


Replace the 2.5" disk drive
This procedure describes how to replace the 2.5 inch disk drive.
Steps
1. Insert the 2.5" disk drive into its slot and push it in as far is it can go. The latch handle should rotate downward when the
disk is near its fully seated position.
2. Rotate the latch handle downward to fully seat and secure the 2.5" disk drive into its slot.
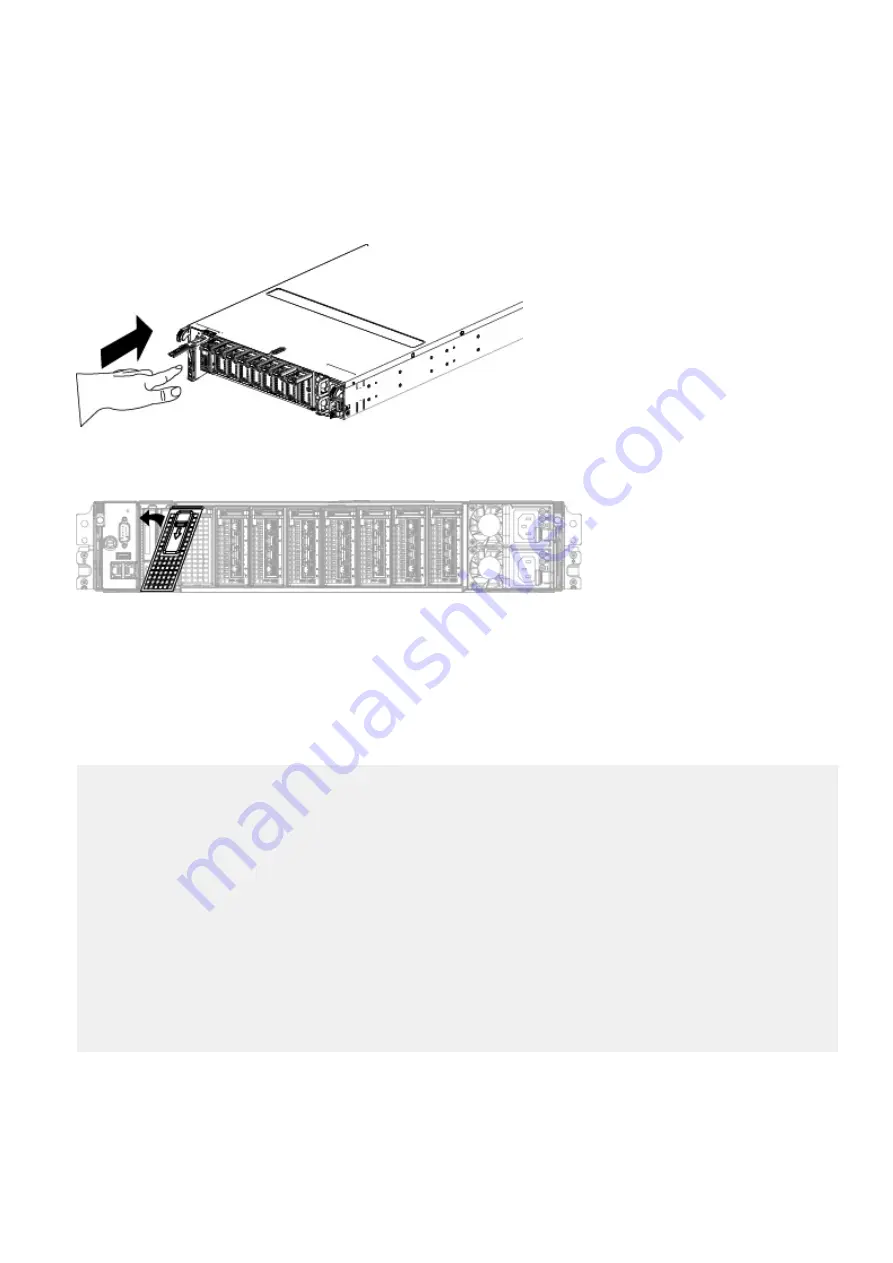
3. Align the tabs on the 2.5" disk drive cover with the slots in the chassis.
4. Push the 2.5" disk drive cover into place.
Verify the replacement 2.5" drive
Steps
1. The system reports the state of a replacement 2.5" drive depending on the history of the drive. Enter the
disk show
state
command to display the state of all drives. This command checks that the replacement drive is recognized by the
Data Domain system. In the command display, the disk state should be spare or reconstructing.
#
disk show state
Enclosure Disk
1 2 3 4 5 6 7 8 9 10 11 12 13 14 15
--------- ----------------------------------------------
1 s . . . . . . R
--------- ----------------------------------------------
Legend State Count
------ ------------- -----
. In Use Disks 6
s Spare Disks 1
R Spare (reconstructing) Disks 1
------ ------------- -----
Total 8 disks
Disk Disks Progress Remaining
Group Reconstructing (%) (minutes)
----- -------------- -------- ---------
dg0 1.14 4 15
----- -------------- -------- ---------
2. A replacement drive that is inserted into the system is recognized as a failed disk drive and is noted as failed when first
installed. An auto-spare process should change the status to spare in a few minutes. An amber LED should turn off after an
SSD has been replaced.
3. If the SSD shows as failed, enter the
disk unfail
command with the correct disk-id).
Field Replaceable Units
49


