


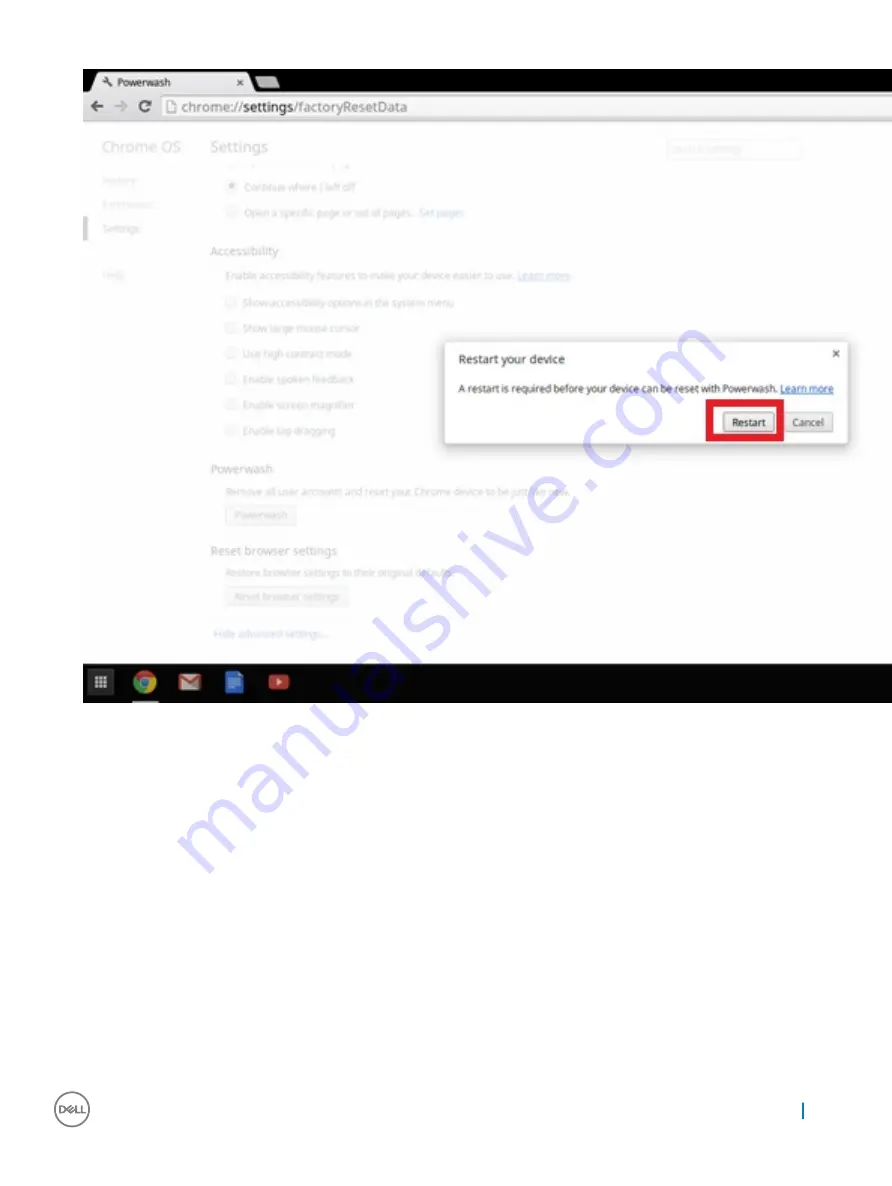
5
Click
Restart
when prompted.
You can also reset your Chromebook from the sign-in screen by holding down the keys
Ctrl+Alt+Shift+R
and clicking
Restart
. (If you
are signed in to your Chromebook, sign out first before you press on
Ctrl+Alt+Shift+R
, then click
Restart
. Once the Chromebook is
restarted, click
Reset
.)
After you restart the Chromebook, you should now see the setup screen. Follow the instructions on the screen to set up your Chromebook
again. Make sure you sign in with your primary Google Account, because this account is set as the owner account.
Recovery Chromebook
This page contains information about recovering Dell .
Recovering the Chromebook
Install a new version of the Chrome operating system on your Chromebook by going through the recovery process. You may want to go
through this process if you are having problems updating your Chromebook or if it stops working.
Diagnostic and troubleshooting
81
Содержание Chromebook 5190
Страница 1: ...Chromebook 5190 Owners Manual Regulatory Model P28T Regulatory Type P28T001 ...
Страница 11: ...c Lift the base cover away from the system Removing and installing components 11 ...
Страница 16: ...d Lift the speaker away from the system 16 Removing and installing components ...
Страница 30: ...f Turn the system 30 Removing and installing components ...
Страница 33: ...c Pry the edges to release the display bezel from the display assembly Removing and installing components 33 ...
Страница 36: ...d Lift the display panel away from the display assembly 36 Removing and installing components ...
Страница 55: ...Commands Action and Purpose Screenshot Chrome net internals View advanced networking information Software 55 ...
Страница 78: ...2 Click Settings as highlighted from the screenshot below 78 Diagnostic and troubleshooting ...
Страница 79: ...3 Click Show advanced settings to expand the menu Diagnostic and troubleshooting 79 ...
Страница 80: ...4 Click the Powerwash button 80 Diagnostic and troubleshooting ...


