


Figure 159. Removing a power supply unit
Next steps
Installing a power supply unit
The procedure for installing AC and DC PSUs is identical.
Prerequisites
1. Follow the safety guidelines listed in
.
2. For systems that support redundant PSU, ensure that both the PSUs are of the same type and have the same maximum output
power.
NOTE:
The maximum output power (shown in watts) is listed on the PSU label.
Steps
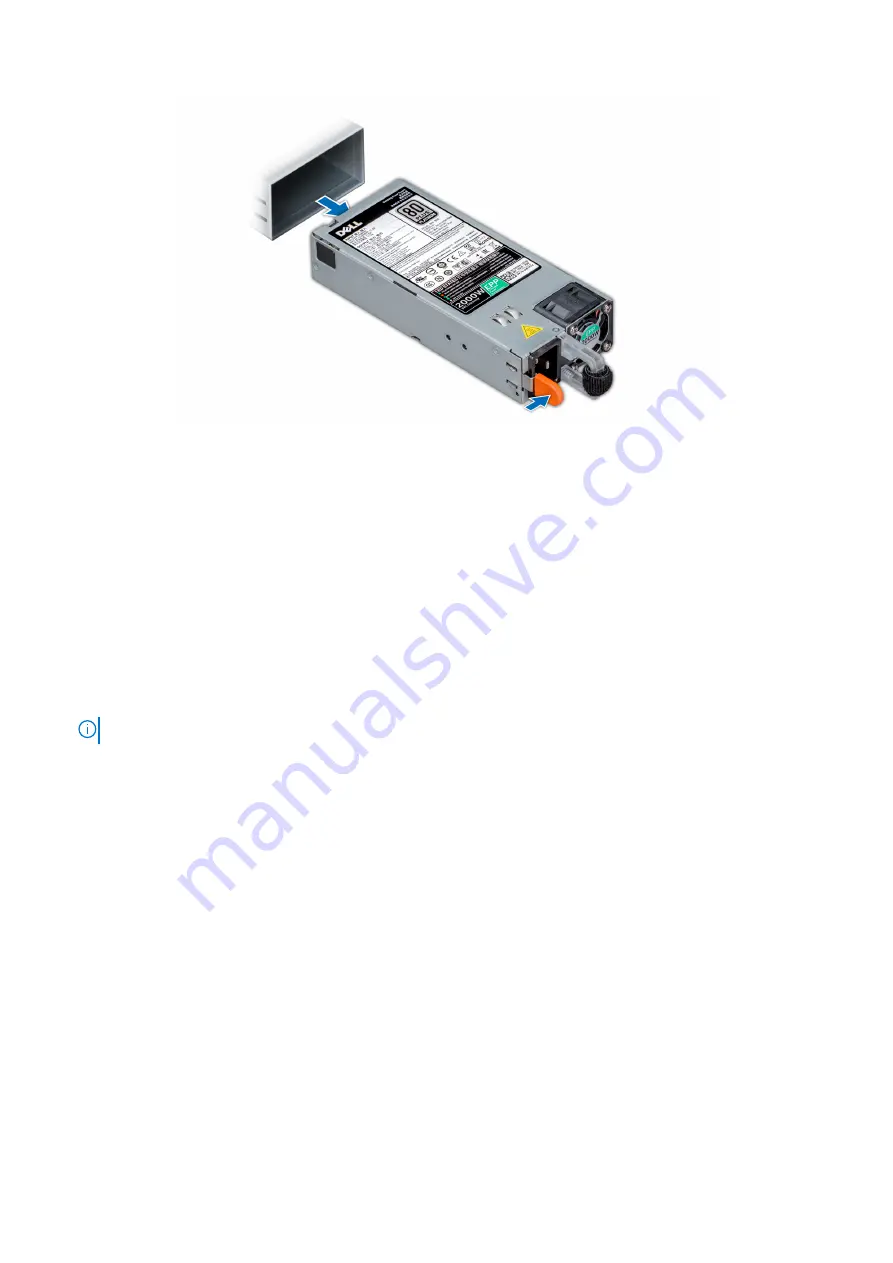
Slide the PSU into the system until the PSU is fully seated and the release latch snaps into place.
Installing and removing system components
195
Содержание PowerEdge R740xd
Страница 9: ...Figure 1 Supported configurations PowerEdge R740xd system overview 9 ...
Страница 24: ...Figure 21 system task Figure 22 NVDIMM battery and mid tray hard drives 24 PowerEdge R740xd system overview ...
Страница 160: ...Figure 110 Securing GPU 1 Figure 111 Installing GPU 2 and 3 160 Installing and removing system components ...