14
15
Mounting the Camera on a Wall Safely
Before drilling the holes, it is important to check the reception and camera positioning in the intended
location on the wall.
1. Pre-drill two holes in the wall using a 3/16”, 4.8mm drill bit.
2. Insert wall anchors (not included) into each hole and tap gently with a hammer until the anchor is
flush with the wall.
3. Insert a screw (not included) into each wall anchor and tighten until the screws only stick out
about a 1/2 inch.
4. Plug the power cord into the power input of the camera.
5. Locate the wall mounting holes on the bottom of the camera base.
6. Slide the holes over the screws sticking out of the wall.
7. Confirm that the camera is secure, if it is loose you may have to tighten the screws more.
8. Use wall clips (not included) to secure the cord to prevent tripping and so children cannot reach it.
9. Connect the other end of the adapter into an available wall outlet.
OPERATION
Night Vision
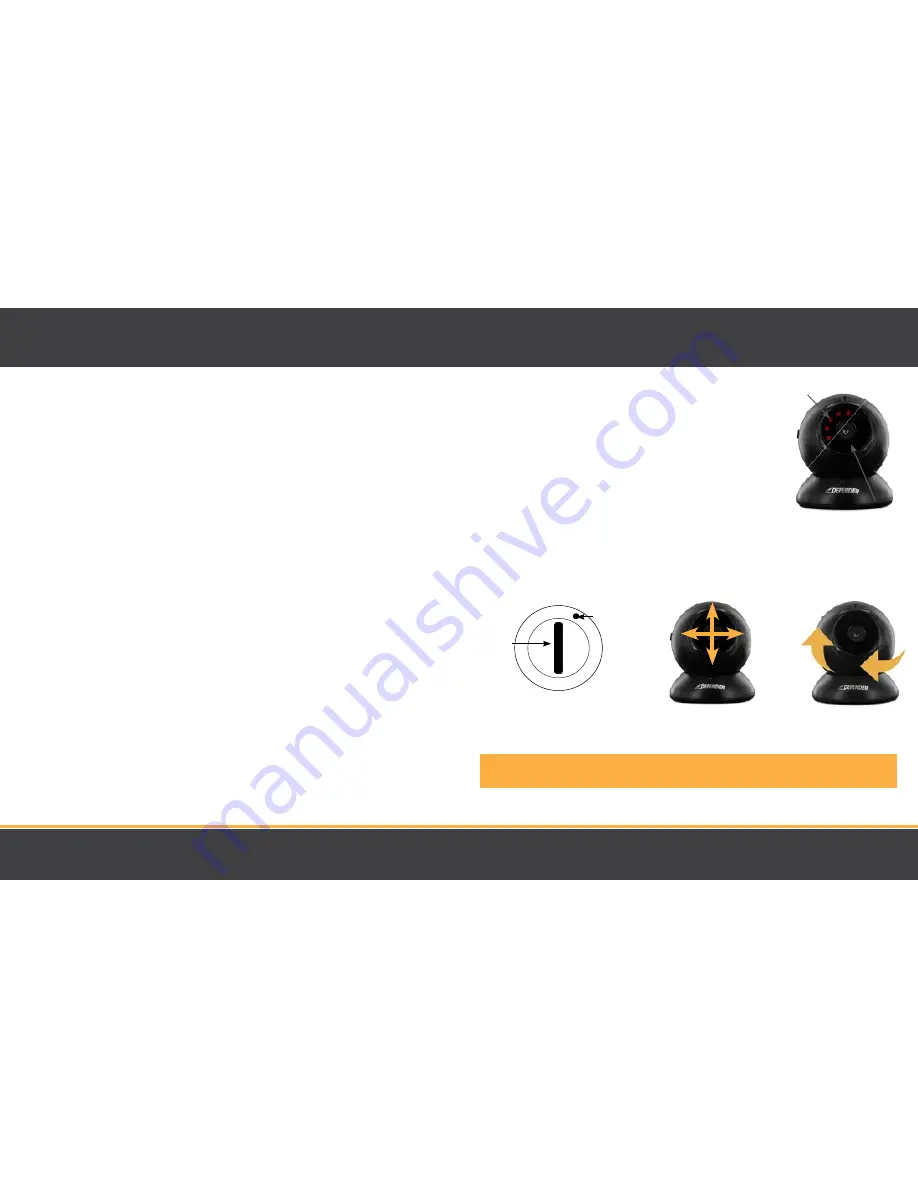
The camera is equipped with NEW Invisible IR (infrared) LEDs which
keeps the room dark. The LEDs are located on the front of the camera
and allow you to see up to 12 feet in complete darkness allowing you
to monitor your room discretely in the dark without drawing attention to
your camera. The night vision LEDs will activate automatically when the
Light Sensor on the camera detects that the light levels are too low.
Adjusting the Camera Angle
The camera has a track built into the base. The track allows the camera to pivot UP and DOWN and turn
side to side. Always return the camera to the CENTER POSITION before changing the camera angle.
FRONT OF
CAMERA
(top view)
DC
INPUT
TRACK
Note: Camera does not rotate freely 360°. Rotating it past the point where resistance is felt will
result in permanent damage to the device.
CENTER POSITION
OPERATION
INVISIBLE
LEDs
TRADITIONAL LEDs
Содержание Phoenix 2.4"
Страница 12: ...22 23 NOTES NOTES ...


