


Dedicated Micros ©2009
111
SD Adv
anc
ed
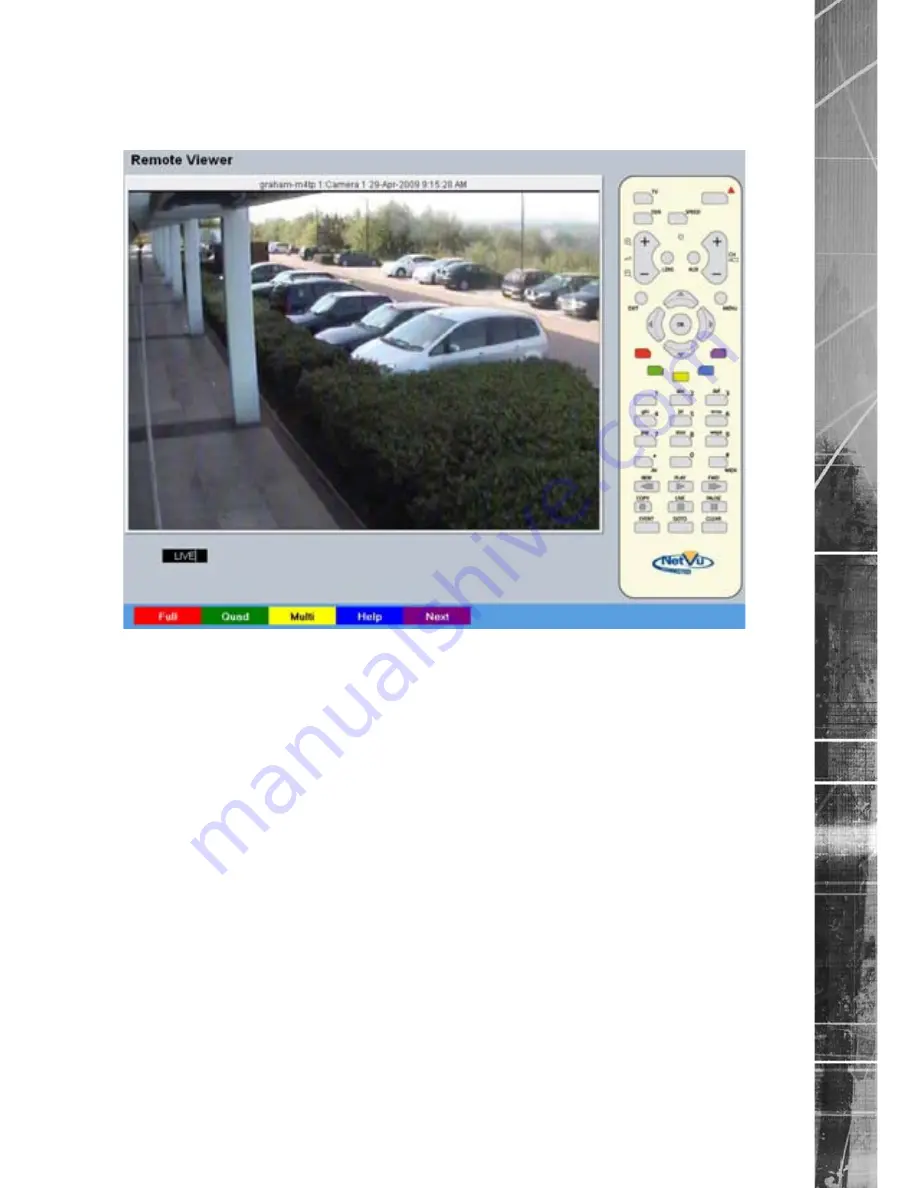
View Control
The View Control page allows connected video inputs to be displayed full screen or in Quad/Multi
way display format. The Help Video page can also be accessed.
Red
Full
Show currently selected camera full screen.
Green
Quad
Displays four images on-screen, putting the
currently selected camera in the top left segment
of the four, and will increment all cameras by one
if pressed again i.e. if cam 1 is shown top left,
cam 2 top right etc. then the views will increment
to cam 2 top left, cam 3 top right etc.
Note:
When a camera button is pressed to select a new camera, the new selection will be
displayed in the top left hand corner of the display. The next three connected cameras will
be displayed in the following three positions.
Yellow
Multi
By default displays nine images on-screen,
putting the currently selected camera in the top
left segment, followed by the next eight cameras
and will increment all cameras by one if pressed
again i.e. if cam 1 is shown top left, cam 2
adjacent etc. then the views will increment to
cam 2 top left, cam 3 adjacent etc.
Blue
Map
Displays either the default camera selection
map or a specific site map (if one has been
configured) with ‘hotspots’ showing camera
locations. A camera can be viewed by selecting
the corresponding hotspot.
Purple
Next
Opens the next page of the Viewer menu.
Note:
For information on creating Camera Selection maps. Refer to the Display Setting->Map
Config’ section for further information.
Содержание SD Advanced
Страница 1: ...SD Advanced Installation and Operation Guide ...
Страница 139: ...Dedicated Micros 2009 139 SD Advanced ...


