Me
nu -
C
onfigur
a
tion
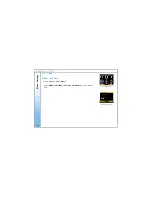
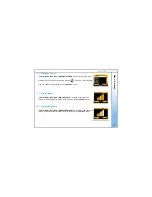
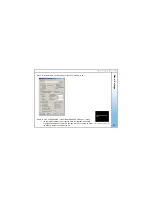
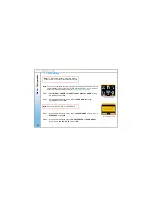
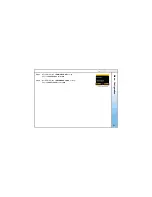
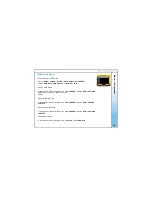
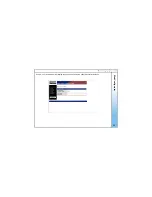
Step.5 - In the Proxy Server menu
> STATUS >
select
ENABLE
.
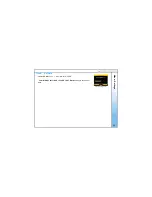
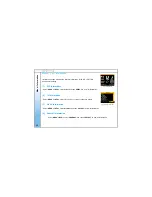
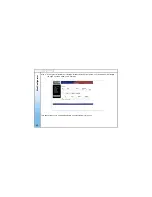
Step.6 – In Proxy Server menu
> REGISTRATION TIME >
for eg:-
key in
3600 >
select
OK
.
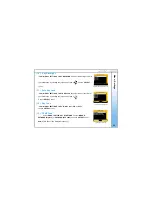
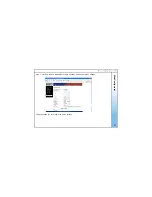
Step.7 - In the same SIP settings menu
> OUTBOUND PROXY > IP ADDRESS >
for eg:- key in
192.168.2.1 >
select
OK
.
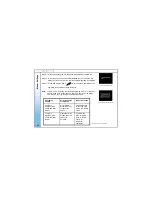
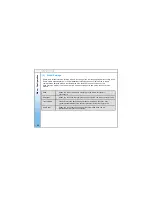
Note: The outbound proxy server is the address and port that your phone uses to connect to a SIP
server, where there may be NAT routers that do not support the SIP protocol. If your SIP Service
Provider gave you an outbound proxy server address and port,
then enter them here.
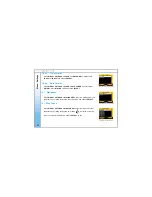
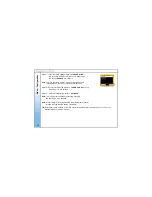
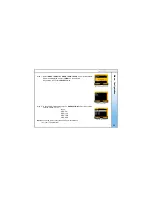
Step.8 - In OUTBOUND PROXY menu
> STATUS >
for eg:-
choose
ENABLE
and select it.
Note: This has to be enabled in order to make a SIP call.
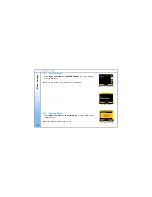
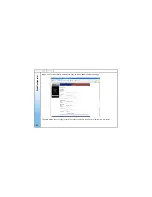
Step.9 - In the same SIP settings menu
> STUN SERVER > IP ADDRESS >
for eg:- key in
stun.fwdnett.net >
select
OK
.
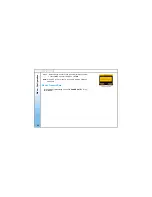
Step.10 - In the STUN SERVER menu
> STATUS >
for eg:- choose
ENABLE
and select it.
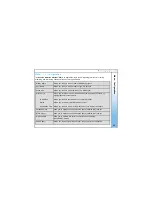
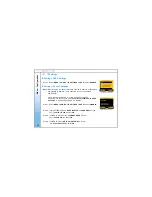
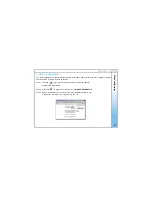
Fig.47 IP Address Screen
APPLY
CLEAR
47

