Step 1: Disassembly & Cleaning of the Deutsch HDT-48-00
To disassemble the DEUTSCH HDT-48-00 or DANIELS AF8 M22520/1-01, you will first need to
remove it from the crimp head itself. Start by removing the funnel jaws: first remove the Funnel
Jaw Strap (or shoulder-bolts on some models), and then lift the law assemblies off of their dowel
pins. Then remove the 4 Torx bolts which hold the Positioner Body to the Indenter Housing with a
T10 Torx tool, and CAREFULLY remove the Positioner Body (and Positioner Insert on some
models) from the back of the Crimp tool being careful not to damage the delicate tip of the
Positioner. LEAVE THE 4 TORX BOLTS IN THE INDENTER HOUSING. Then remove the two socket
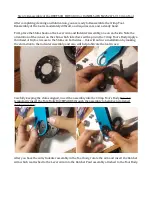
head bolts that secure the crimp tool to the Crimp Head's mounting plate (some models will have
an adapter plate or shim between the Deutech Crimp tool and the Mounting Plate, for these,
carefully note the location and orientation of this part for ease of later reassembly. Some models
will also require detaching the pneumatic cylinder clevis from the Lever Arm.
At this point the Crimp Tool should be detached from the Crimp Head. Now remove the 4 Torx
bolts from the Indenter Housing. With the Torx Bolts removed, the Crimp Tool should easily come
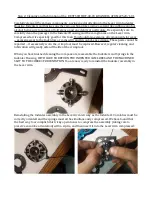
apart. BE CAREFUL TO NOTE THE ORIENTATION OF THE INDENTOR CAM LOBES, THE
MACHINED SLOT IN THE INDENTER HOUSING AND THE ORIENTATION OF THE LEVER ARM IN
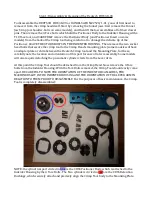
RELATION TO THEM PRIOR TO DISSASSMBLY. For the purposes of basic maintenance, the Crimp
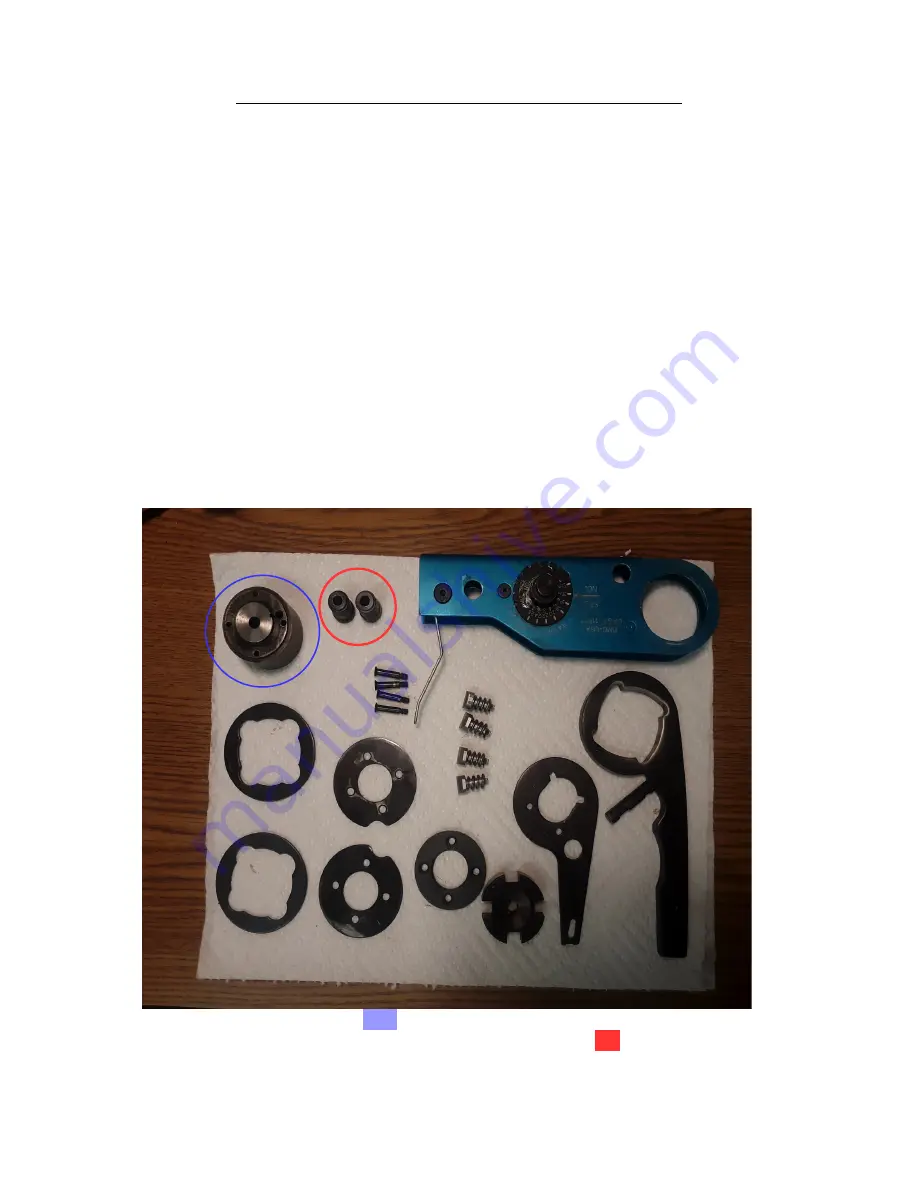
Tool is completely disassembled:
NOTE: the cylindrical part circled in
blue is the CDSS Positioner Body, which is attached to the
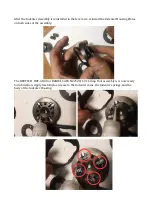
Indenter Housing by the 4 Torx Bolts. The Two cylinders circled in red are the CDSS Retention
Bushings, which securely attach and precisely align the Crimp Tool body to the Mounting Plate.


