Page | 5
©Davis Instruments Australia V1.3
3 Connecting your MeteoBridge to your LAN
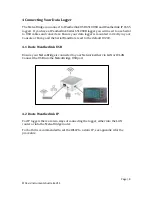
For initial configuration you need to connect the MeteoBridge directly to your LAN
router.
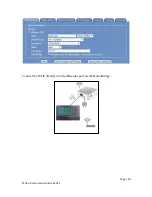
Connect the MeteoBridge via Ethernet to a spare port on your router and plug in the
AC adapter.
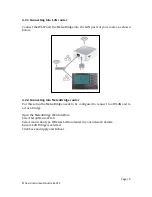
Your router will automatically assign an IP address to the MeteoBridge. The next
step is to identify this IP number. To help with this make a note of your MeteoBridge
MAC address, located on the side of the device.
NOTE: The MAC address may be displayed in a number of formats,
e.g.
E8DE2769AEC0
E8:DE:27:69:AE:C0
e8-de-27-69-ae-c0
3.1 Finding the MeteoBridge
There are numerous ways to verify the IP of the MeteoBridge, for all of them ensure
your computer is connected to the same network as the MeteoBridge.
Use the Magic IP Finder
Interrogate your Router
Use a network software scan tool
Write IP address to a USB stick
Read the blinking Status/Reset Lights
3.1.2 Magic IP Finder
If your PC and MeteoBridge are in the same network and the MeteoBridge has a solid
green status light it has established a connection with the internet. In this case use
your web browser and go to:
http://magicip.meteobridge.com
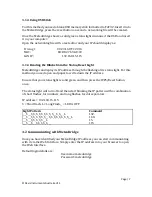
If prompted for a Username and Password enter:
Username: meteobridge
Password: meteobridge
3.1.2 Interrogate your Router
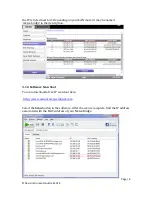
Open a web browser and enter the IP of your LAN router. If prompted enter your
User name and password. Then view connected/attached devices.
Find the Physical Address (MAC address) that corresponds to your MeteoBridge and

