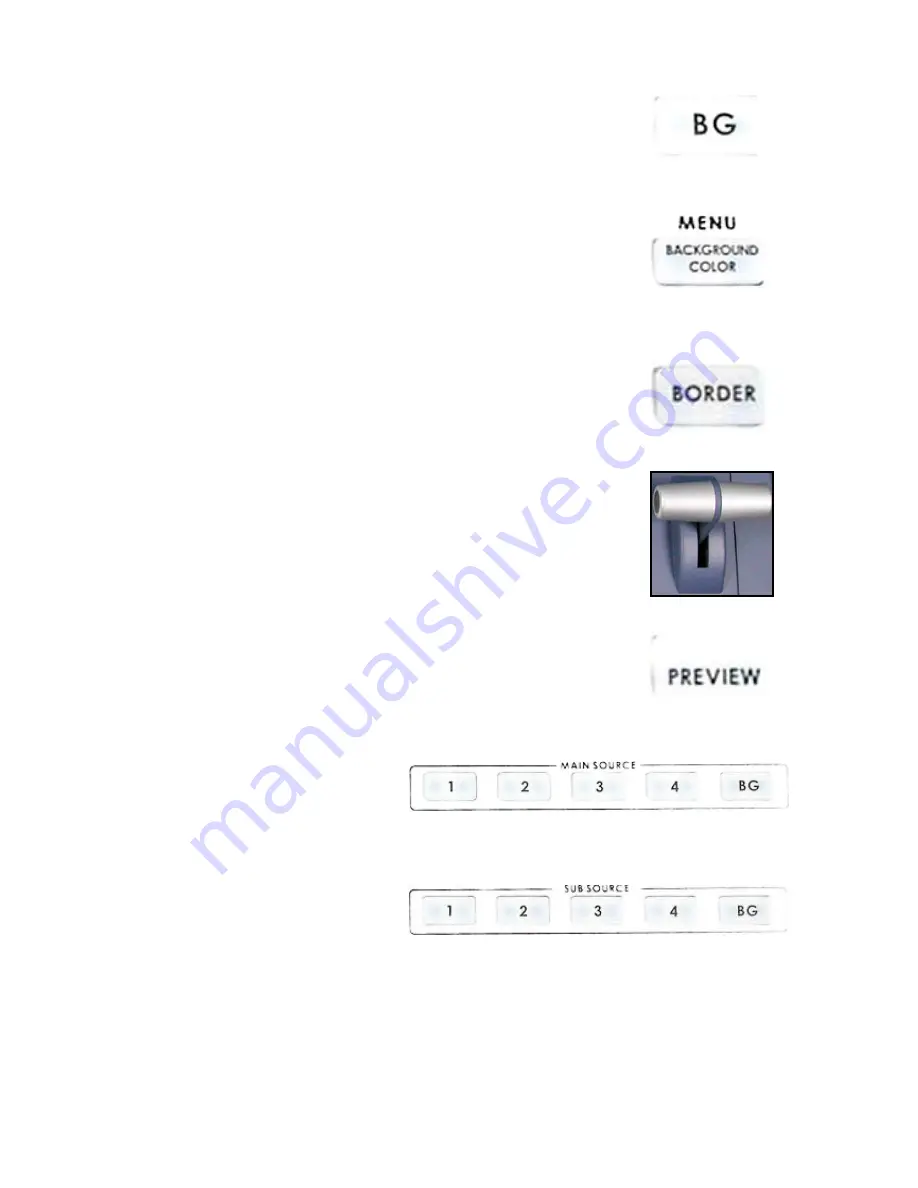
9. Background: When Background is selected in either the Main or Sub
Video Source (
13, 14.
), and the button is pressed (and the LED is lit
except with black color background), repeated presses of the color button
cycle through the 8 possible solid backgrounds. For more information,
see
Background
,
page 29
.
10. Menu: Press and hold the button “BACKGROUND COLOR” for 2
seconds or more, a menu will pop up. You are able to change the
camera settings, which include Brightness, Contrast, color, Tint (NTSC
only). For more information, see
Color Processor
,
page 21.
Press it
again, and you can change output format between YUV or S-video out,
select RS232C or MIDI control, and color bar output.
11. Border: controls the border style and color for the Picture in Picture effect,
and the color edge for the Wipe effect. This control is accessible when
the Picture in Picture controls and Wipe transitions (
15.
) are engaged.
For more information, see
Using Effects: Picture in Picture, page 28
and
Using Transitions: Wipe page 24.
12. T-Bar: used to manually perform a transition. For more information, see
Playing a Transition
,
page 24.
13. Preview: preview the selected transition effect, and background color by
pressing the “Preview” button.
14. Main Video Source Selector: Used
to select which of the four video
input channels or background is
sent to the Main video output. For
more information, see
Video Source
,
page 20.
15. Sub Video Source Selector Used
to select which of the four video
input channels or background will
be transitioned to or used as a
sub source in an effect.
12


