background image

7

Meter

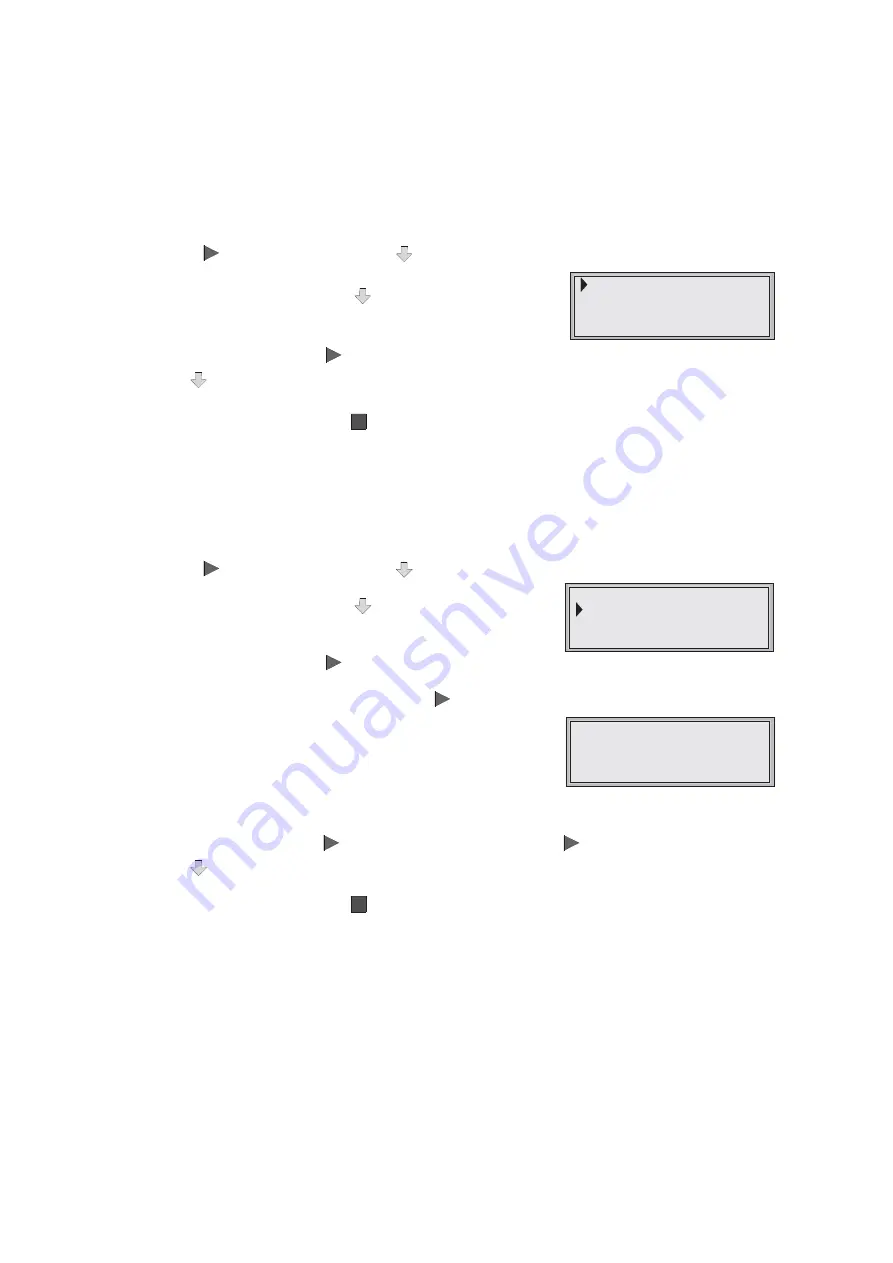
In this mode 

EasySense Q

will continuously display fully calibrated measurements from

the active sensors (built-in and any plug-in sensors connected) on the LCD screen but
will not store any data. The display is updated every half second. 

#

Connect any plug-in sensors if required. If the display is turned off, press the green 
triangle

or yellow arrow button

to wake up 

EasySense Q.

#

Use the yellow arrow button

to scroll the cursor down 

until it is pointing at Meter. 

#

Press the green triangle 

(enter) to select Meter. 

Scroll

can be used to view data from the active sensors.

#

Press the red square (stop)

to exit Meter mode and return to the main menu.

Snapshot

Snapshot mode enables you to capture and store specific data points as a set of data
that is stored in 

EasySense Q’s

memory.

#

Connect any plug-in sensors if required. If the display is turned off, press the green 
triangle

or yellow arrow button

to wake up 

EasySense Q.

#

Use the yellow arrow button

to scroll the cursor 

down until it is pointing at Snapshot. 

#

Press the green triangle

(enter) to select Snapshot mode. 

#

Each time you press the green triangle

on 

EasySense Q 

a reading will be taken 

from all active sensors (built-in and any plug-in sensors 
connected). 

EasySense Q

will display the number of 

samples taken so far and the current value from the 
active sensors. 

If more than 2 minutes have elapsed between readings, then 

EasySense Q

will go 

into ‘sleep’ mode, press 

to wake up the unit and then 

to take a reading.

Scroll 

can be used to view data from the active sensors. 

#

Press the red square (stop)

to exit Snapshot mode and return to the main menu. 

The readings taken will be stored as a set of data. 

Over 600 samples can be stored in one data set. The data set can be downloaded to
the computer for display and analysis using the Collect remote data option in the
Sensing Science Graph program (see the manual that accompanies the Sensing
Science software). 

Easy Log

In Easy Log mode data is collected from all active sensors (built-in and any plug-in 
sensors connected). It is not necessary to set the duration of the recording – 

EasySense Q

will capture data until stopped. The data set will then be stored in

EasySense Q’s

memory.

1)

25.6 C

3)

54.8 dBA

4)

178 1x

0

No

Taken: 3

Meter
Snapshot
EasyLog

Timer

Meter
Snapshot
EasyLog

Timer

Содержание EasySense Q 3

Страница 1: ...andby 15 Internal Clock and Calender 15 EasySense Q s memory 16 Specifications 16 Care Maintenance 16 Trouble Shooting 16 Practical information for the plug in Temperature Sensor 17 Copyright all rights reserved This manual may be copied for use within the premises of the Licensee on condition that it is not loaned sold or used outside the Licensee s premises Data Harvest s policy is to continuall...

Страница 2: ...mputer with an operating system that supports USB e g 98SE 2000 Me and XP It will not be supported by Windows 95 98 or Windows NT workstation and server The EasySense Q 3 or 5 data logger Two plug in Temperature Sensors Two long Smart Q sensor leads A USB communication cable A power supply unit UK version shown ...

Страница 3: ...uter or stored as data sets in its memory for retrieval and analysis by the computer at a later date Up to four data sets can be stored at a time EasySense Q buttons EasySense Q has three buttons that are used to select the operating mode The green triangle ENTER is used to start data collection to confirm a choice or take a sample The red square STOP is used to end data being recorded or return t...

Страница 4: ...ge 2 0 to 100 000 lux 0 100 klux There are 2 ranges to choose from see page 13 for altering the selected range The lower range 0 1 000 lux is more responsive and therefore more suitable for recording at indoor light levels The larger range 0 100 000 lux is more suitable for recording the light level outdoors 5 Temperature Sensor Scale 30 to 110ºC Used to measure the temperature of EasySense Q s en...

Страница 5: ... 30 to 110ºC Temperature measurements are taken by a thermistor which is housed at the tip of a stainless steel tube The stainless steel tube is made from AISI 316 stainless steel which has a particularly low thermal inertia with a negligible effect on the measured temperature It provides a high level of resistance to corrosion from a wide variety of weak acids and alkalis making it suitable for u...

Страница 6: ...d by the computer at a later date Up to 4 sets of data can be stored in EasySense Q s memory Once the four sets have been stored EasySense Q will overwrite the earliest data set with the new set of data collected Using EasySense Q in standalone operation EasySense Q has four working modes displayed on the built in LCD screen which can be used to collect data without being connected to the computer...

Страница 7: ...ter to select Snapshot mode Each time you press the green triangle on EasySense Q a reading will be taken from all active sensors built in and any plug in sensors connected EasySense Q will display the number of samples taken so far and the current value from the active sensors If more than 2 minutes have elapsed between readings then EasySense Q will go into sleep mode press to wake up the unit a...

Страница 8: ...es i e 20 samples per second and every other sample is discarded leaving 500 samples It will continue at this speed until it has captured another 500 samples 1000 total then the sample rate halves i e 10 samples per second and discards half the stored data and so on EasySense Q will continue to record data for up to 30 days In EasyLog mode the EasySense Q will stay awake until the interval between...

Страница 9: ...ect at Input A or from an object travelling from the sensor at Input A to the sensor at Input B Upon completion of the timing event the elapsed time will be displayed in milliseconds on the LCD screen to 2 decimal places Connect the digital sensor s to Input 1 A or Input 1 A and 2 B If the display is turned off press the green triangle or yellow arrow button to wake up EasySense Q Use the yellow a...

Страница 10: ...sed via Start Settings Step 2 Install the EasySense Q USB drivers The first time EasySense Q is attached to a computer the USB drivers will need to be installed Note for Windows 2000 and XP users You need to be logged on as administrator or with equivalent access rights to install the EasySense Q USB drivers Insert the Sensing Science Primary or Laboratory CD ROM into the CD Drive Cancel the auto ...

Страница 11: ...p Connect EasySense Q to the USB port on the computer using the USB cable supplied Launch the appropriate Sensing Science program The internal and any plug in sensors connected will automatically be recognised and calibrated For information on using EasySense Q with the Sensing Science programs refer to the manual supplied with the Sensing Science CD ROM Sensing Science programs overview This appl...

Страница 12: ...d Acceleration relationships using of digital switch type sensors and retrieval of Timer data sets stored in EasySense Q The purpose of this application is to allow the selection of experimental worksheets The worksheets can be written by the user or purchased as pre prepared HTML files These HTML files can be loaded into a word processor and then customised by the user Workroom Timer Sensor Confi...

Страница 13: ...s pointing to the relevant sensor i e the internal light sensor or the Smart Q Sensor connected to external 1A or 2B Press the green triangle enter to select An asterisk will indicate the currently selected range Use the yellow arrow to scroll the cursor down until it is pointing at the required range Press the green triangle enter to select The asterisk will move to indicate the selected range Pr...

Страница 14: ...this mode for at least 30 days OK or if a recharge is advised Line 3 Will indicate the capacity of the battery Line 4 Will show as charging if power is being supplied to EasySense Q via a power supply or USB connection Press the red square stop to return to the system menu and then again to return to the main menu Note Ideally EasySense Q should be stored at about 40 or more state of charge Do not...

Страница 15: ...asySense Q is to be stored for lengthy periods without use then it s a good idea to recharge the batteries every 4 8 weeks The speed at which a lithium ion battery will age is governed by both its storage temperature preferably less than 40ºC and state of charge Eventually the battery pack will no longer deliver the stored energy and will need to be replaced A fully charged battery that looses its...

Страница 16: ...pecifications stated for Smart Q Sensors are applicable to when used with a 12 bit data logger or interface e g EasySense Advanced EasySense Q is a 10 bit data logger so may not be able to fully utilise this capability and the resolution stated for each Sensor may not be as high Care Maintenance Clean with a damp cloth do not immerse in water or detergent EasySense Q is suitable for use in an oper...

Страница 17: ...has a high resistance to corrosion from a wide variety of weak acids and alkalis Some environments e g saltwater may cause some discolouration to the stainless steel tube but this will have no effect on the sensor s performance The sensor can be left in an alkaline solution such as Sodium Hydroxide NaOH for up to 48 hours with only minor discolouration We do not recommend use in a solution whose c...

Страница 18: ...od EasySense Q must be returned to Data Harvest for repair or replacement at no expense to the user other than postal charges Note Data Harvest products are designed for educational use and are not intended for use in industrial medical or commercial applications WEEE Waste Electrical and Electronic Equipment Legislation Data Harvest Group Limited are fully compliant with WEEE legislation and are ...

Страница 19: ......

Страница 20: ......

Отзывы: