59
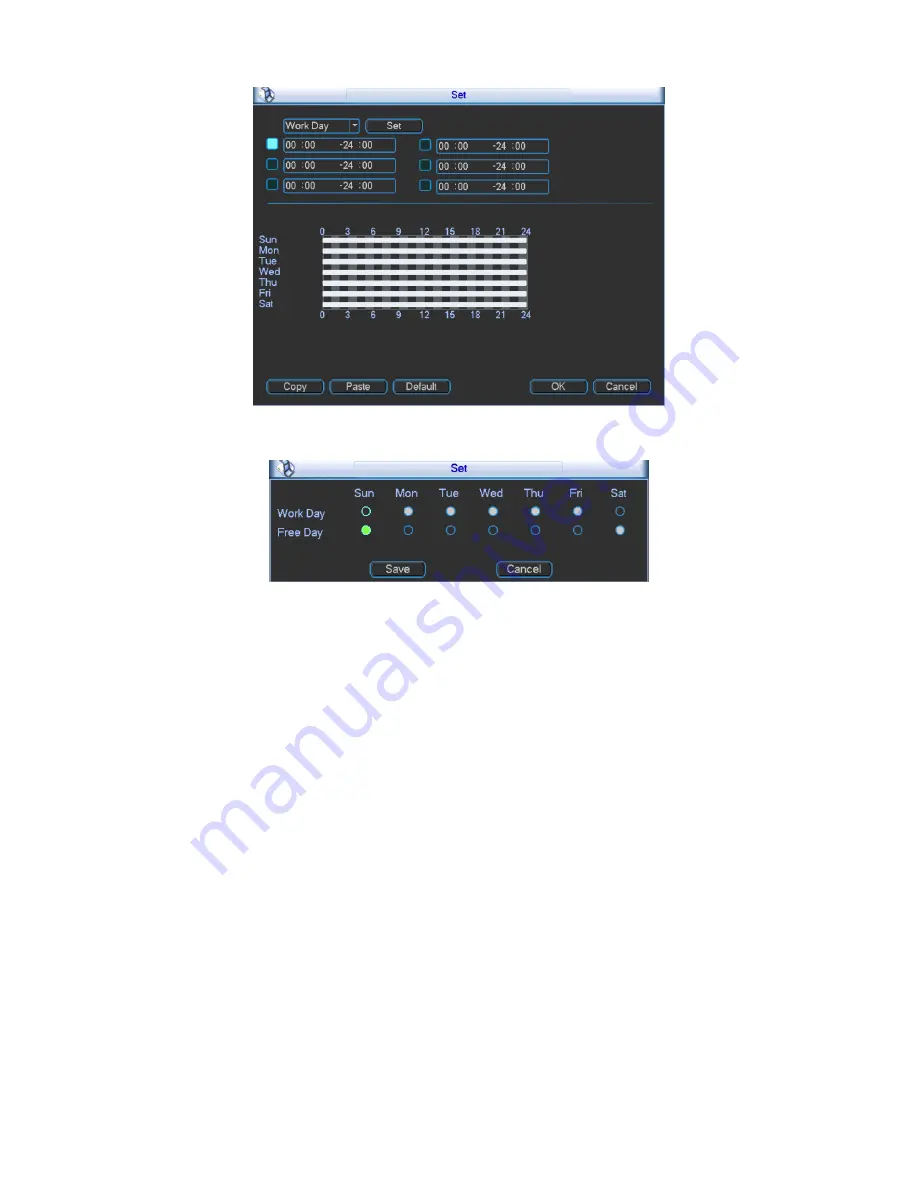
Figure 3- 52
Figure 3- 53
Anti-jitter: Here you can set anti-jitter time. If anti jitter is set to be 10s, then when motion
detect is triggered, this signal will lasts 10s. Currently this function is on motion detect only.
The value ranges from 5 to 600s.
Alarm output: Select alarm output channel (reselectable). When alarm occurs, system will
automatically enable this alarm channel.
Delay: When motion ends, alarm delays for a certain period before it stops. Unit is second
with range between 10 to 300.
Show message: System can pop up a message to alarm you in the local host screen if you
enabled this function.
Alarm upload: System can upload the alarm signal to the network (including alarm centre) if
you enabled this function.
Send email: System can send out email to alert you when alarm occurs.
Record channel: Select designated record channel (same channel can be selected more
than once). When alarm occurs, system will automatically record selected channel.
Delay: When motion detect stops, recording will continue for a set period of time which
ranges from 10s to 300s.
Snapshot: Enable snapshot by checking
■.
Snapshot when motion detection starts. Click
select to set certain channels. See Figure 3- 54.
Содержание VEC0404HD-M70
Страница 1: ...Video Matrix Platform User s Manual V 1 0 0 Dahua Technology CO LTD ...
Страница 29: ...24 Figure 3 9 Switch to input device list Please see Figure 3 9 ...
Страница 32: ...27 Figure 3 12 Step 2 Click add You will see Figure 3 13 Figure 3 13 ...
Страница 65: ...60 Figure 3 54 Buzzer Buzzer rings when motion detection alarms 3 2 4 6 2 Video Loss ...
Страница 69: ...64 Display is shown below as in Figure 3 59 Figure 3 60 and Figure 3 61 Figure 3 59 ...
Страница 70: ...65 Figure 3 60 ...
Страница 83: ...78 Figure 3 80 Click Add to add new Raid Select corresponding level Figure 3 81 ...
Страница 91: ...86 Figure 4 7 Hide PTZ Console ...
Страница 101: ...96 Figure 4 23 4 2 2 5 Sub Card Status View sub card fan and power status ...
Страница 102: ...97 Figure 4 24 4 2 3 System Config 4 2 3 1 General ...
Страница 110: ...105 Figure 4 33 4 2 3 8 NTP ...
Страница 122: ...117 Figure 4 45 ...
Страница 131: ...126 Figure 4 56 Group setting is as follows please see Figure 4 57 and Figure 4 58 ...
Страница 132: ...127 Figure 4 57 Figure 4 58 4 2 4 2 Raid Config Figure 4 59 Click Add to add Raid and select corresponding level ...
Страница 133: ...128 Figure 4 60 Click hot spare management to set Raid hot spare disk which improves security Figure 4 61 ...
Страница 137: ...132 Figure 4 65 ...
Страница 140: ...135 Figure 4 69 4 2 4 7 Snapshot ...
Страница 143: ...138 Figure 4 72 Figure 4 73 ...
Страница 147: ...142 Figure 4 79 4 2 4 11 Directory Manager It is mainly for network keyboard to control matrix See Figure 4 69 ...
Страница 149: ...144 Figure 4 82 Step 4 Click Add See Figure 4 83 Figure 4 83 ...
Страница 154: ...149 Figure 4 90 Click open local record button and select local record to play Please see Figure 4 91 ...


