18
No.
Name
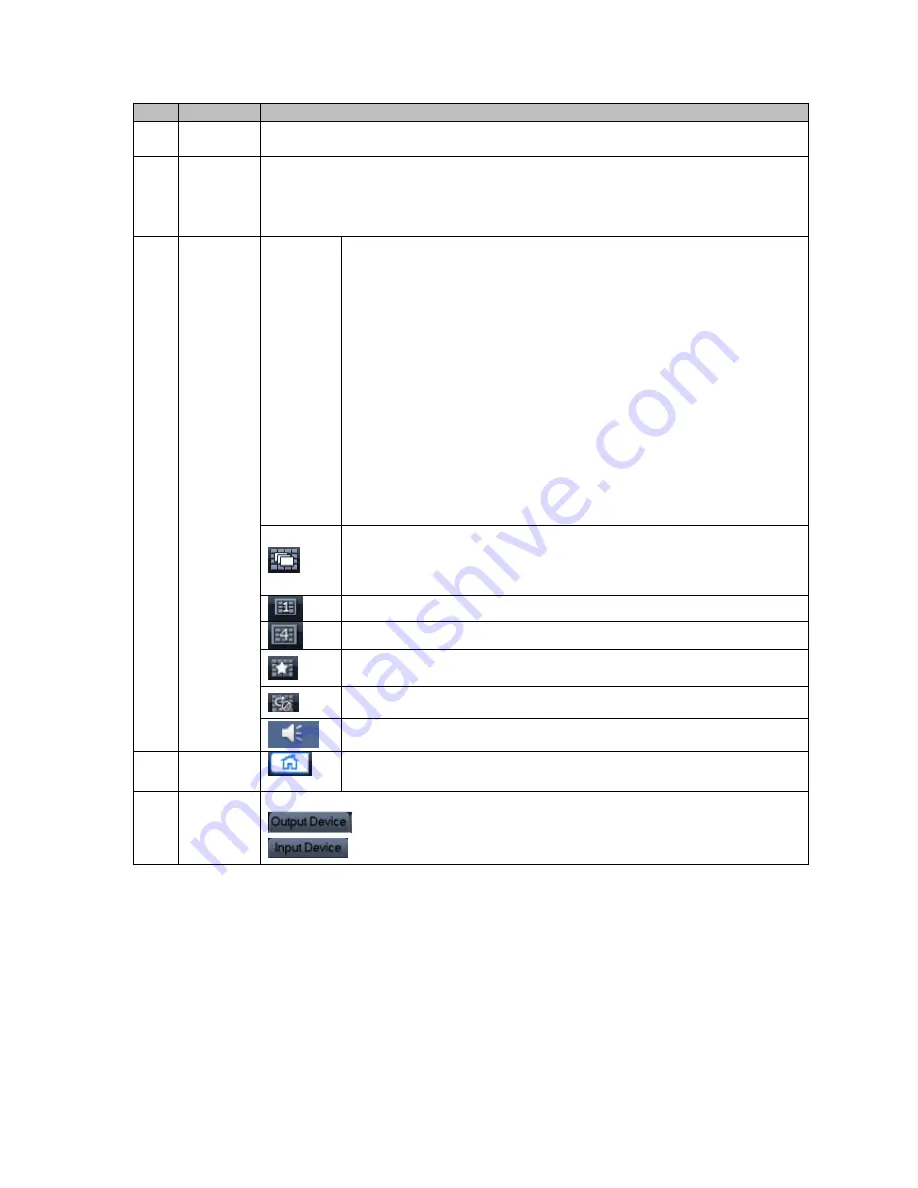
Function Description
1
Current
Output
Display current output slot name
2
Display
window
Display current output screen or cubeless video wall
’s splicing illustration.
Click channel, and if its corresponding area turns yellow, it is selected
successfully.
Support1, 4, 8, 9, 16 channel display at the same time.
3
Display
Control
Area
Display
mode
selection
area
Display mode
:
single channel, 4-ch, 8-ch, 9-ch and 16-ch available.
(device differ for different number of channels)
Under single channel mode, you may select 1
st
to 16
th
channel.
Under 4-ch mode, you may switch among :
1
st
to 4
th
channel
5
th
to 8
th
channel
9
th
to 12
th
channel
13
th
to 16
th
channel
Under 6-ch mode, you may switch between 1
st
to 6
th
channel and 7
th
to 12
th
channel, and 13
th
to 18
th
channel.
Under 8-ch mode, you may switch between 1
st
to 8
th
channel and 9
th
to 16
th
channel.
Under 9-ch mode, you may switch between 1
st
to 9
th
channel and 8
th
to 16
th
channel.
Under 16-ch mode, you may view full 16 channels at the same time
Independent display button. It allows an independent view of any
window selected in a single screen or independent view plus
crossing screen function in a cubeless video wall. To exit, you need
to re-split and drag selected window.
May split all cubeless video wall units into one.
May split all cubeless video wall units into four.
Favorites
,
you may save combination of display channels which you
often monitor.
Tour button
,
support tour decoding and wall mount.
Sound on/off.
4
Shortcut
Menu
Click to enter homepage.
5
Input and
Output
Device
Show input and output devices of each slot and channel
Click this button to switch to output device list.
Click this button to switch to input device list.
Chart 3- 1
3.1.5
Output Device Tree Introduction
The output device tree is show as follows; please see Figure 3- 4 and Chart 3- 2.
Содержание VEC0404HD-M70
Страница 1: ...Video Matrix Platform User s Manual V 1 0 0 Dahua Technology CO LTD ...
Страница 29: ...24 Figure 3 9 Switch to input device list Please see Figure 3 9 ...
Страница 32: ...27 Figure 3 12 Step 2 Click add You will see Figure 3 13 Figure 3 13 ...
Страница 65: ...60 Figure 3 54 Buzzer Buzzer rings when motion detection alarms 3 2 4 6 2 Video Loss ...
Страница 69: ...64 Display is shown below as in Figure 3 59 Figure 3 60 and Figure 3 61 Figure 3 59 ...
Страница 70: ...65 Figure 3 60 ...
Страница 83: ...78 Figure 3 80 Click Add to add new Raid Select corresponding level Figure 3 81 ...
Страница 91: ...86 Figure 4 7 Hide PTZ Console ...
Страница 101: ...96 Figure 4 23 4 2 2 5 Sub Card Status View sub card fan and power status ...
Страница 102: ...97 Figure 4 24 4 2 3 System Config 4 2 3 1 General ...
Страница 110: ...105 Figure 4 33 4 2 3 8 NTP ...
Страница 122: ...117 Figure 4 45 ...
Страница 131: ...126 Figure 4 56 Group setting is as follows please see Figure 4 57 and Figure 4 58 ...
Страница 132: ...127 Figure 4 57 Figure 4 58 4 2 4 2 Raid Config Figure 4 59 Click Add to add Raid and select corresponding level ...
Страница 133: ...128 Figure 4 60 Click hot spare management to set Raid hot spare disk which improves security Figure 4 61 ...
Страница 137: ...132 Figure 4 65 ...
Страница 140: ...135 Figure 4 69 4 2 4 7 Snapshot ...
Страница 143: ...138 Figure 4 72 Figure 4 73 ...
Страница 147: ...142 Figure 4 79 4 2 4 11 Directory Manager It is mainly for network keyboard to control matrix See Figure 4 69 ...
Страница 149: ...144 Figure 4 82 Step 4 Click Add See Figure 4 83 Figure 4 83 ...
Страница 154: ...149 Figure 4 90 Click open local record button and select local record to play Please see Figure 4 91 ...


