Assembly Instructions
STEP 1:
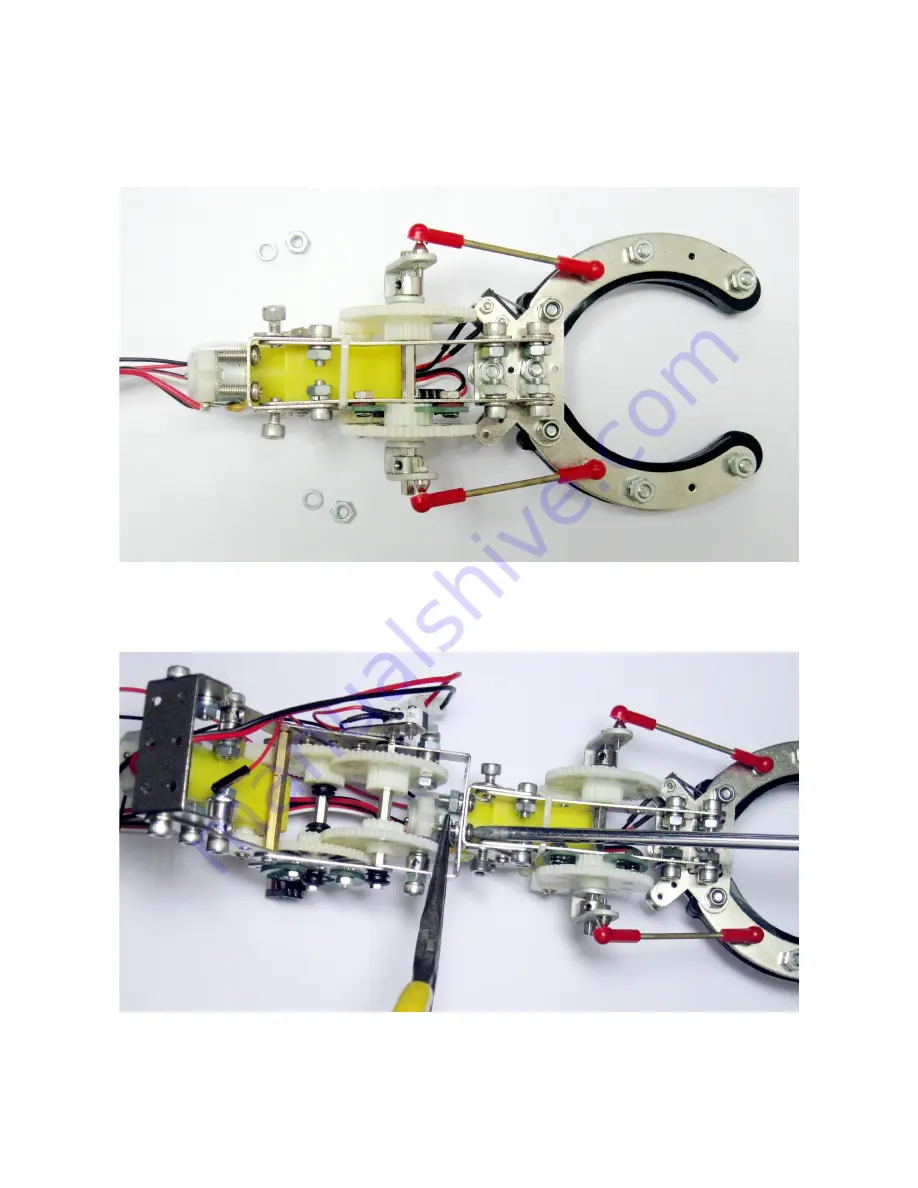
The robot arm comes in two parts that must be joined together before the arm is attached to the
base. Start by removing the nuts and spring washers shown in the photo bellow. Do not completely remove
the screws. This will allow you to use a screwdriver to join the two sections.
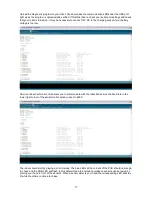
STEP 2:
Join the two parts as shown below and then replace the washers and nuts removed in STEP 1.
4
Содержание MR. Tidy
Страница 3: ...Main board Features 3...


