12
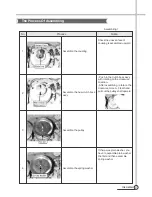
To assemble the gear mechanism ass’y, reverse the disassembly procedure.
NOTES
12
DIRECTIONS
7
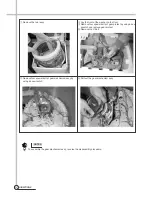
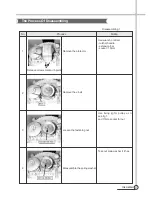
Remove the tub i assy.
q
Remove four special bolt of gear mechanism assy by
using a box wrentch.
8
Lay the front of the washer on the floor.
9
Remove four special bolts of gear protect by using a box
wrentch and remove gear protect.
0
Remove the V-belt.
w
Pull out the gear mechanism assy.
Содержание DWF-H361ASA
Страница 27: ...APPENDIX 26 PCB ASS Y Wiring Diagram...
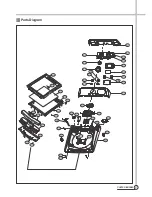
Страница 29: ...28 PARTS DIAGRAM...
Страница 30: ...29 PARTS DIAGRAM C01 C04 C02 C03 C05 C06 C08 C07 C10 C11 C12 C12 C09 C13 C14 C15 C16 C17 C18...
Страница 31: ...30 PARTS DIAGRAM D01 D02 D03 D04 D05 D06 D07 D08 D09 D10 D11 D12 D13 D14 D15 D16 D17 D18...


