background image

Video

12

Chapter 3 : Operating Your TV

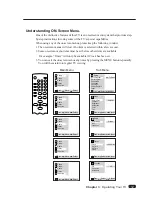
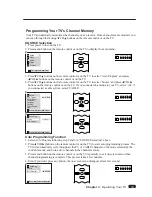
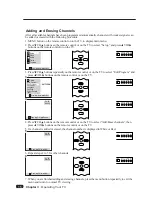
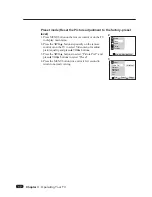
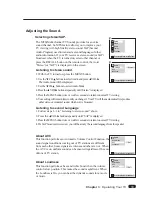
Understanding ON-Screen Menu.

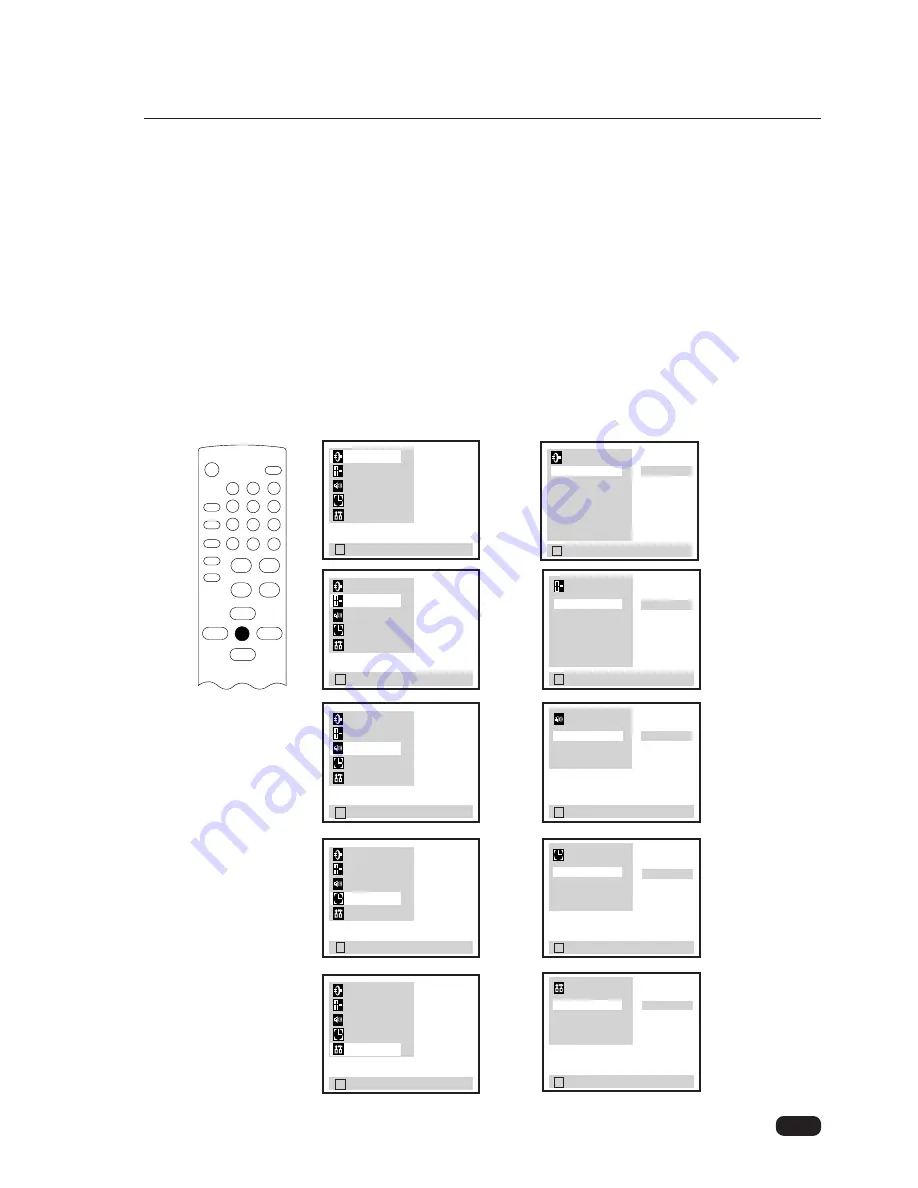
One of the distinctive features of this TV is an on-screen menu system that provides step-
by-step instructions for using some of the TV’s special capabilities.

When using any of the on-screen menus, please keep the following in mind.

1. The on-screen menus will clear if no item is selected within a few second.

2. Some on-screen menu items must be set before other items are available. 

For example, “Timer” will only be available if Clock has been set.

3. You can exit the on-screen menus any times by pressing the MENU button repeatedly.

You will them return to regular TV viewing.

Prev  

WV

Move  

CB

Select

Prev  

WV

Select  

CB

Adjust

Setup

Edit Program
Favorite Ch
Language
Captions
Power Restore
Input

Auto Program

CB

To Press

Prev  

WV

Select  

CB

Adjust

Prev  

WV

Select  

CB

Adjust

Prev  

WV

Select  

CB

Adjust

Prev  

WV

Select  

CB

Adjust

Setup
Video 
Audio
Timer
Function

Prev  

WV

Move  

CB

Select

Setup
Video 
Audio
Timer
Function

Prev  

WV

Move  

CB

Select

Setup
Video 
Audio
Timer
Function

Prev  

WV

Move  

CB

Select

Setup
Video 
Audio
Timer
Function

Prev  

WV

Move  

CB

Select

Setup
Video 
Audio
Timer
Function

Main Menu

Sub Menu

Picture Pref
Contrast
Brightness
Sharpness
Color
Tint

Custom

Stereo

Audio

Audio Mode
AVC  
Loudness 

12:34 PM

Timer

Clock
On Time
Off Time
Sleep

Function

PIP
Ch Labels
Auto Demo

off

Содержание DTQ 25G1

Страница 1: ...Color Television INSTRUCTION MANUAL DTQ 25G1 DTQ 29G1...

Страница 2: ...HAZARD DO NOT EXPOSE THIS APPLIANCE TO RAIN OR MOISTURE CAUTION CHANGES OR MODIFICATIONS NOT EXPRESSLY APPROVED BY THE MANUFAC TURER COULD VOID THE USER S AUTHORITY TO OPERATE THE EQUIPMENT NOTE TO CA...

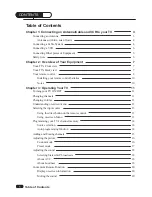
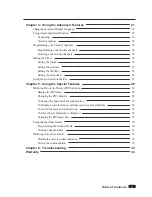
Страница 3: ...10 Chapter 3 Operating Your TV 11 Turning your TV ON OFF 11 Changing channels 11 Changing volume 11 Understanding on screen menu 12 Selecting the input source 13 Using the direct button on the remote...

Страница 4: ...hapter 5 Using the Special Features 28 Watching Picture In Picture PIP Function 28 Display the PIP image 28 Changing the PIP channels 28 To change the position of the small picture 28 To Display a pic...

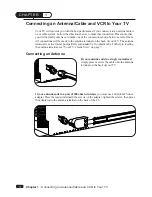
Страница 5: ...tially surrounded by two plastic tabs For help in locating the antenna terminal see Your TV s Back View on page 7 Connecting an Antenna If your antenna ends in a single coaxial lead simply press or sc...

Страница 6: ...inal on the back of your TV If your antenna system has two sets of twin 300 ohm leads you must obtain a combiner available at your local electronics store Place one set of twin leads underneath the sc...

Страница 7: ...e Connect one coaxial cable between one OUT terminal on the splitter and the IN terminal on the converter box Connect another coaxial cable between the other OUT terminal on the splitter and the B IN...

Страница 8: ...We recommend that you follow the instructions included with the piece of equipment you wish to connect Safety Note If you plan on being away from your home for an extended period of time or if a thun...

Страница 9: ...below summarizes the buttons controls and terminals that you will use with your TV Overview of your equipment Menu Volume Up Volume down Channel Up Channel down POWER Video L Mono R Earphone ANT T VID...

Страница 10: ...tons to select channels 9 SLEEP Use this button to program the TV to turn off after a certain time 10 RECALL Use this button to display the channel number channel label and stereo status Use this butt...

Страница 11: ...tton to select a caption mode 14 MTS Use this button to select one mode of Mono Stereo or SAP 15 WCHV Use these buttons to change main channel PIP channel or select items in the menu system 16 CVOLB U...

Страница 12: ...ferent types of batteries or mix an old and a new battery Remove and replace weak batteries Weak batteries can leak and damage your controller Dispose of batteries properly never throw them into a fir...

Страница 13: ...to the TV s mem ory For more information about programming channels into memory see the section Programming Your TV s Channel Memory 2 The number buttons 0 9 will take you to any channel even if it ha...

Страница 14: ...the MENU button repeatedly You will them return to regular TV viewing L Prev WVMove CBSelect L Prev WVSelect CBAdjust Setup Edit Program Favorite Ch Language Captions Power Restore Input Auto Program...

Страница 15: ...epeatedly to select Set up and press CVOLB button on the remote control or on the TV 3 Press WCHV button on the remote control or on the TV repeatedly to select Input and press CVOLB but ton on the re...

Страница 16: ...4 Press WCHV buttons on the remote control or on the TV to select Source and press CVOLB buttons on the remote control or on the TV If you connected to antenna to your TV select Air if you connected a...

Страница 17: ...e TV to display main menu 2 Press WCHV buttons an the remote control or on the TV to select Set up and press CVOLB buttons on the remote control or on the TV 3 Press WCHV buttons repeatedly on the rem...

Страница 18: ...ideo setting to the level you prefer 6 Use the WCHV buttons to select another video setting to adjust 7 When you are finished press the MENU button twice or wait few second to return to normal viewing...

Страница 19: ...remote control or on the TV to select Video menu for adjust picture quality and press CVOLB buttons 3 Press the WCHV buttons to select Picture Pref and press CVOLB buttons to select Preset 4 Press th...

Страница 20: ...ereo or monaural sound whichever is broadcast Listening to second Language 1 Follow steps 1 3 in Listening to stereo sound above 2 Press the CVOLB buttons repeatedly until SAP is displayed 3 Press the...

Страница 21: ...o select Audio Mode 2 Use this button to select the Stereo Mono or SAP Present Broadcast Your Selection Speaker Out MONO Stereo Mono MONO SAP Mono STEREO SAP Mono STEREO and SAP Stereo Stereo STEREO a...

Страница 22: ...DEO mode Note When you Displayed PIP picture the Recall button can select the Main or PIP display for changing channels See Chapter 5 for details Muting the Sound Press MUTE button on the remote contr...

Страница 23: ...Use the WCHV to select Language 4 Use the CVOLB button to select the language you want to use English Spanish or French 5 Press the MENU button twice or wait few seconds to return to normal TV viewing...

Страница 24: ...he caption setting with the remote control Press the CAPTION button on the remote control to display the caption menu Use this button to select Caption Off Caption1 or Caption2 About captions Once you...

Страница 25: ...ed captioned signal may not be decoded in the following situations When a video tape has been dubbed When the signal reception is weak When the signal reception is non standard Chapter 4 Using the Adv...

Страница 26: ...CHV buttons repeatedly to select Favorite Ch then press the CVOLB buttons The Favorite channel menu will be displayed 4 Press the WCHV buttons to select your favorite channels then press theCVOLB butt...

Страница 27: ...the Clock above 2 Press the WCHV buttons to select On Time 3 Press C VOL button to set the hours including AM PM press the VOLB button to set the minutes 4 Press MENU button twice to exit this menu S...

Страница 28: ...3 Use the C VOLB buttons to set the sleep timer Each time you press VOL you step between the available sleep times 15min 30min 45min 60min 90min 120 min 150min 180min 210min 240min or 0 min Off 4 Pre...

Страница 29: ...LB buttons The Setup menu will be displayed 3 Press the WCHV buttons to select Power Restore 4 Press C VOLB buttons to set On the Power Restore If you wish to set Off the Power Restore press theC VOLB...

Страница 30: ...to exit this menu 4 You can also changing the PIP channel directly by pressing the channel number buttons on the remote control To change the PIP position Press PIP POSITION button repeatedly when the...

Страница 31: ...he main and PIP picture Press PIP SWAP button when the PIP picture is displayed The main and PIP picture will switch To switch them again press PIP SWAP again To freeze the PIP picture Press PIP STILL...

Страница 32: ...ct the 1st character space 5 Press WCH or CHV repeatedly until the 1st character A in this example appear in the 1st character space 6 Press VOLB once to enter the 1st character and to advance to the...

Страница 33: ...e fol lowing order Clearing channel labels 1 Select the channel which has the label you want to clear 2 3 4 Follow steps 2 4 on the previous page to call up the CH labels mode display 5 Enter in first...

Страница 34: ...menu 2 Use the WCHV buttons to select Function and press the C VOLB buttons 3 Press the WCHV buttons to select Auto Demo 4 Press C VOLB buttons to start the Auto Demo To stop the demonstration Press m...

Страница 35: ...a station problem Check that the antenna is connected and is in good working order has no broken wires and is adjusted correctly The picture is OK but the sound is poor Try another station If the oth...

Страница 36: ...sub jected to misuse neglect accident incorrect wiring not our own improper installation unauthorized modification or to use in violation of instructions furnished by us nor units which have been rep...

Страница 37: ...P N 48586217E101...

Отзывы: