


21
VCR
O
per
ation
20
To Memorize Channels Manually
■
To add additional channels without affecting your existing stored channels, follow the steps below:
Press [SETUP] button and select
“CHANNEL SET”.
Select “Add/Remove Channels”.
1
1
Select the desired channel and
memorize it.
Press [NUMBER] button of remote control to
select the desired channel to memorize.
When [
√
] button is pressed, “REMOVED” under
channel number converts into “
ADDED”
.
2
2
Check the memorized channel.
To check the memorized channel, press [CH up/down] button on remote
control.
3
3
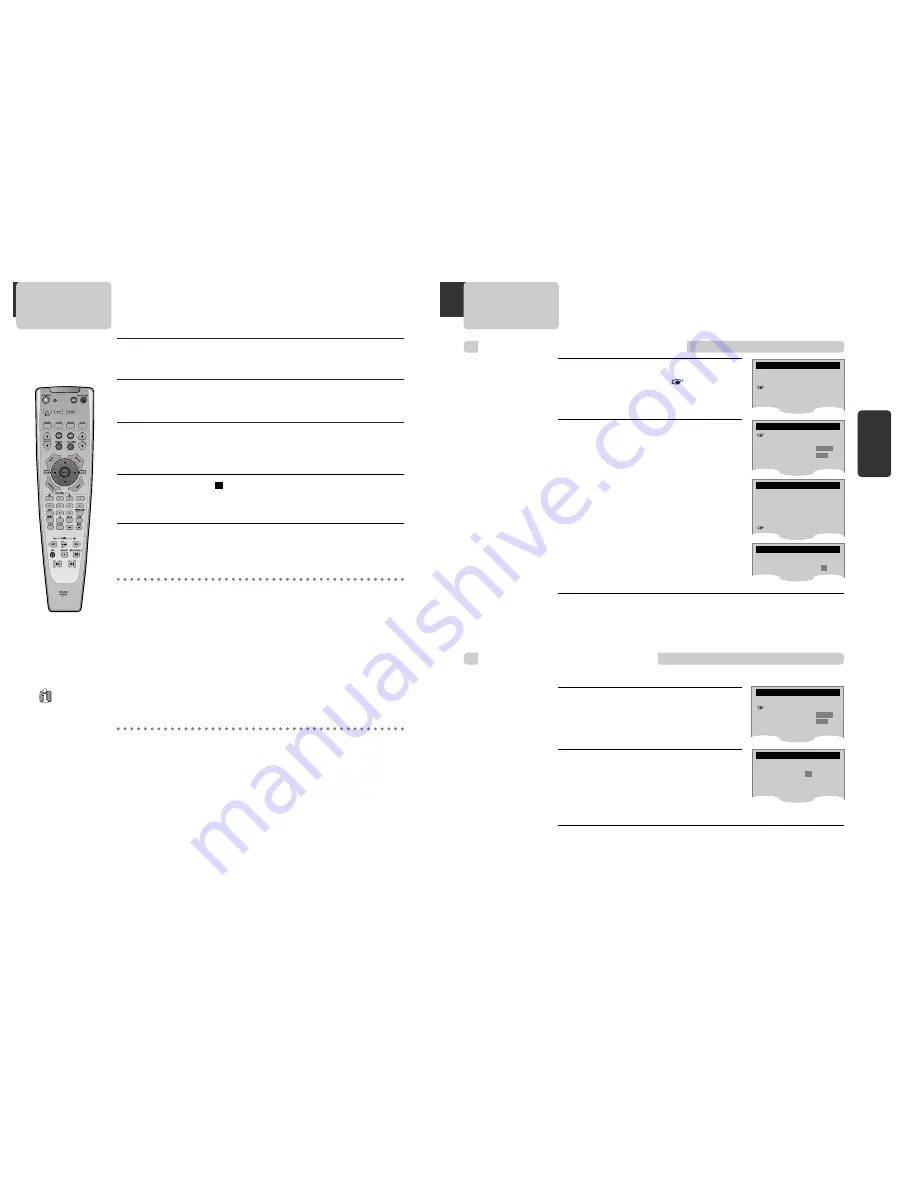
ADD/REMOVE CHANNELS
Channel 02
is now ADDED.
Memorizing TV Channels
Press [SETUP] button.
Press [
†
] button to move
into CHANNEL
SET, and then select CHANNEL SET with
[ENTER] button.
Select “Auto Channel Search”.
Press [ENTER] button in CHANNEL SET window
to select AUTO CHANNEL SEARCH.
Select “Detect Automatically”.
Press [ENTER] button in AUTO CHANNEL SEARCH
window to detect the channel automatically.
Channel number changes successively from 01
to 125, while only broadcasting channels are
memorized automatically. When memory
process is completed, the lowest number’s one
of memorized channels is displayed.
Please, check the memorized channels.
To check the memorized channels, press [CH up/down] button on remote
control.
1
1
2
2
3
3
To Memorize Channels Automatically
SETUP
CLOCK SET
TIMER RECORDINGS
CHANNEL SET
FUNCTIONS
LANGUAGE SELECT
AUTO CHANNEL SEARCH
What type of signal are
you using?
Cable TV
Antenna
Detect Automatically
AUTO CHANNEL SEARCH
Now scanning channel 11
CHANNEL SET
Auto Channel Search
Add/Remove Channels
Signal Type:
CABLE
Channel Change:
CH3
CHANNEL SET
Auto Channel Search
Add/Remove Channels
Signal Type:
CABLE
Channel Change:
CH3
VCR Playback
Press [
√
√
] button to power on.
Press [VCR] button of remote control to change into VCR mode.
Insert the desired tape.
If you want to playback it, press [PLAY] button.
When the operational status is flickering or poor, adjust it with [TR/–]
button.
1
1
2
2
3
3
To stop it, press [ ] button.
For pause, press [PLAY/PAUSE] button in playback mode.
If you press this button once more, it starts playback again.
4
4
Press [EJECT] button in the front part or [OPEN/CLOSE] button
on remote control to remove the tape.
5
5
Various Playback Methods
■
If you want fast forward (or reverse) playback,
press [
√√
] or [
œœ
] button in
Playback mode. You can watch fast playing (rewinding) screen.
■
If you want Still picture,
press [PLAY] in Playback mode. You can watch the desired
screen in pause status.
■
If you want slow-motion playback,
press [
❚
√
] button in Play mode. You can watch
the desired screen in the slow forward playback.
* NOTE: VCR doesn’t have Slow Reverse Playback function.
■
If you want to watch a series of screens one by one (FRAME ADVANCE),
press [
❚
√
√
]
button in Pause mode. Each time you press this button, the picture advances one
frame.
If the product, which
has a auto-detector,
detects a
contaminated
head(s), it shows the
conditions to notice
the contamination on
screen.
* In case of the notice
on screen, please
rub the heads with a
head-cleaner
followed by “How to
use a head-cleaner”.
To Adjust Display
This product includes automatic Tracking function and enables users to enjoy clear
picture without an additional operation. Provided that the following problems can be
solved by the manual adjustment, which improves display quality. (During automatic
display adjustment, “Adjusting Display” are displayed on TV screen.)
- If the screen is poor in Playback mode,
- If noises occur in the upper or lower part of screen in slow playback mode,
- If paused picture vibrates up and down.
Use [TR/–] buttons of remote control to adjust the display suitable for
watching.


